How to Fold An Articulated Origami Snake
 Scales and All:
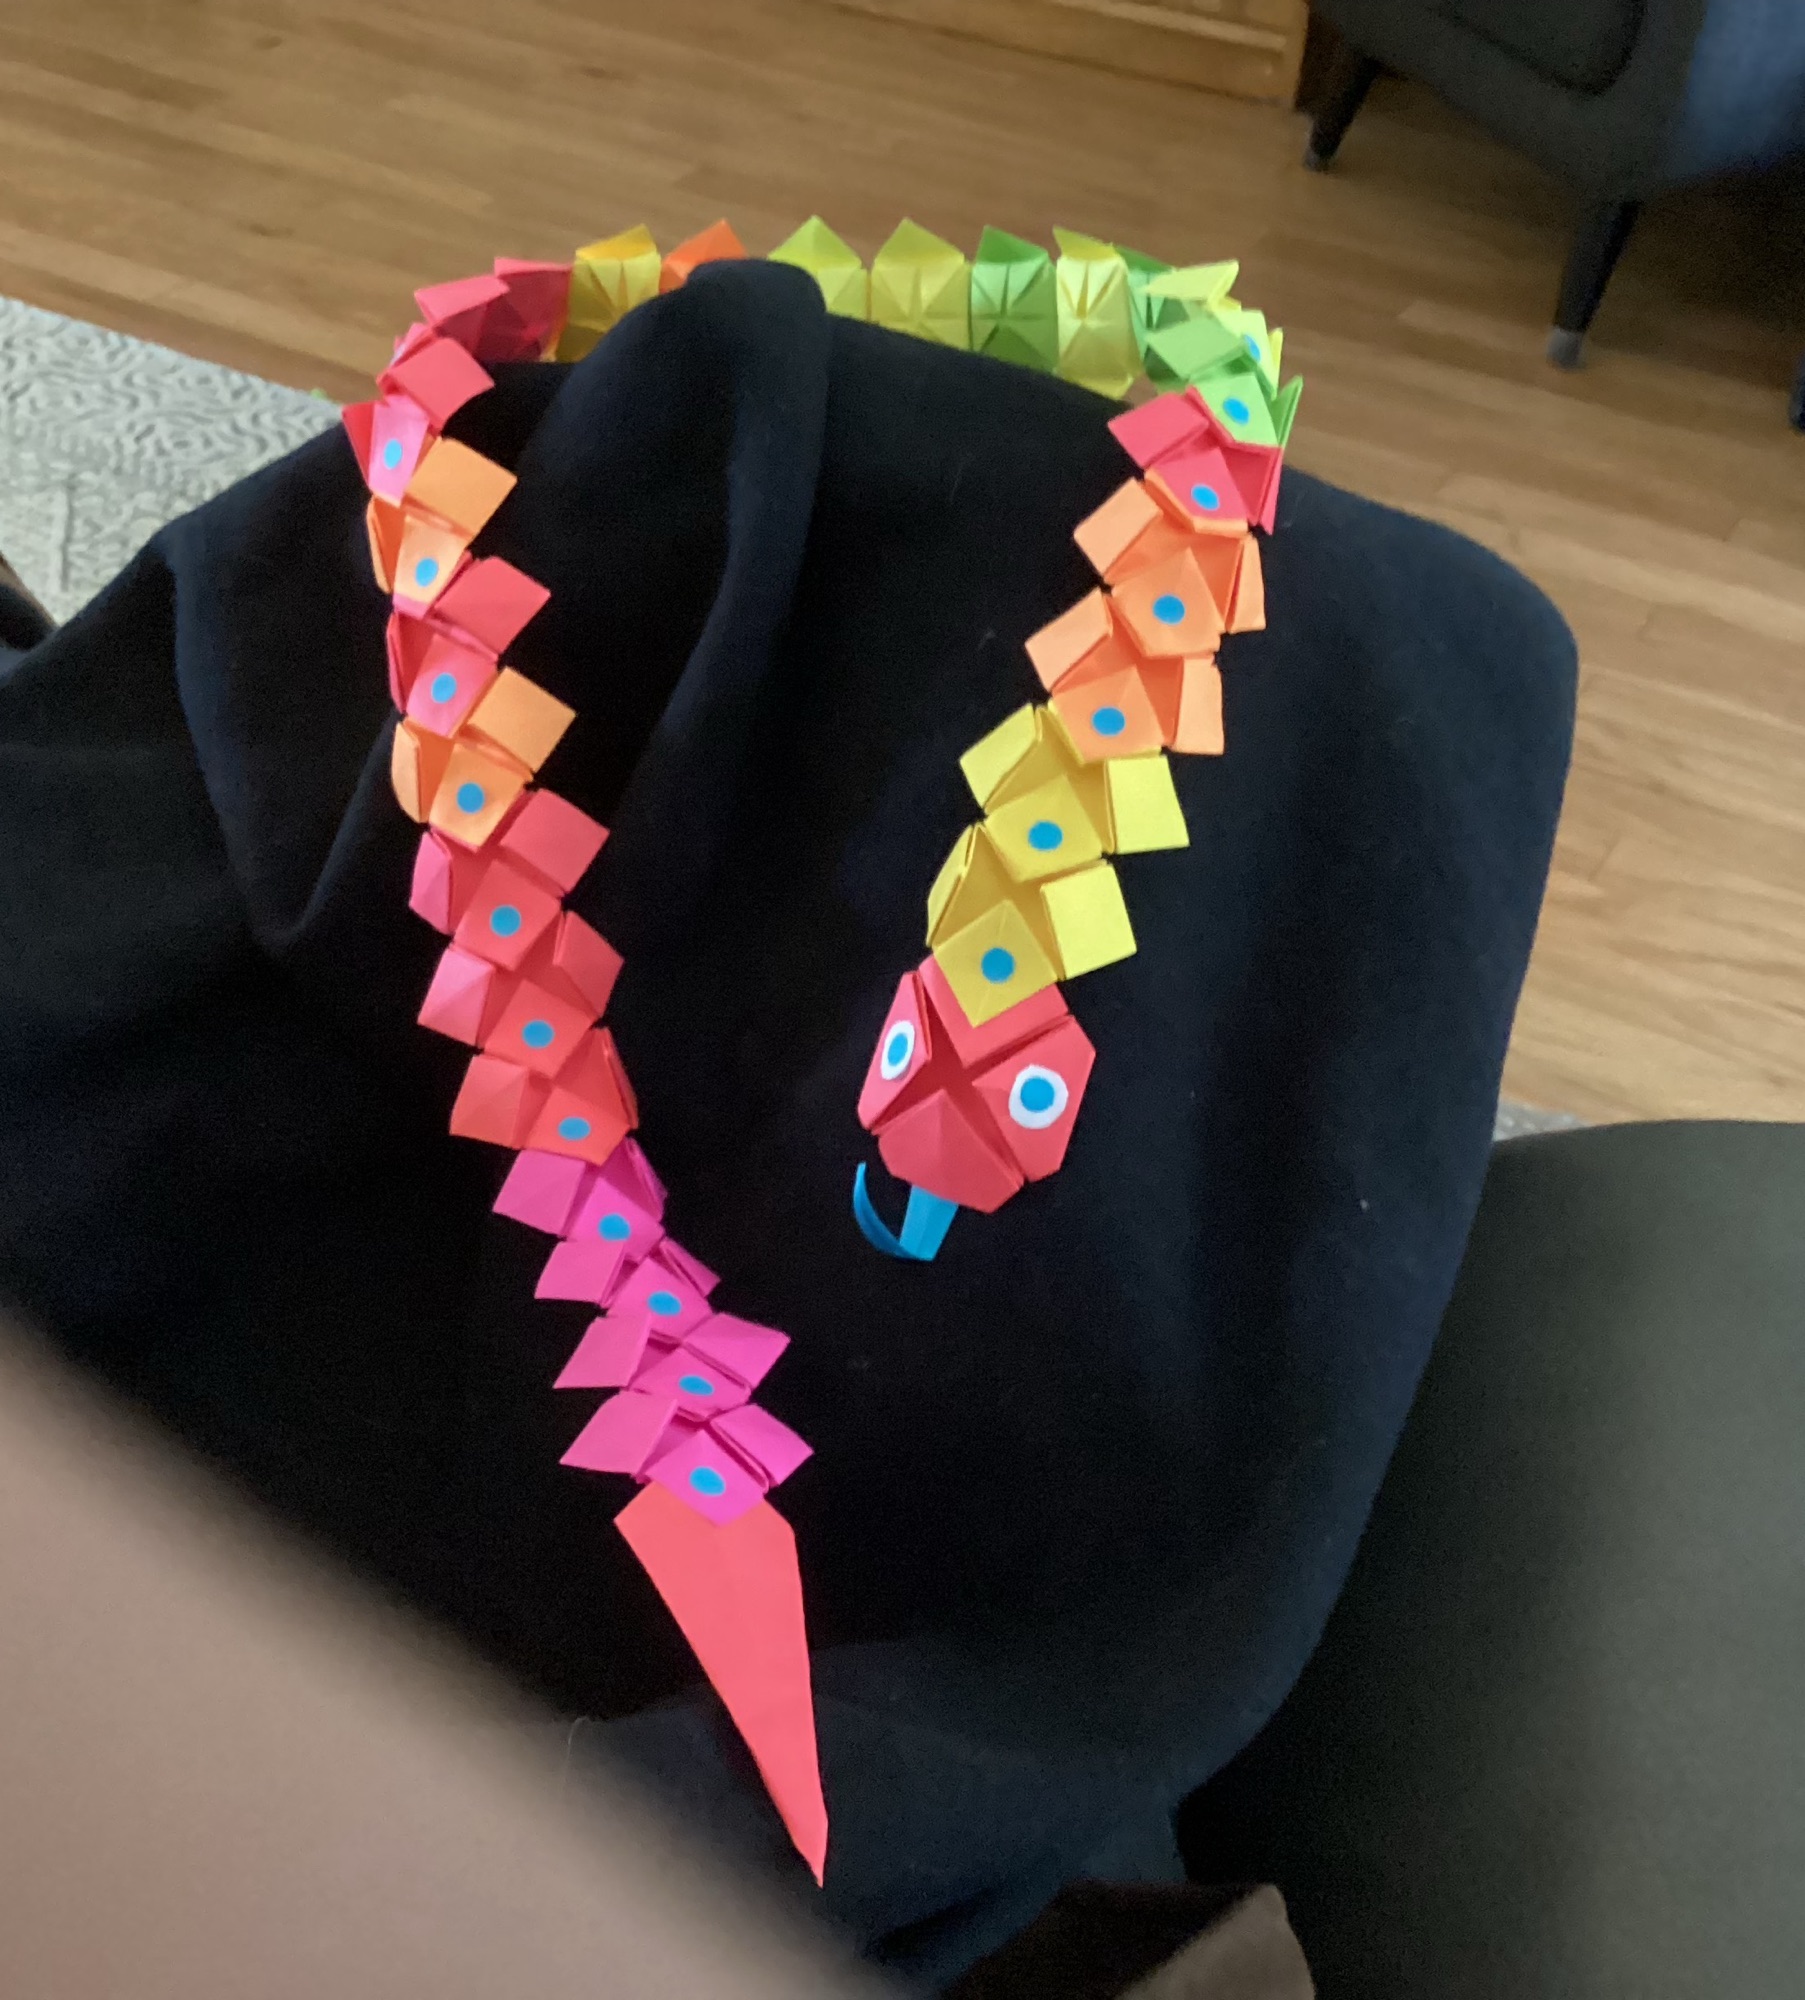
One of the unit Origami creatures I have created takes on the characteristics of an actual snake. It even has an articulated body with scales. Whenever I have taught classes of kids Origami and offered them an opportunity to select their favorite fold from a wide selection, they usually choose these.
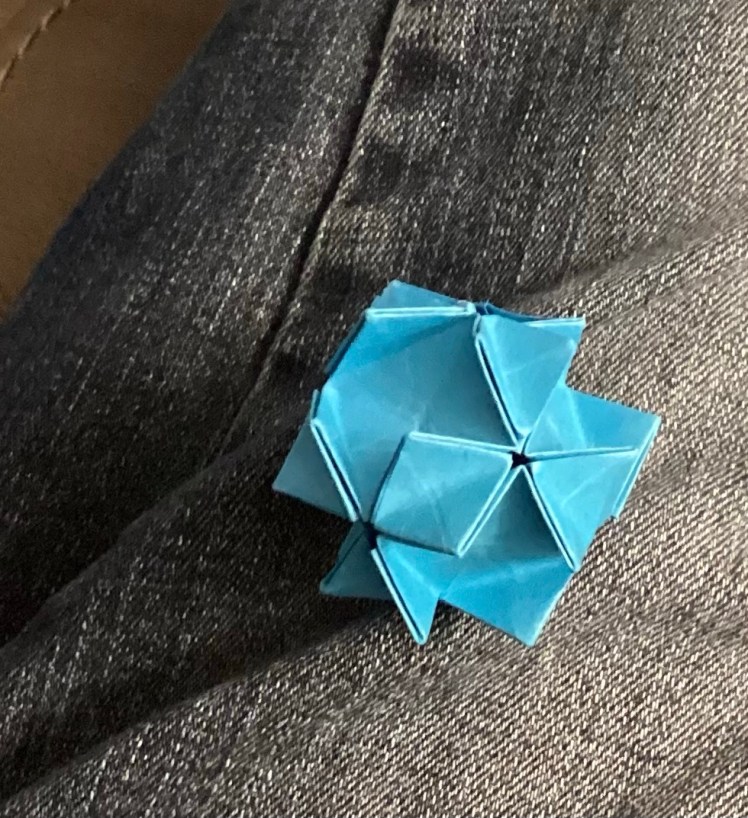
Begin with a Pinwheel Base:
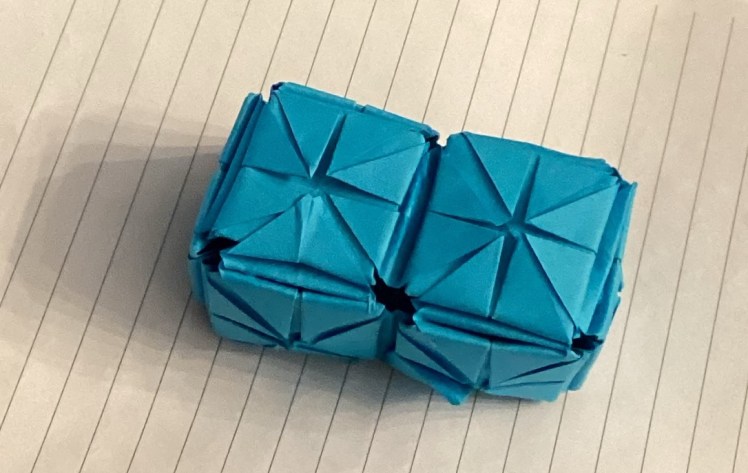
To begin your snake you will need to fold several body segments using the Pinwheel base as a starting place.
Next you will need to raise each of the four points of the Pinwheel up like a shark fin. Push down on the tops so they look like the picture above. Then you turn the fold over and fold the four corners to the center while letting the flaps from the underside pop out. It looks like this:

If you turn it over the underside should look like this:

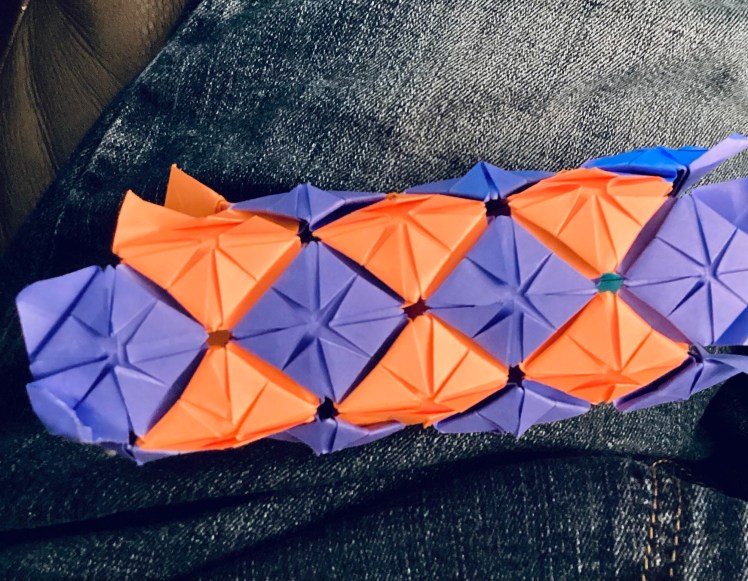
You can make as many of these as you like, the more you make the longer the snake.
Add just a tiny drop of glue between the units to hold them in their tucked position. Keep adding body units until you reach you desired length.

Heads or Tails or Both?
Now we need a head and a tail. To make a head choose a square of paper slightly larger than your body units. You will fold it in the same way as the body units and then add three more folds to shape the cheeks and nose.

The tail is the easiest part (unless you want to make a rattlesnake). Start with a rectangle as wide as the squares of paper you used to make your body units. Fold an airplane point on one end. On the same end, fold two more airplane points on top of the one you already made. This will make the tail long an slender. On the opposite end fold a single airplane point to make the flap that attaches to the body of the snake. Again, a small drop of glue will keep it attached.


If You Want to Make a Rattlesnake You will have to look at my blog on the Hexoflexagram. The rattle is just an unglued segment of the flexograms.
Here Is a Finished Rattlesnake:

Here Are Some More Snakes 

Add a Tongue and Eyes:
You can create a tongue with a small thin triangle of red paper. Slit it down the middle and curl the sharp end. Glue into the slot under the snake’s nose. You can either add eyes with a felt tip pen or cut out pieces of paper to form the eyes. You can also add “wiggle eyes” that you get from the craft store.
Snakes Are Often Feared But They Get a Bad Wrap!
It’s interesting to see people’s responses to snakes. Though these paper ones are less fearful, the real ones are often greatly feared. If you know the first mention of the snake in the Bible you get a little insight into this response. It’s interesting to see that mankind is responsible for the fearful aspects of this creature. Before the fall of man into sin the creatures were considered just another part if God’s wonderful creation. It was the result of Satan’s possession of the snake and man’s disobedience to God’s command that the snake, as well as all creation, was cursed. I look forward to the day when God removes the curse in the new creation. In the meantime, we can still enjoy observing and learning more about these beautiful creatures.
Wrap Your Paper Snake Around Your Neck or Arm:
Since the body naturally curls it will easily wrap around your neck or arm. Share your creation with others.
Now That’s a Wrap!
update
I have recently been experimenting with these units and have come up with some more ways to use them. Here are a couple:

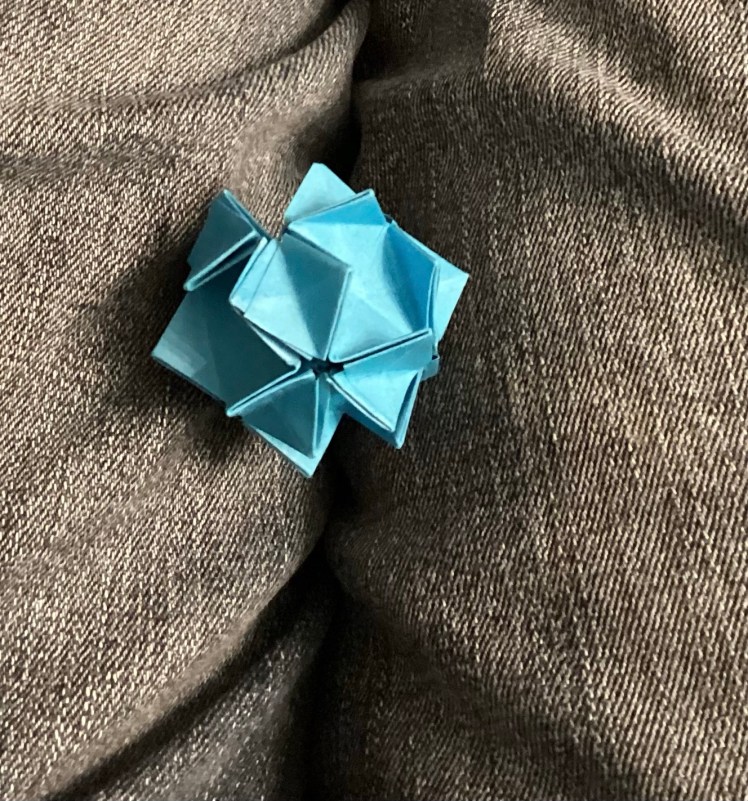
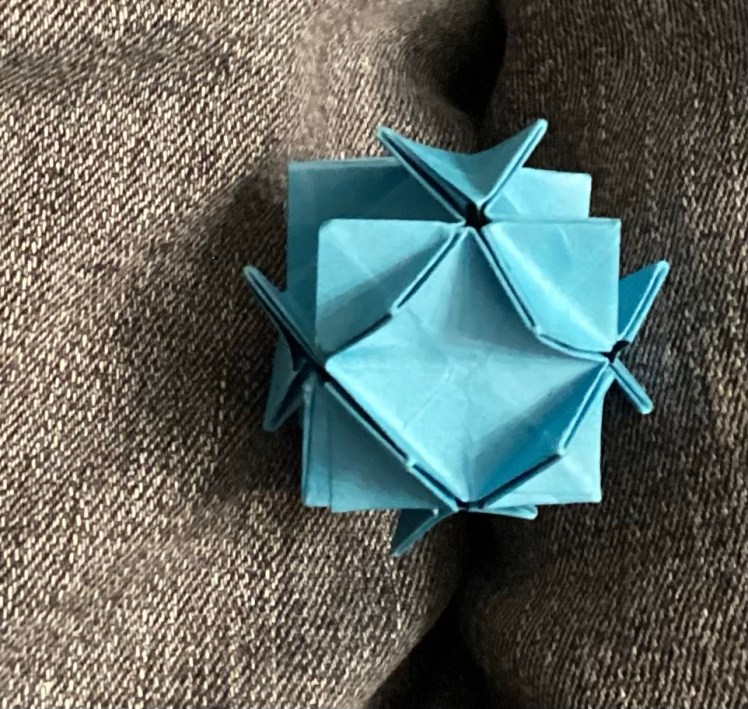
You can combine them with the flaps out or in for different looks.
Why not see what you can do with these units?
 The original model.
 Here was one of my first attempts. I made a smaller one and inserted it into the larger one to imitate an adult caring for its young.
 Here was another model.
 This model has a rounded belly.


 Repeat on the other side wing.


 Pop fold it in:


