Let’s Make a Turtle!

By Request:

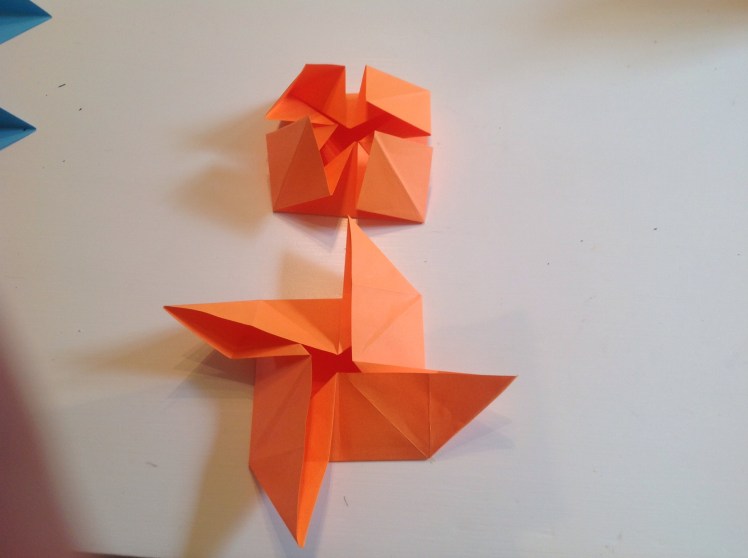
I recently posted pictures of my turtle sculptures on two Origami Facebook Group pages. After they were seen by many, a couple requested directions for making them. I had told the group where they could find the directions for folding the base units but not how they went together to make the completed turtle…..so……Here goes!

What You Need:

To make a turtle you will need two large squares to make the shell and six smaller squares to make the legs, neck and head, and one smaller square to make the tail. You need white glue, scissors, a holepunch and a bit of patience.

For each of the large and the six smaller squares you will be folding them into pinwheel bases. (If you don’t know how to fold the pinwheel base you can easily find it by looking on line. It is a traditional Origami base unit.)

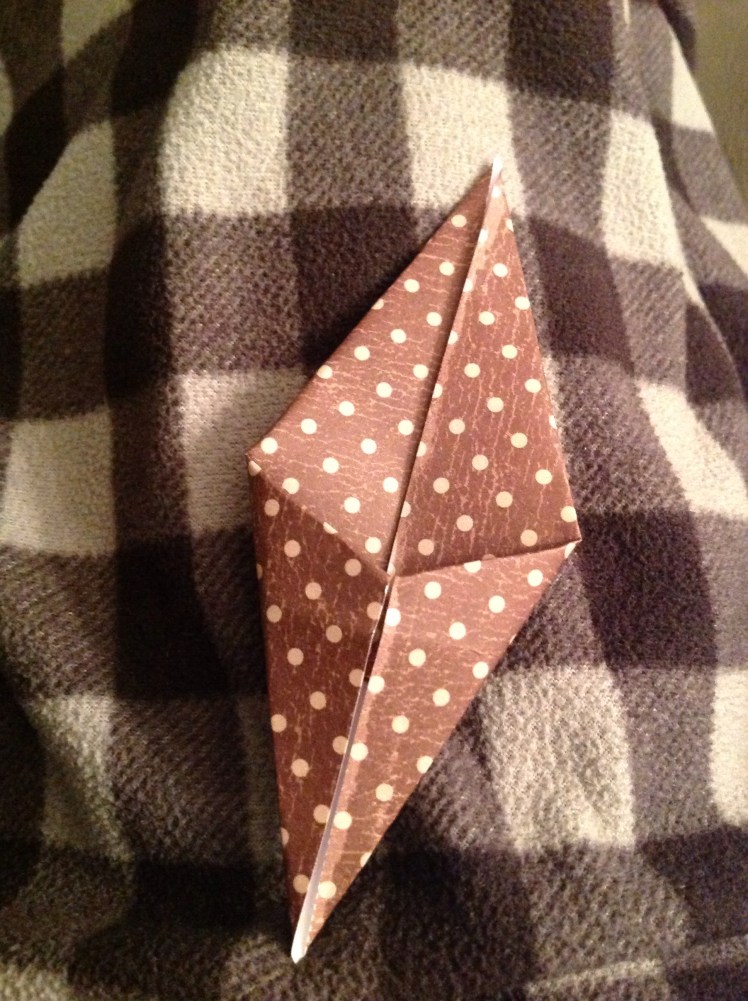
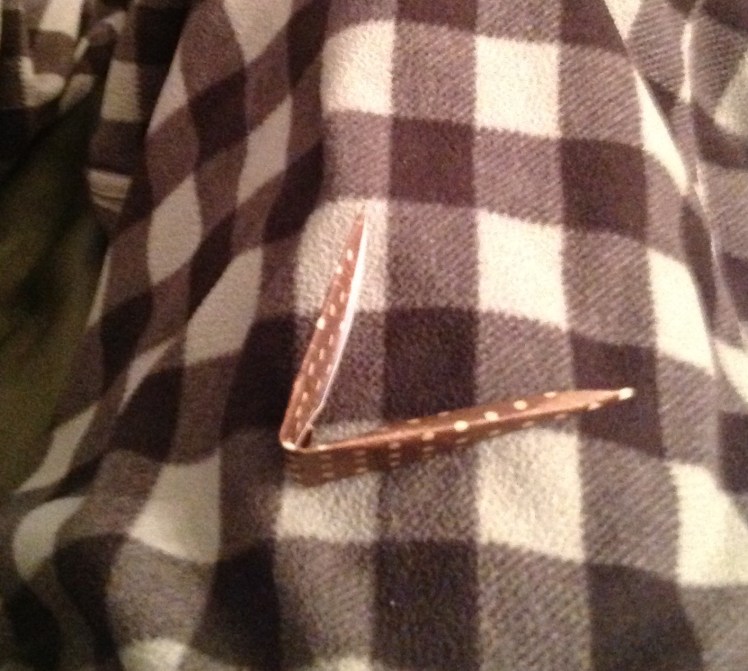
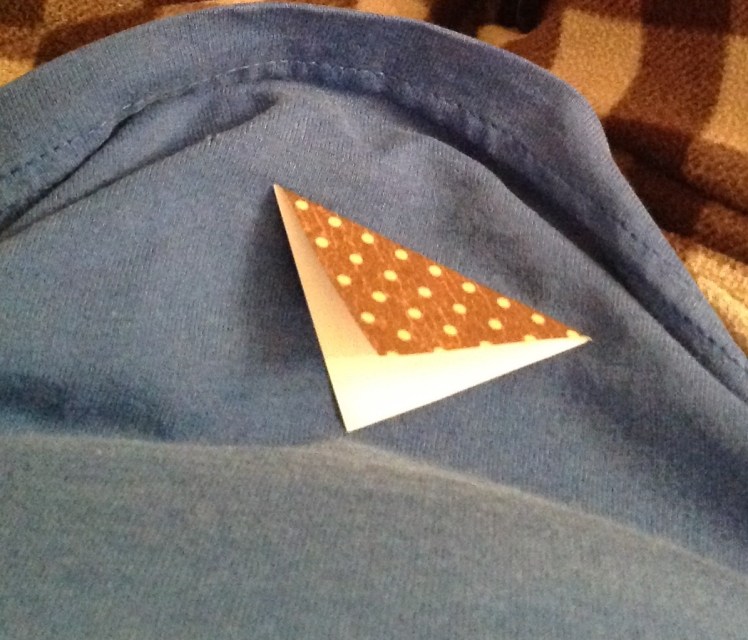
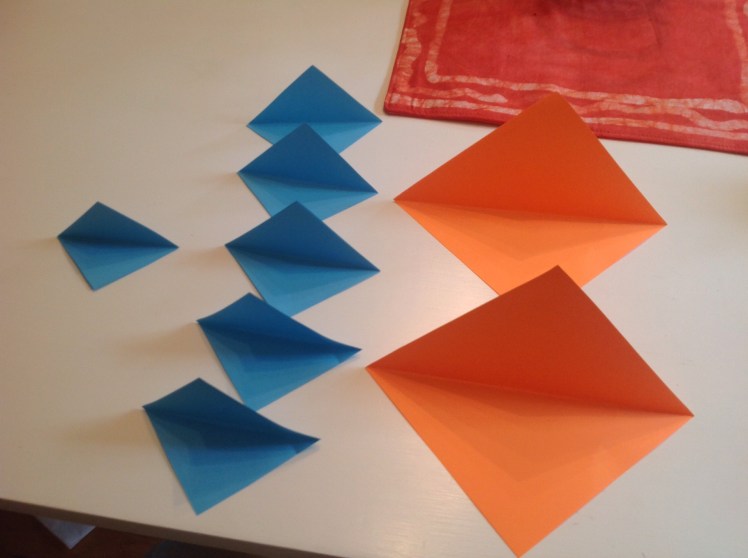
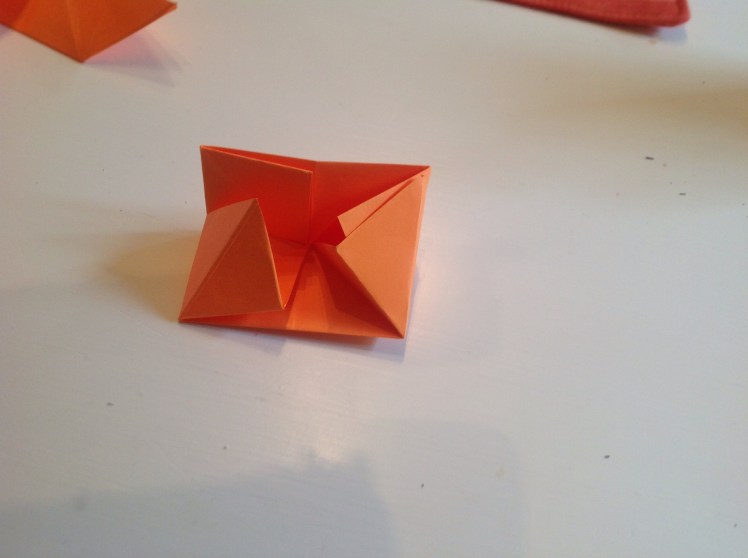
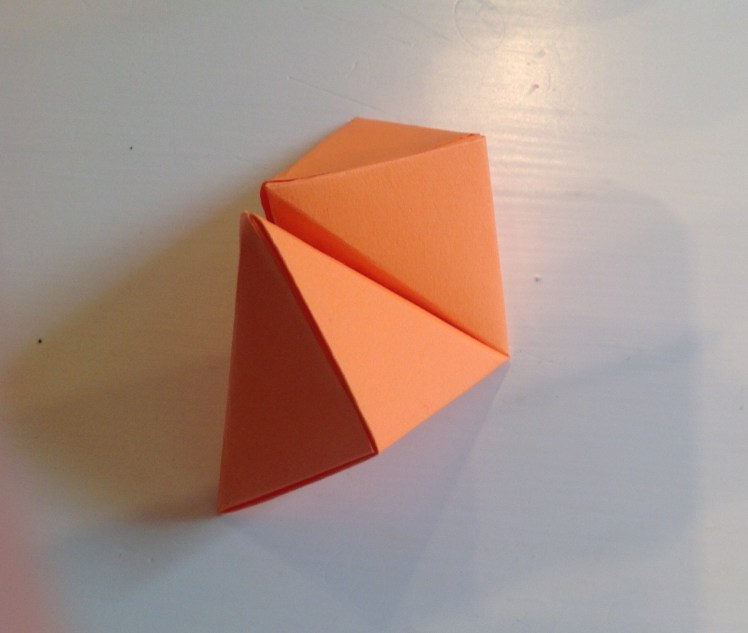
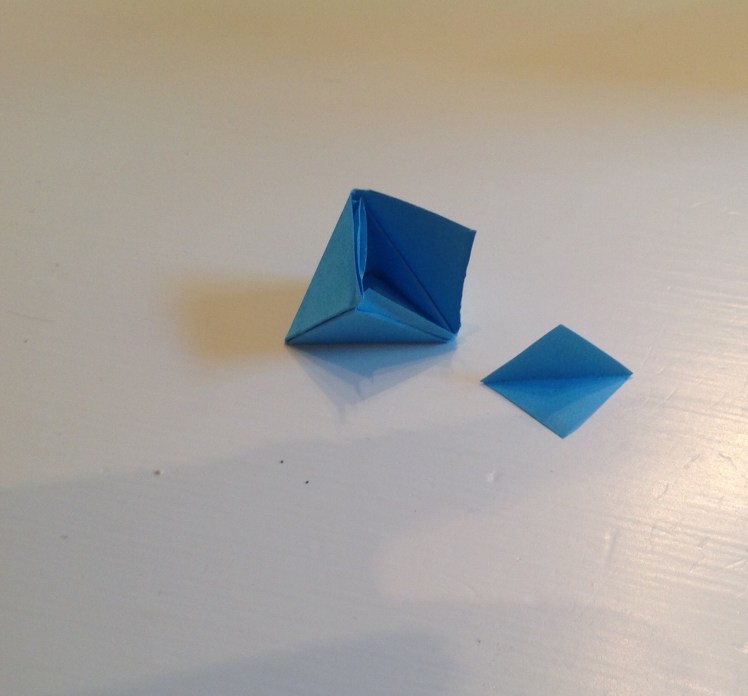
Raise and Squash the Points:

You will next have to fold the four points of the pinwheel up like a shark fin. Then push them down so that all the points face the middle as seen in the above picture.

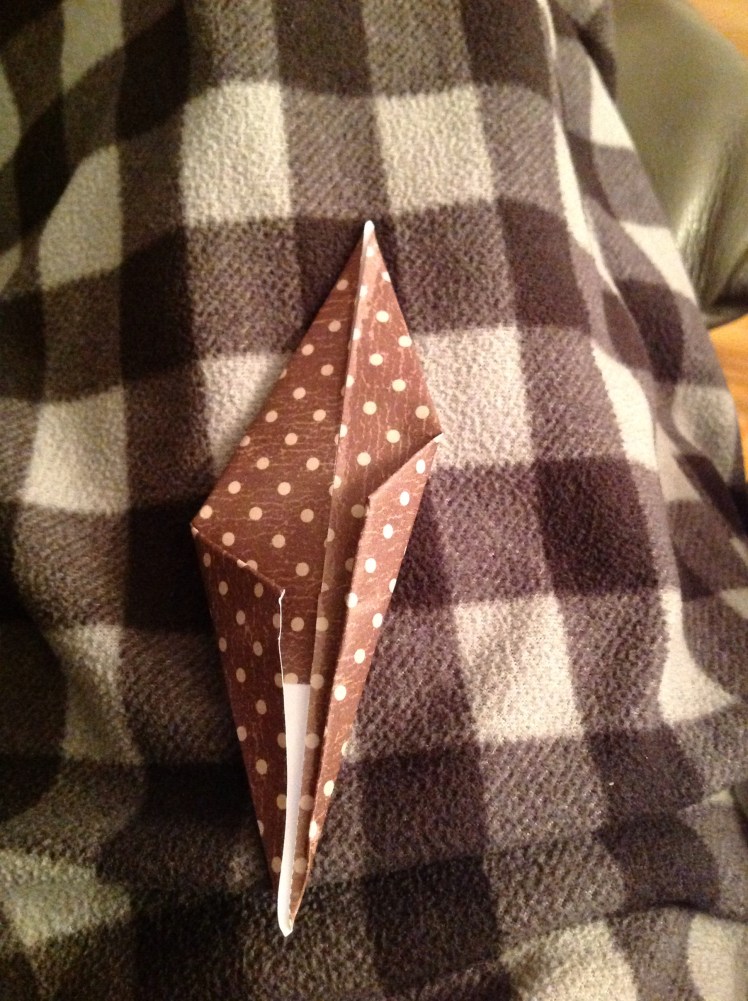
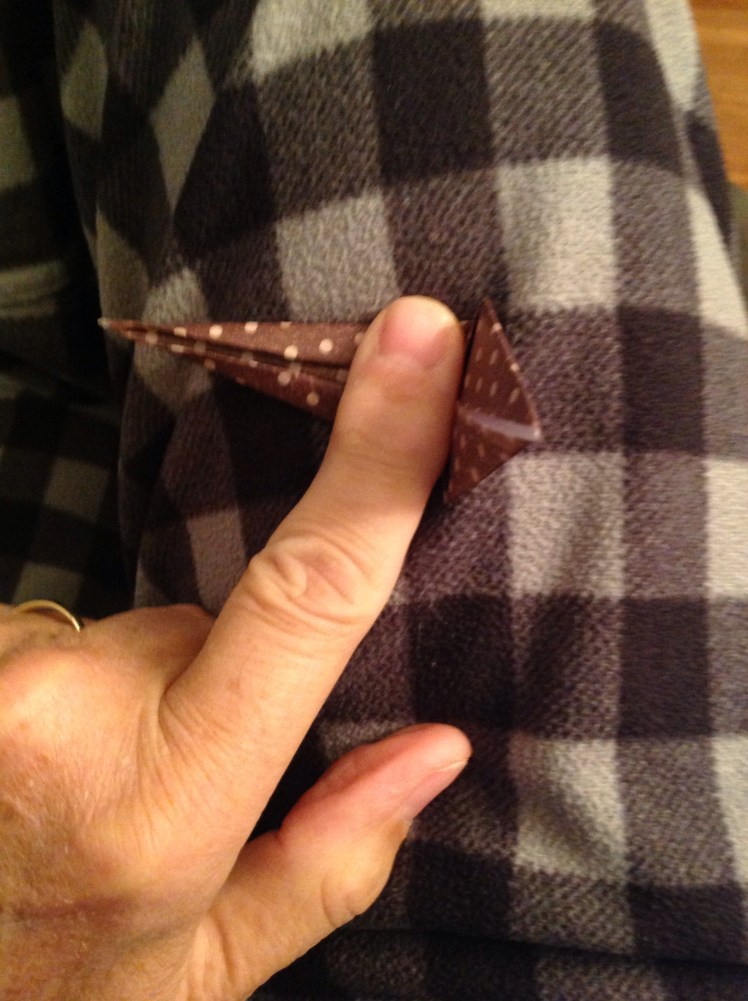
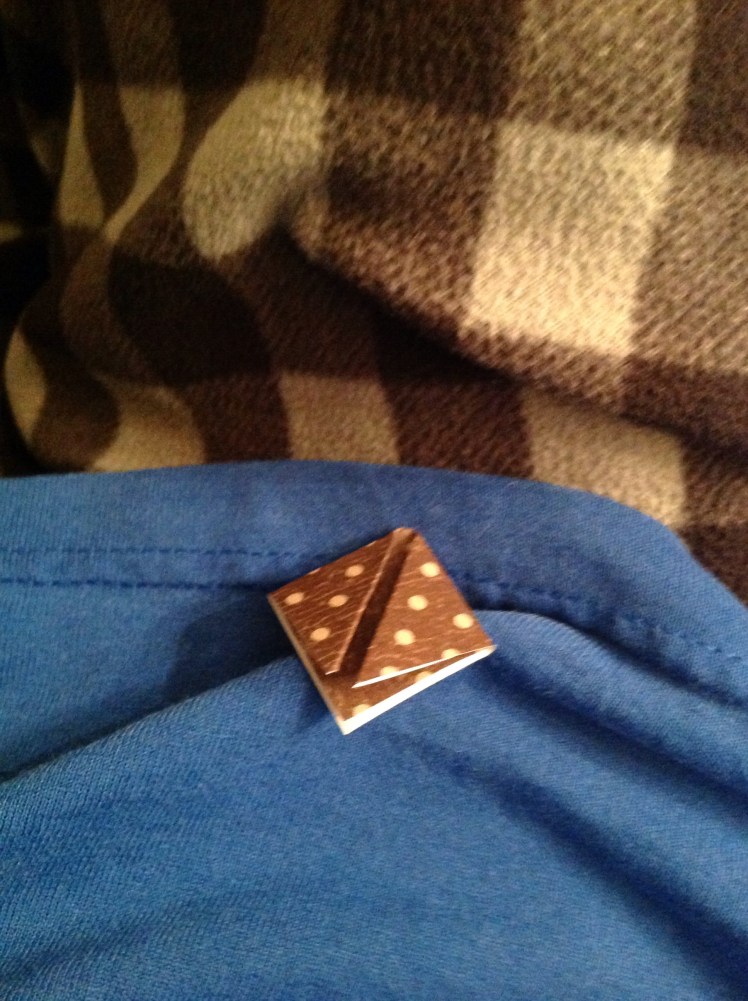
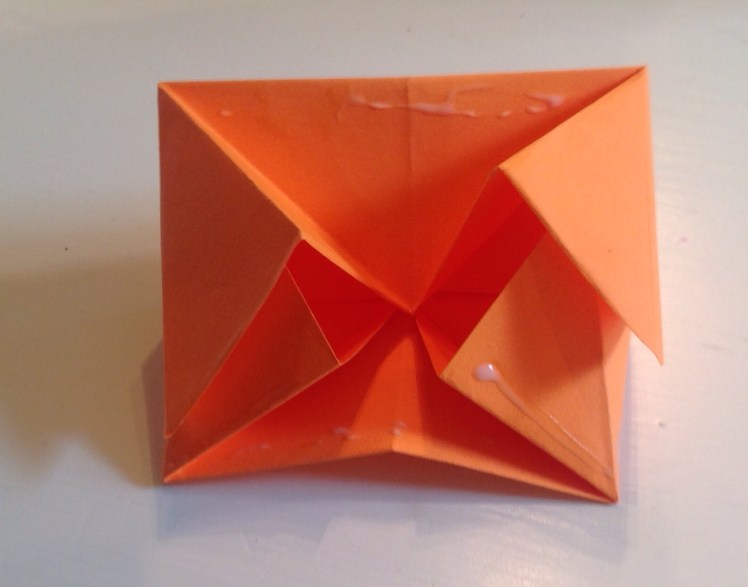
Next you will have to tuck one side of each pair under the one on the opposite side to form the Eco-Ball unit. (If you want to see this step more clearly you can find it in the Eco-ball post in this same section of my blog.)

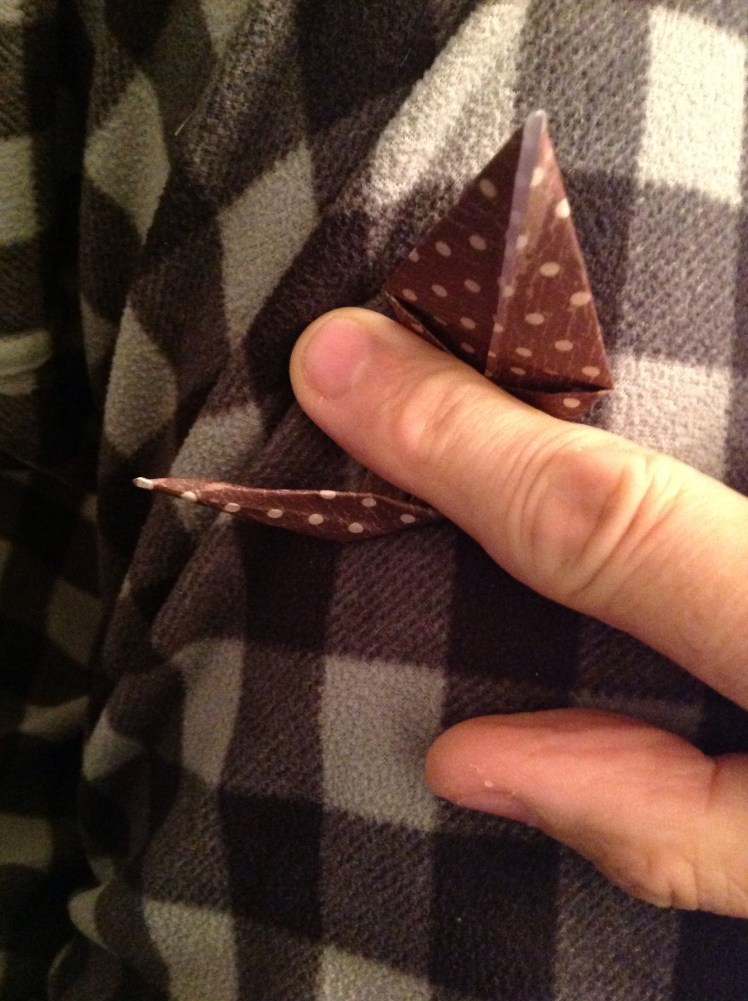
Hold It While the Glue Sets:

Now you will need to keep the edges together while the glue sets to make a solid unit.

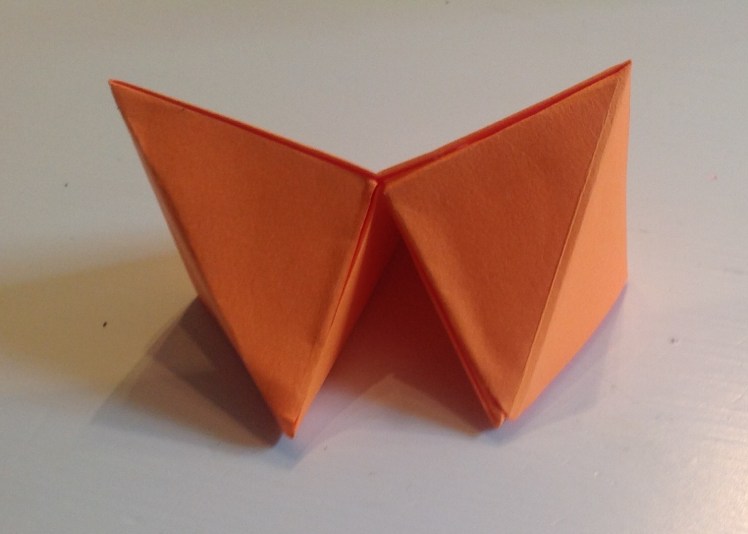
This forms the swivel unit. You will need two smaller swivel units later, but for now go ahead and add glue to hold one side of the unit together.

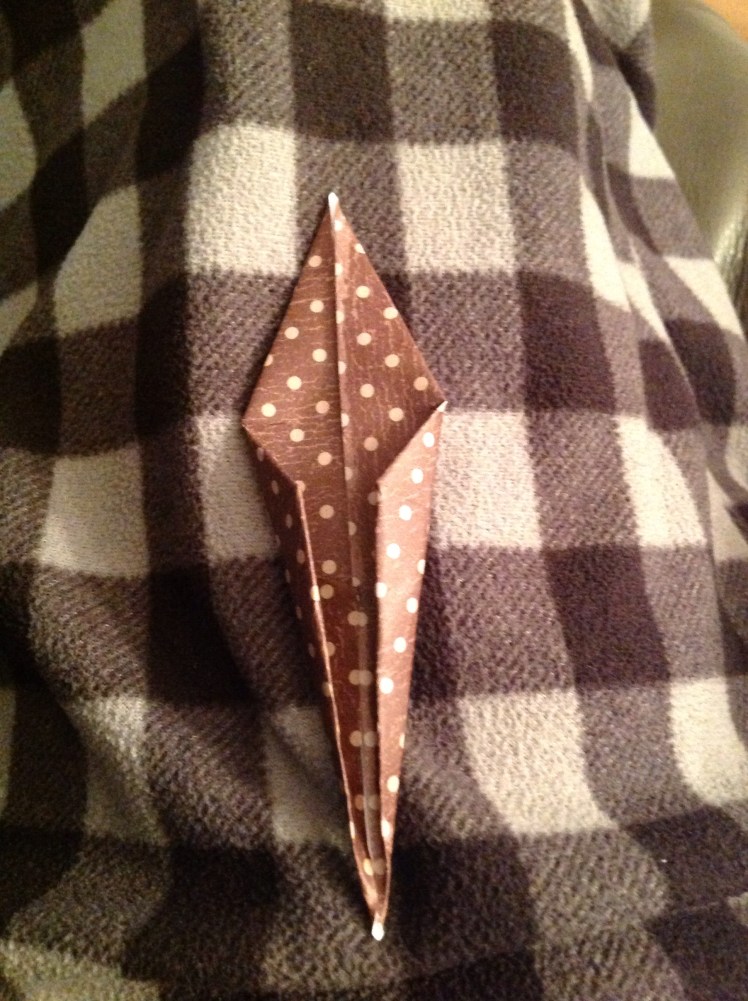
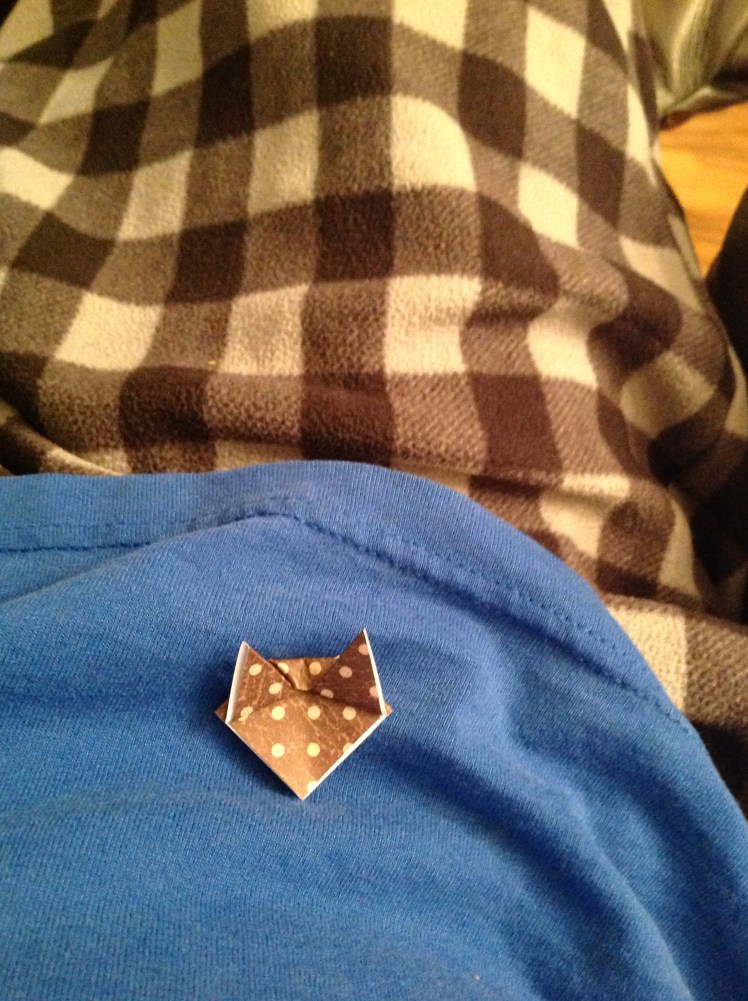
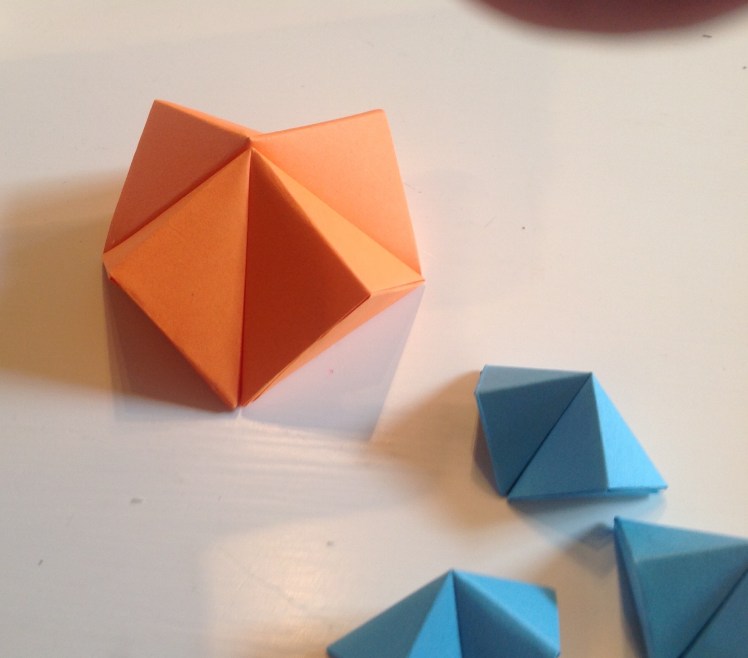
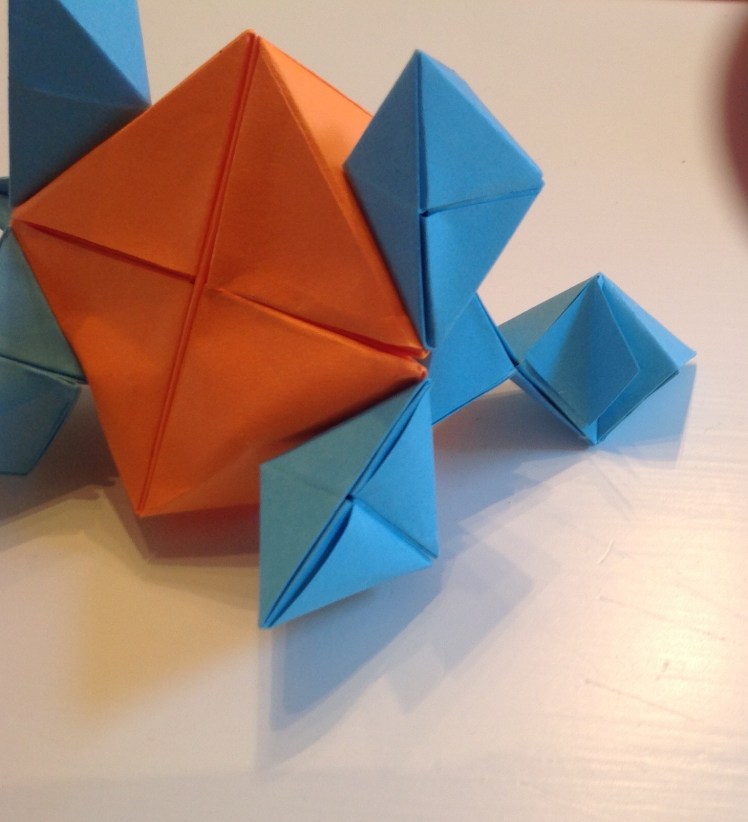
Two Plus Four Equals Six:

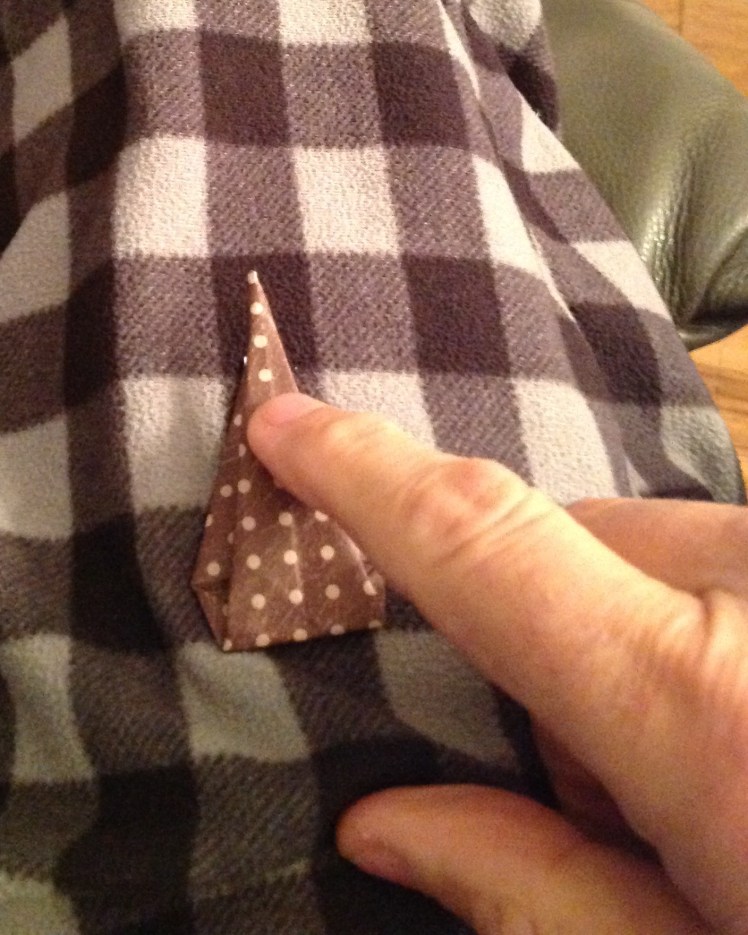
Yes, you will glue the two large units and four of the smaller units as directed above. You should still have two more smaller units. Fold and glue them just to the swivel stage.

So…How Do We Put It Together?:

Now that we have the base units we are ready to make the shell and add the legs, neck and head.
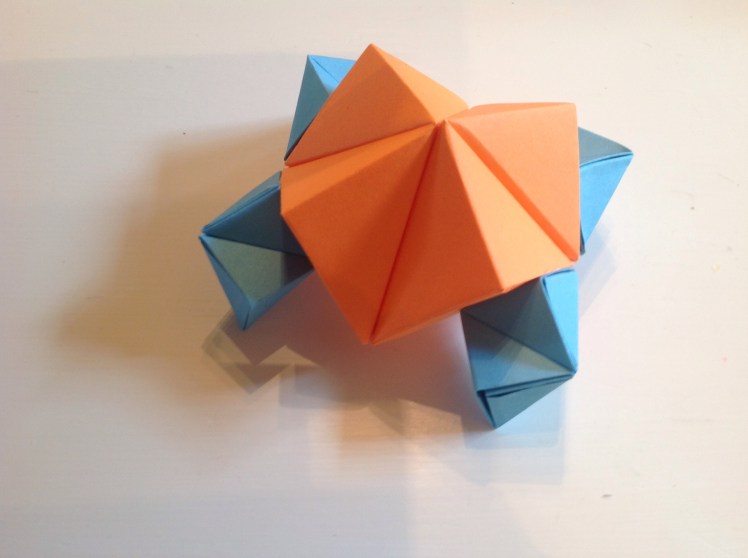
The Shell:

Glue the two large units together to form the shell

Hint: It is easiest to glue the two smooth surfaces together on this step.
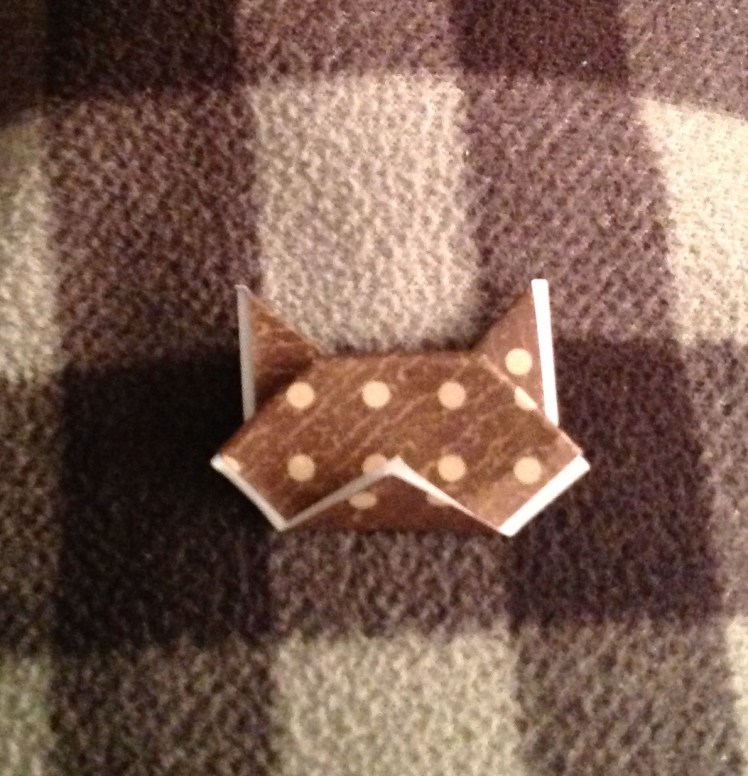
Add the Legs:

Look at the next picture to see where to glue and how to align the legs in relation to the body.

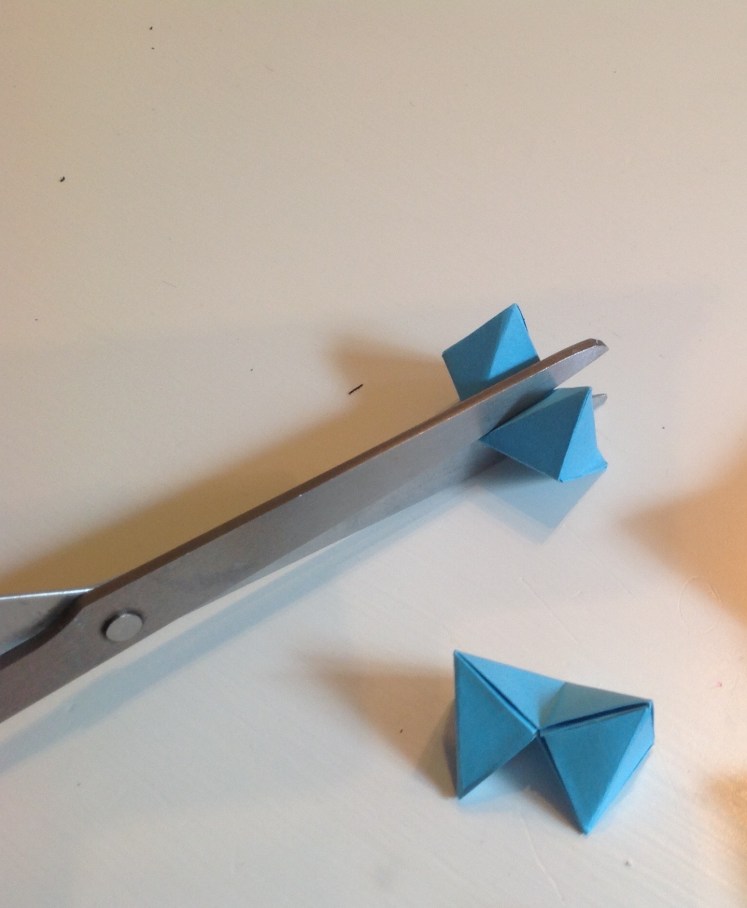
And Now the Neck and Head:

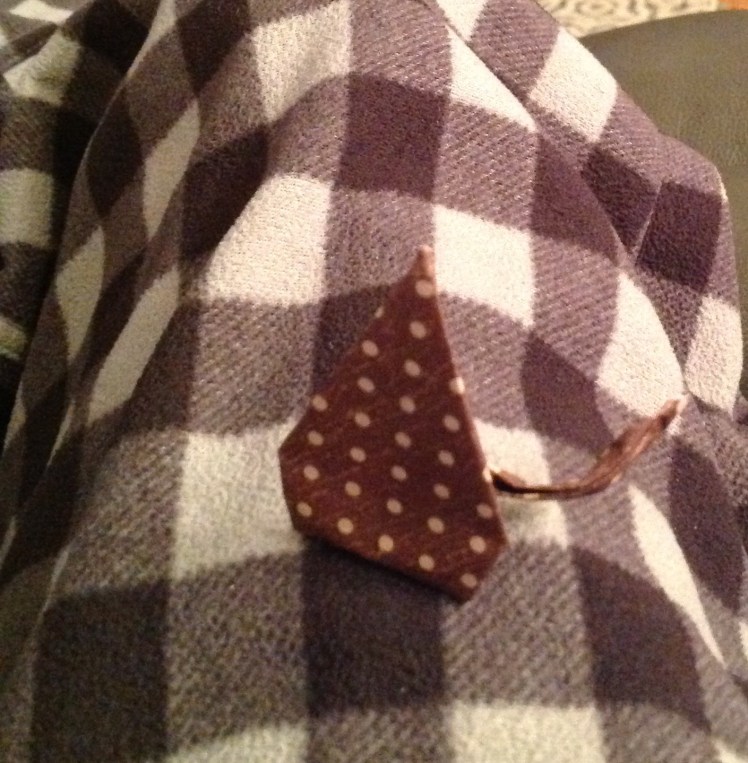
Take one of the small swivel units to use for the neck. You will then have to cut the other swivel unit in half to use as the head,

Glue the head to the neck.

Do You Want a Jaw?

If you want your turtle to be able go open his mouth you can add a jaw. Take the remaining half of the swivel unit and cut off one of the squares on the surface.

Glue the jaw to the bottom of the head as shown in the following picture.
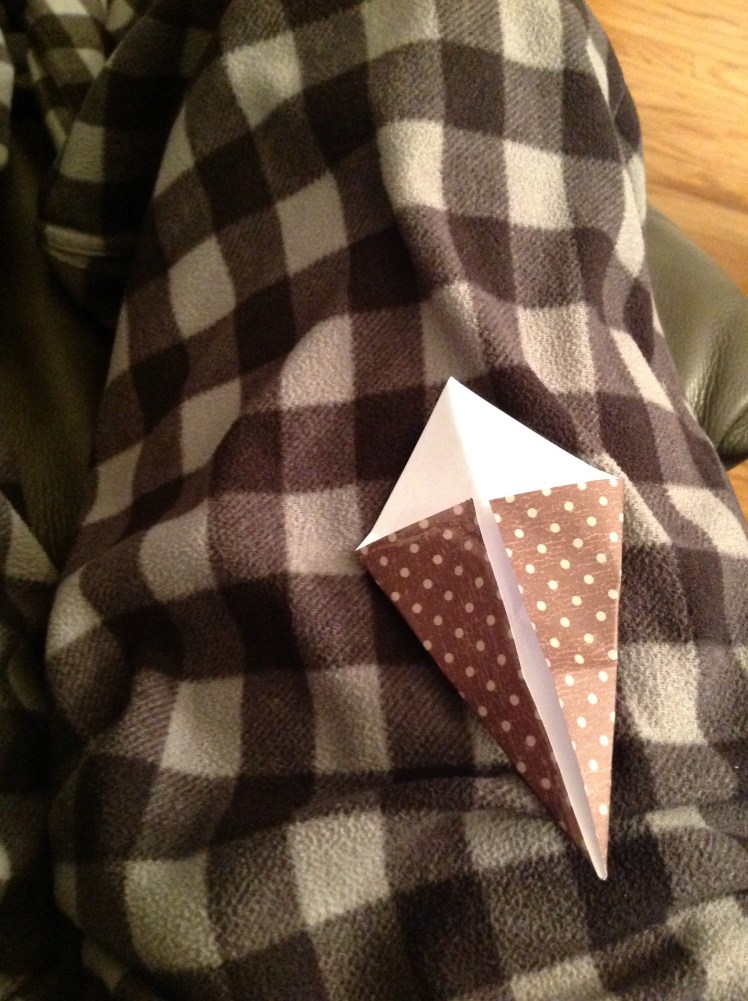
Finally the Tail:

To make the tail unit you will use the smallest square. Place it like a diamond and fold an airplane Point on one end. Open the paper and fold another airplane point on the opposite end. Now bend the unit in half. Pinch up the two middle triangles as shown below.

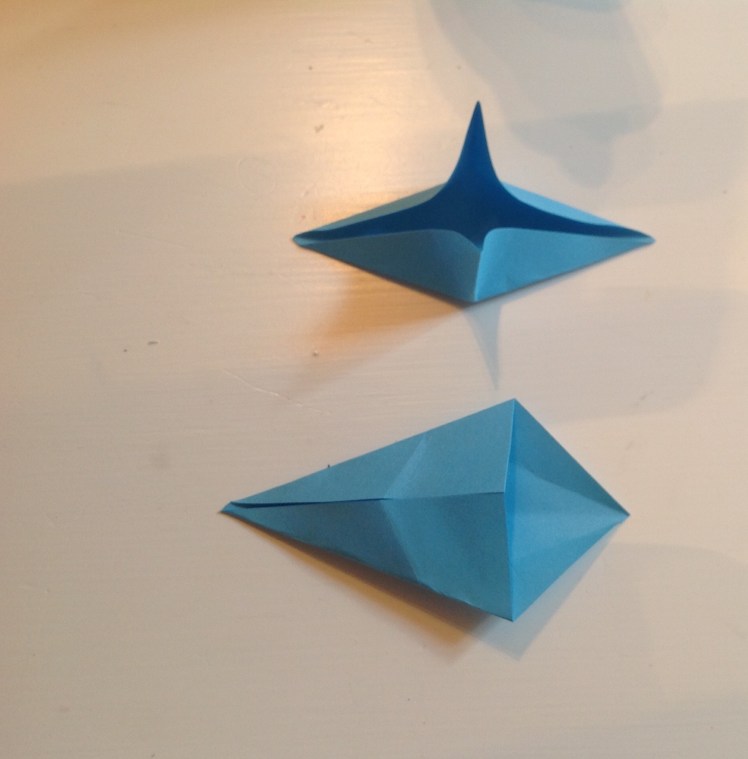
Add a couple drops of glue to hold the middle together and you have the tail.

Add glue to one end of the tail all the way to the middle putting the glue on the outside edges. Flip it over and place it as shown below. You will have to hold it while it dries.

It’s Time to Add Some Extras:

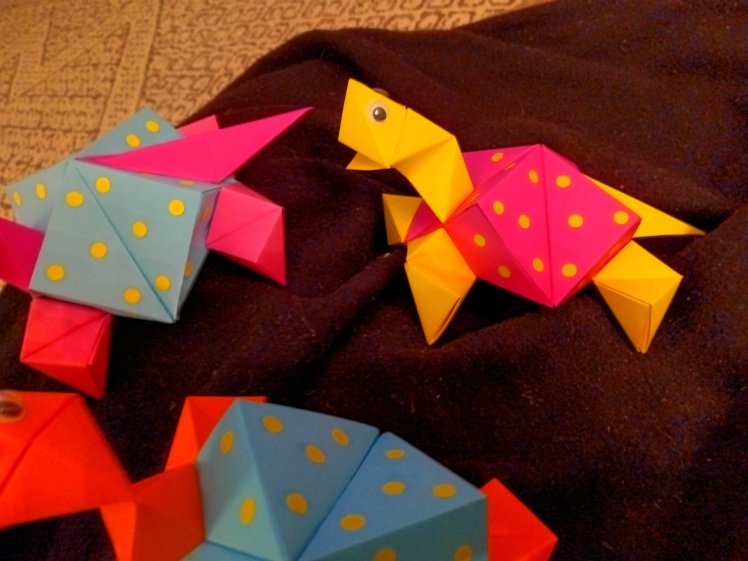
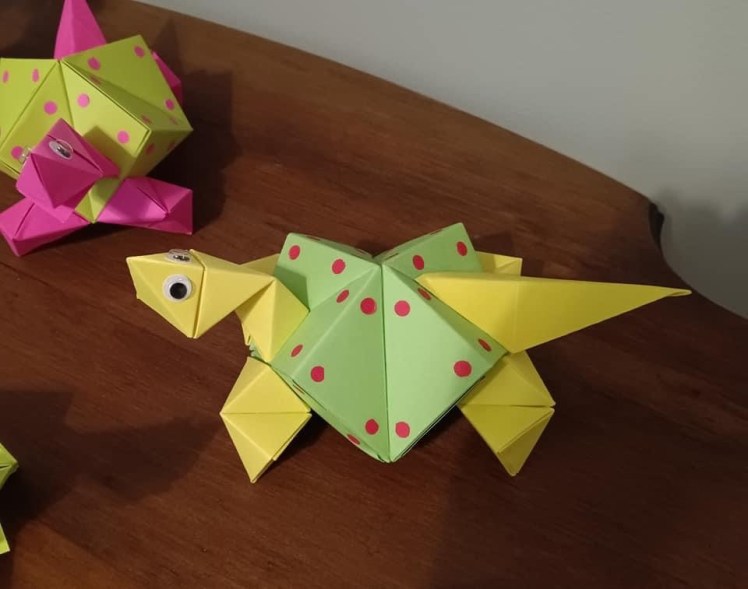
Now that you have your turtle you need to decide how to decorate it. It obviously needs some eyes. I like to add wiggle eyes that you can get from your local craft store. To decorate the shell you can use a hole punch to punch out a bunch of dots. Glue these to the shell to create an interesting pattern, be creative and make your own design.

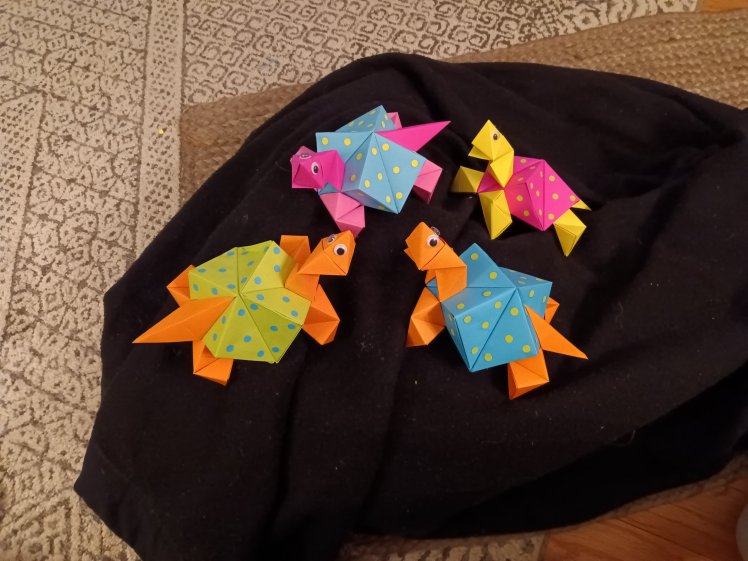
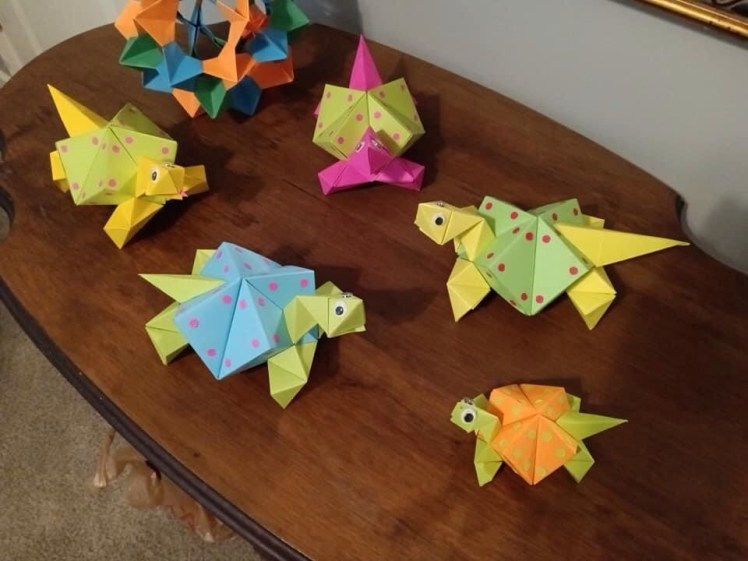
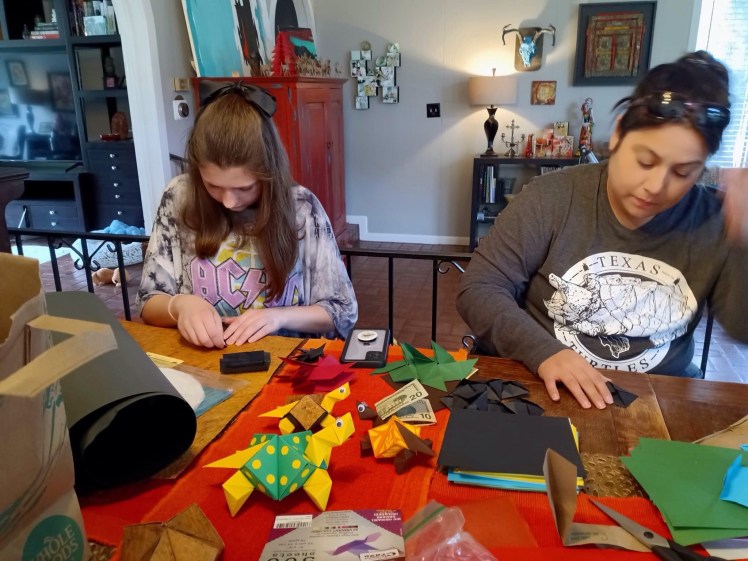
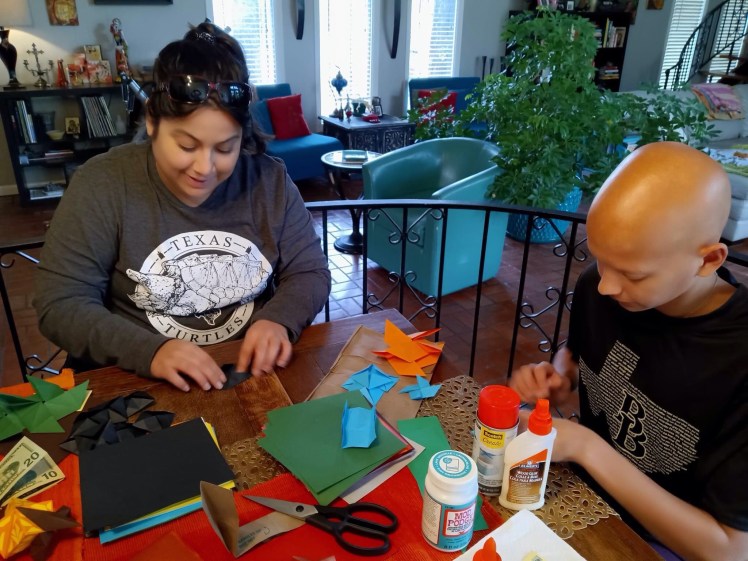
Below are three turtle lovers from Texas Turtles making their own origami turtles. It’s fun doing Origami with friends.

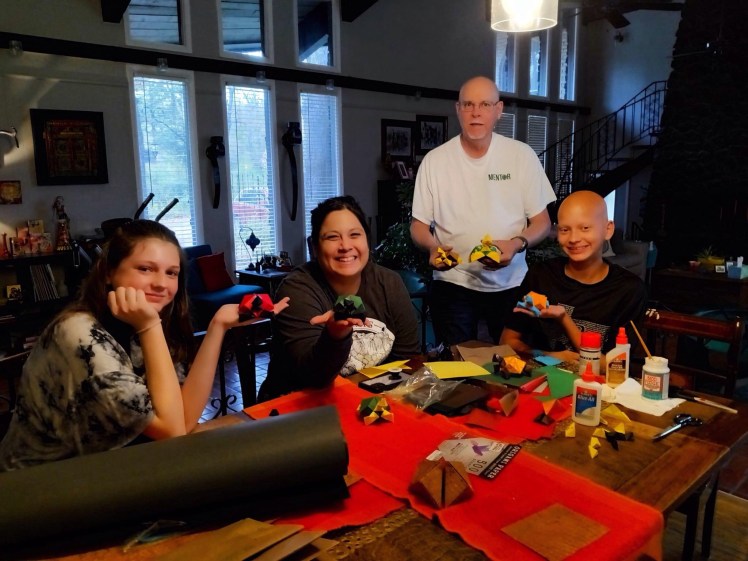
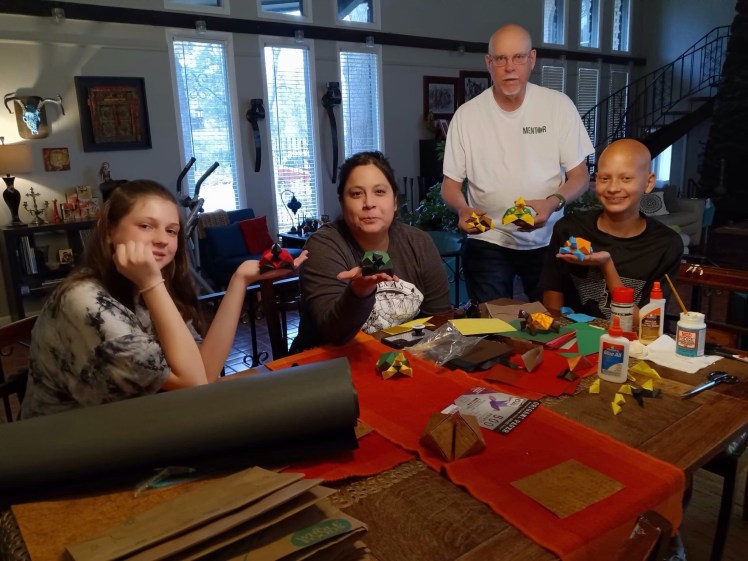
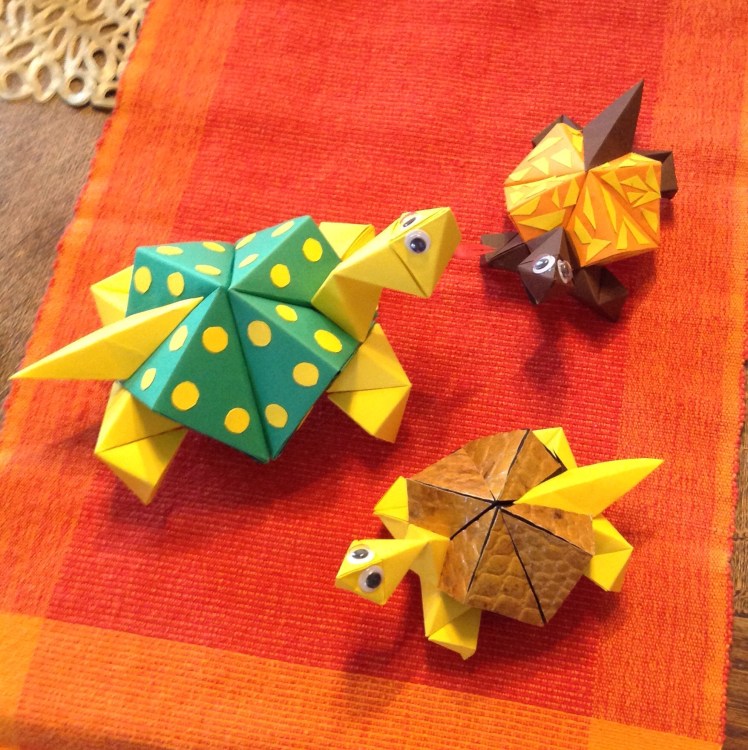
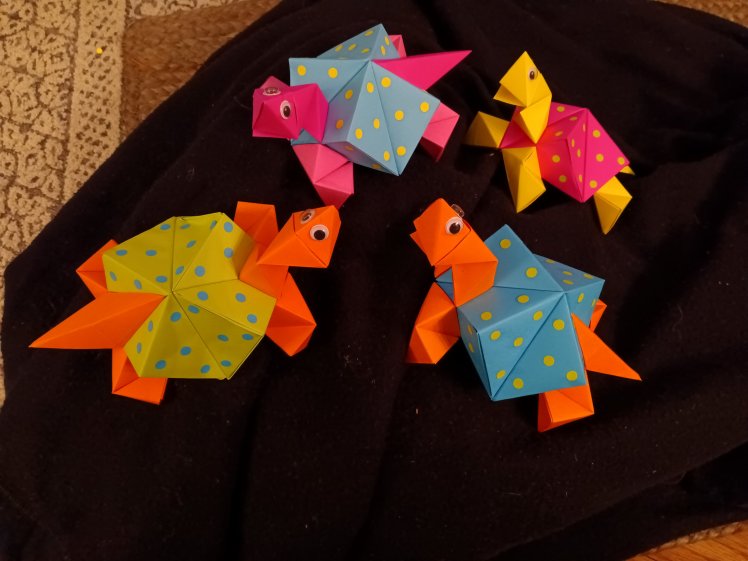
These colorful turtles pictured above were made by my friend Viviana after I taught her how to make them.

So Many Patterns:

Turtles are very interesting creatures. I often catch them while fishing and have seen so many different kinds and different patterns on their shells and bodies. If you want to see several kinds if turtles you can find pictures in several of my earlier blog posts. You can also find pictures in books and on-line. You can try to mimic real turtle patterns while decorating your paper turtles. As you look at the many kinds of turtles consider the evidence of design. The beauty of these creatures required an intelligent Designer. When God created turtles He must have had those of us who love turtles in mind. Thank God for turtles and all the other creatures He created for us to enjoy.

Let’s Fold Some Bobblehead Cats

Are You A Cat Person?

Many people love cats. I have had a few as pets and many of my friends have them. Personally I prefer other pets that don’t shed fur all over the place. But that’s just me. One kind of cat that I don’t mind having around is one made out of paper. Would you like to learn how to make an Origami bobblehead cat? If so, here is what you need:

Get a sheet of two sided paper. Be sure one side is white. Most Origami paper comes this way. You will need two squares of paper. You can decide how big of a cat you want to make by the size of the squares of paper you choose. A good size to start with is one 6 inch square. Your second square should be one fourth the size of the first one.

Let’s Begin With The Body:

Turn the paper so it looks like a diamond and fold an airplane Point at the bottom.

Repeat at the top so it overlaps the bottom.

Let’s fold the thicker end skinnier so it will add weight to the bottom and represent a narrow tail. Just make another airplane Point to reduce its size.

Form the Body and Tail:

Next fold up the tail section so it goes up higher than the larger end.

Above is a side view.

Let Your Finger Be Your Guide:

Place your finger up against the body portion and then fold the tail portion parallel to your finger.

Next, let’s fold the tail in half again to make it even skinnier.

Give Your Cat Some Character!:

Wrap the end of the tail around your finger so it looks like the cat is waving its tail.

Now We Need A Head.

Take your smaller square and begin with the white side up in the diamond position. Fold the top down to the bottom.

Fold the right hand side to the bottom and repeat on the left.

Fold down the top just a little ways to form the top of the head.

Then fold up the ears on the left and right side so they extend beyond the top of the head. You should fold them so they go tight against the sides of the triangle at the top of the head.

Turn the paper over. Next fold up the bottom chin portion about three quarters the distance from the top. Tuck the back portion inside the head and then fold down just the top part of the white triangle to form the nose.

Bend the ears forward against the sides of the head. Next, open the ears with your finger so the white inside shows.

Some Assembly Required:

Now that you have made the two parts of the cat it’s time to put them together. Before placing the head on the neck it’s best to bend the two cheek portions away from you so the middle crease stands out. Then place the head on the body. Notice that there is a slot on the back between the ears in which to insert the neck. You can bend the head to any position you want to give the cat the desired look. If you make smaller versions they can be kittens. Usually kittens have bigger heads than adults in relation to their body size.

You Can Use A Penny to Balance Your Cat.

Interestingly we discovered that the cats have a tendency to fall forward. There are two ways to prevent this. One is to bend the body backwards at an angle. The other is to slip a penny inside the base of the cat. If that doesn’t work, you can also glue them to a piece of cardstock or a box top.

Add A Message:

It is fun to make several cats and give them away to friends. To make it better add a message like: “You are the cat’s meow.” Or...”You Are A Prrrr…fect Friend.” I’m sure you can think of even better messages.

Make It Better!:

Interestingly this Origami project was made from another. I once found directions for folding a cat in a book I checked out of the library. I liked the head but I thought the body portion could be improved, so I created my own. Don’t be afraid of experimenting with Origami models. That is how many new folds were discovered. Modifying a basic pattern can lead to many interesting creations.

Evidence of Design:

Just look at God’s creation and notice the variety that can come from a basic design. Take birds as an example. Some birds have longer legs and longer beaks than others but they are still birds. When God created the various species He gave each just what it would need for where it lives and what it eats. Design has function. No matter where you look in God’s creation you can see evidence of intentional design.

Made for a Purpose:

Every time I see something that someone has created I think of just why it was made. Have you ever thought of yourself as a work of art created by a master designer? In the Book of Psalms in the Bible King David pondered this question and came to a conclusion. He said,

“I will praise You because I am fearfully and wonderfully made; Your works are wonderful, I know that full well.”

You can read the rest of his conclusions in Psalm 139. I hope you have come to the same conclusions when you look at yourself in the mirror. God created you for a purpose. He designed you so you could come to know Him and enjoy fellowship with Him through the gift of His only Son, Jesus Christ.