Let’s Make An Origami Lock-Box

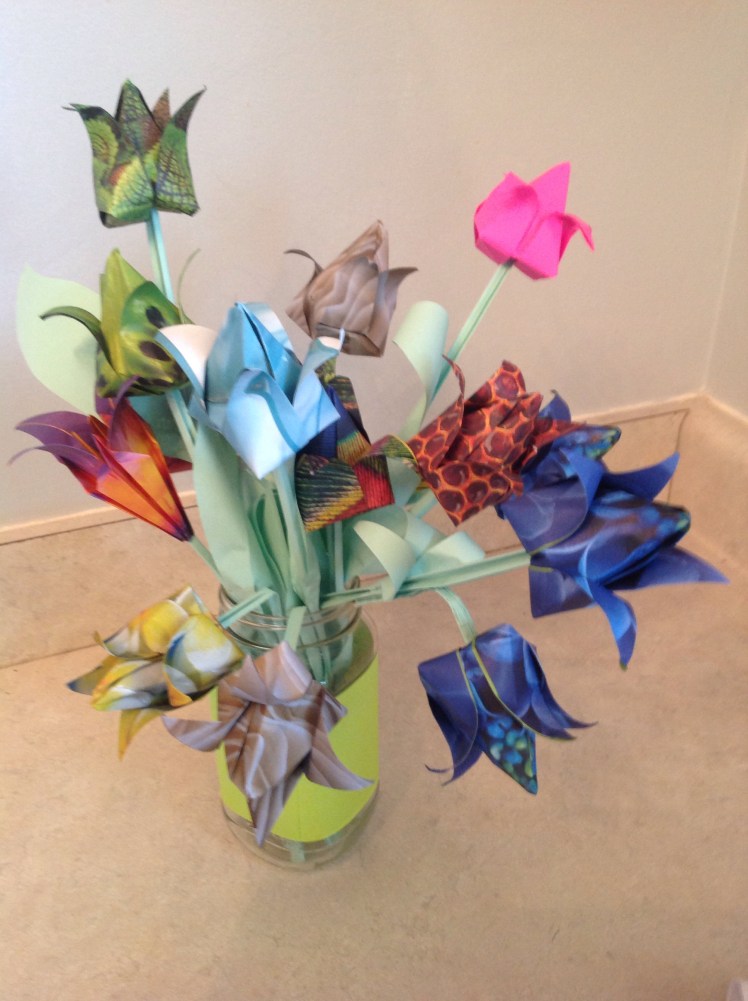
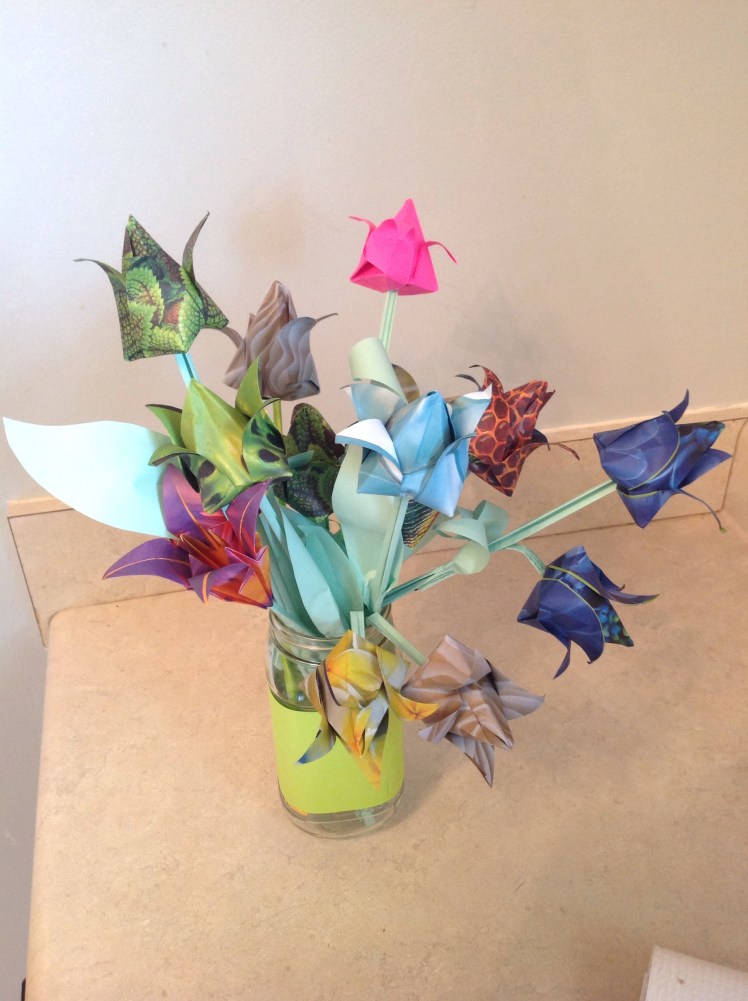
Have you ever needed a small gift box? In this project you will learn how to make your own lock-boxes.

This blog was especially created for my Granddaughter who made several of these at one of our family gatherings. It has been awhile since I showed her how to fold and cut them so she asked if I could show it to her again, so here goes. You might remember seeing her in my earlier post where we worked together folding origami cranes for a wedding. We thought you might enjoy this too!

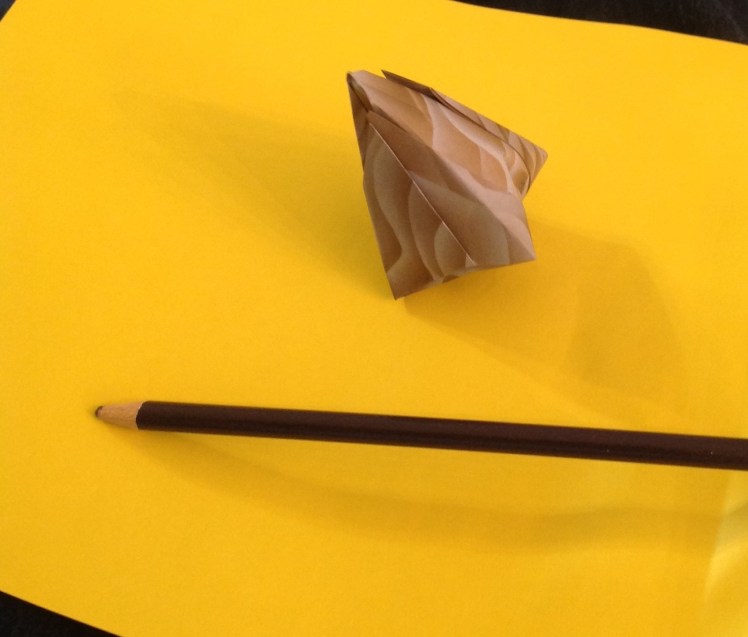
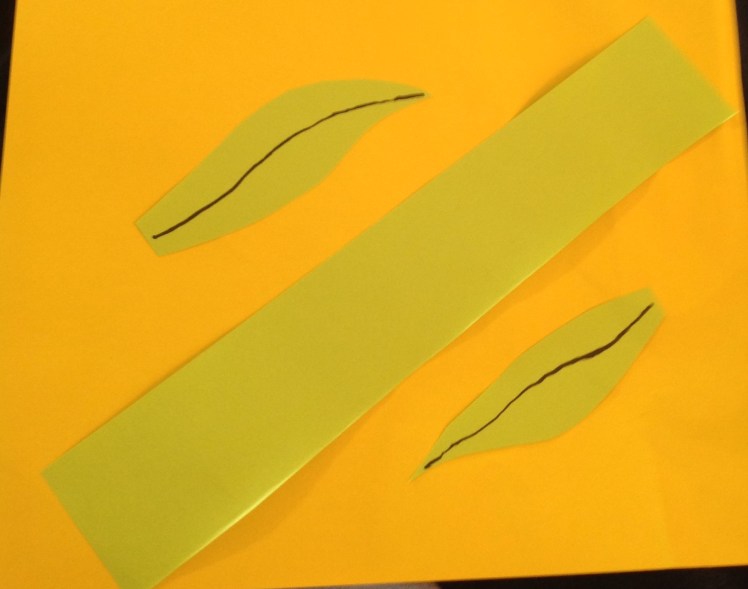
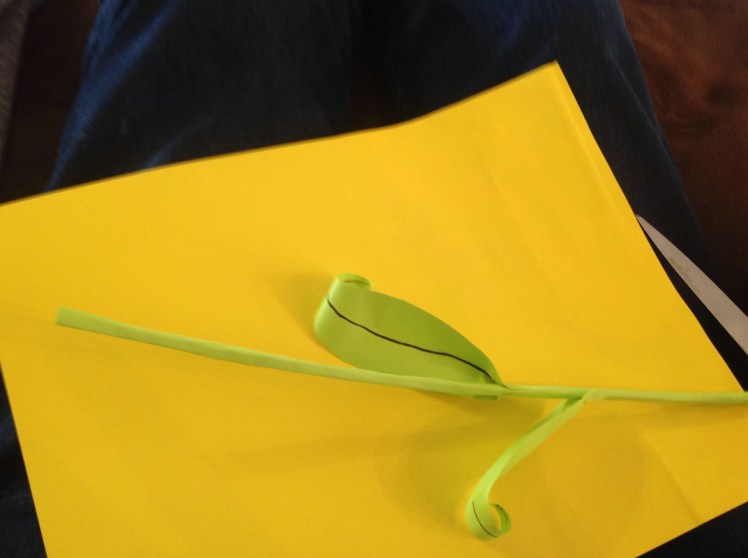
To begin this project you will need a pair of scissors, a pencil or pen, and a sheet of colorful copy paper. ( Note: For a stronger box you can use a sheet of card stock.)

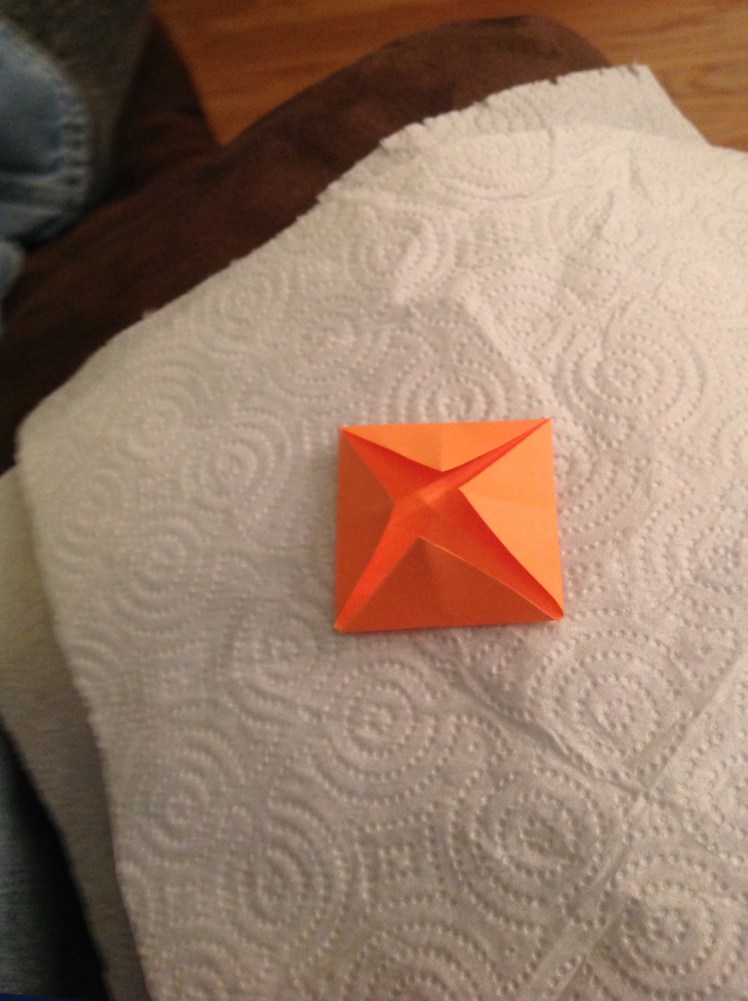
The first step is to start with a square. Next you will fold an X on one side of the paper and a cross on the other. This forms a water balloon base.

Next you will Blintz the paper by folding the four corners to the center.

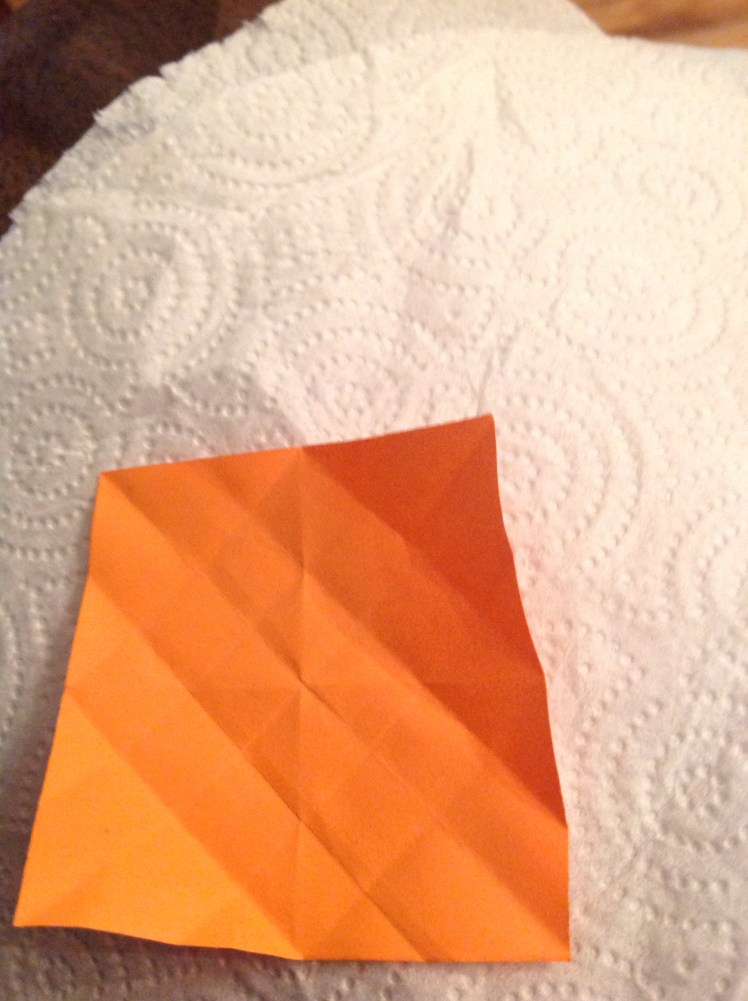
Then open up the paper and check that it looks like this:

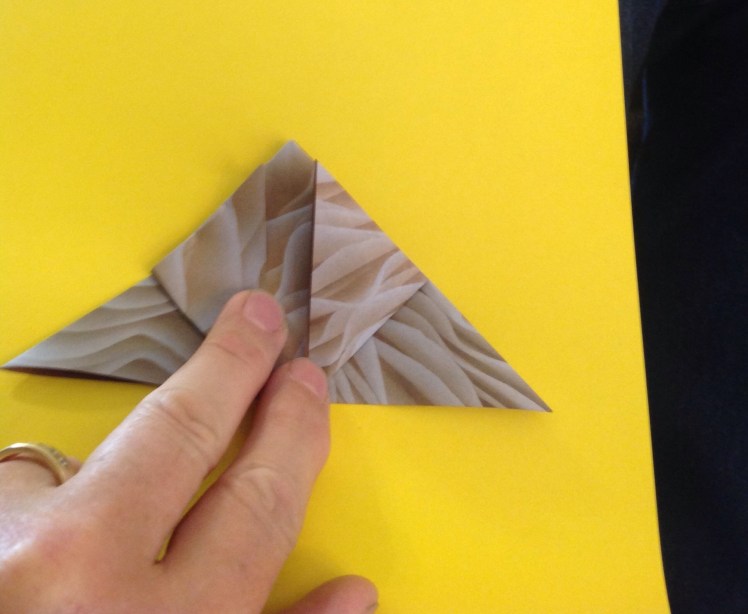
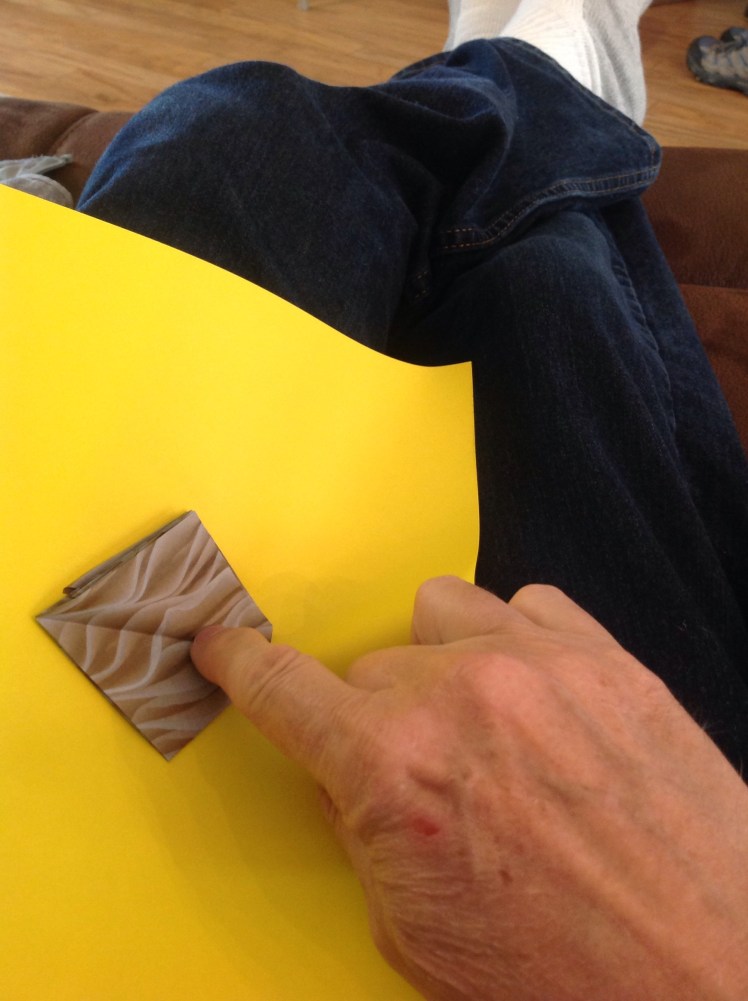
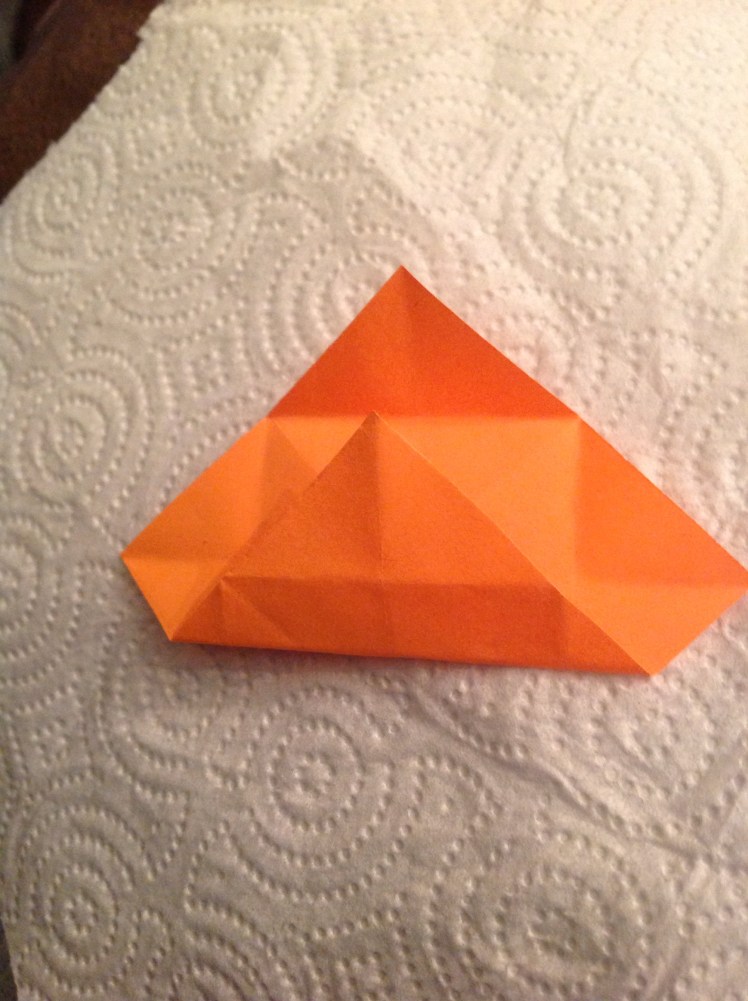
Then take the closest corner of the paper and fold it across to the top horizontal crease.

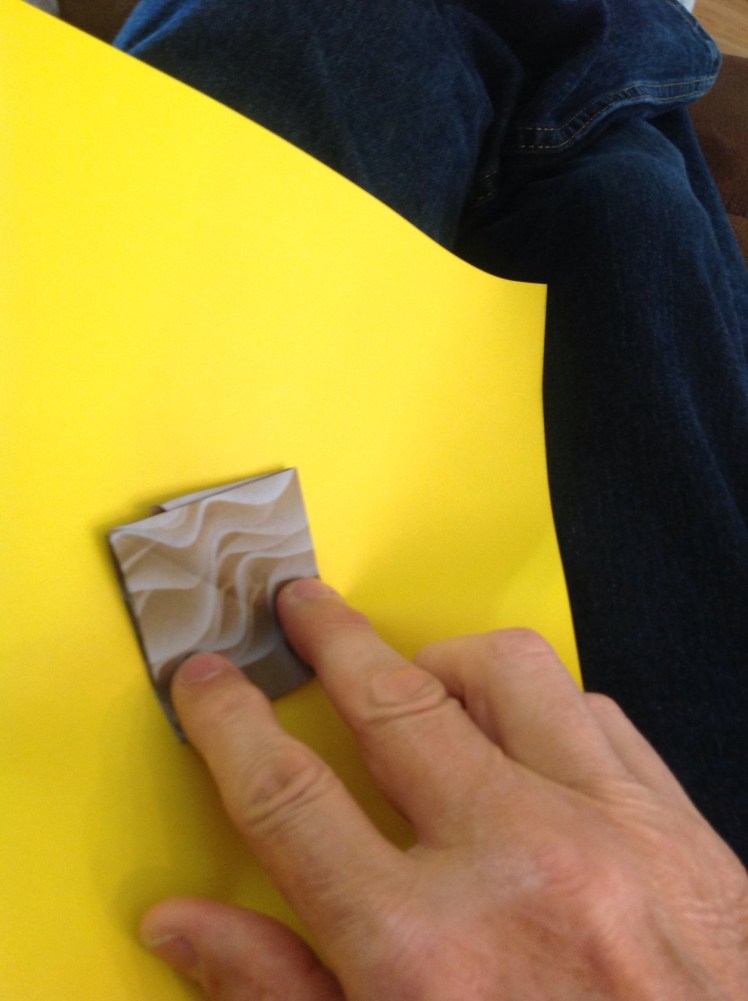
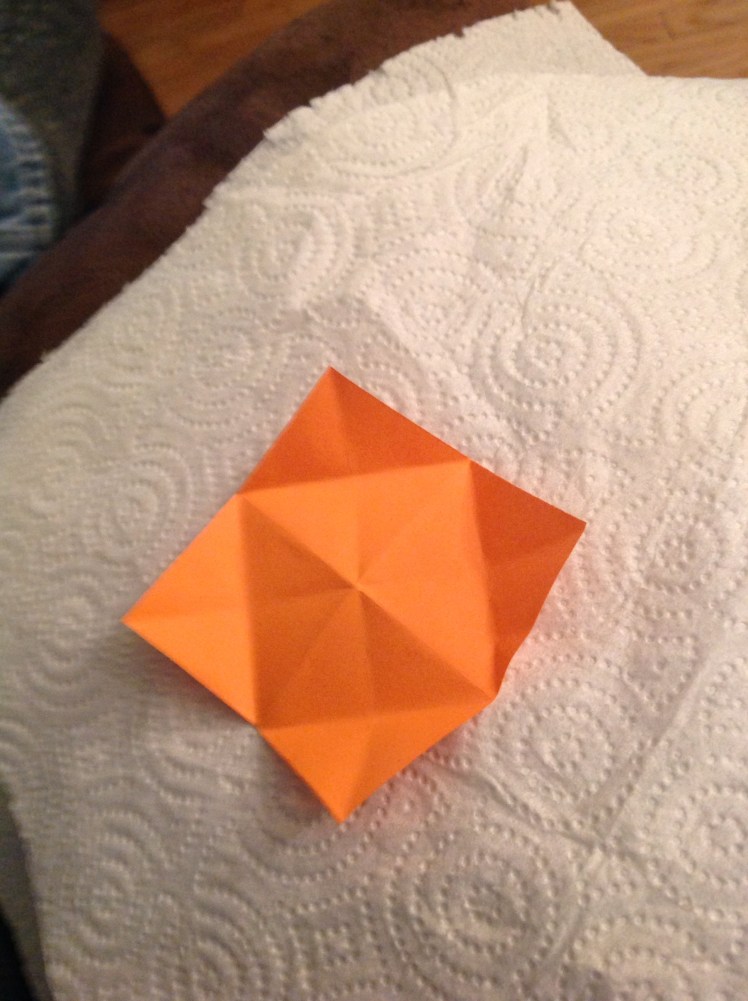
Repeat this same fold on the other three points. If you have folded correctly, you should find 16 boxes in the crease pattern in the center of the paper.

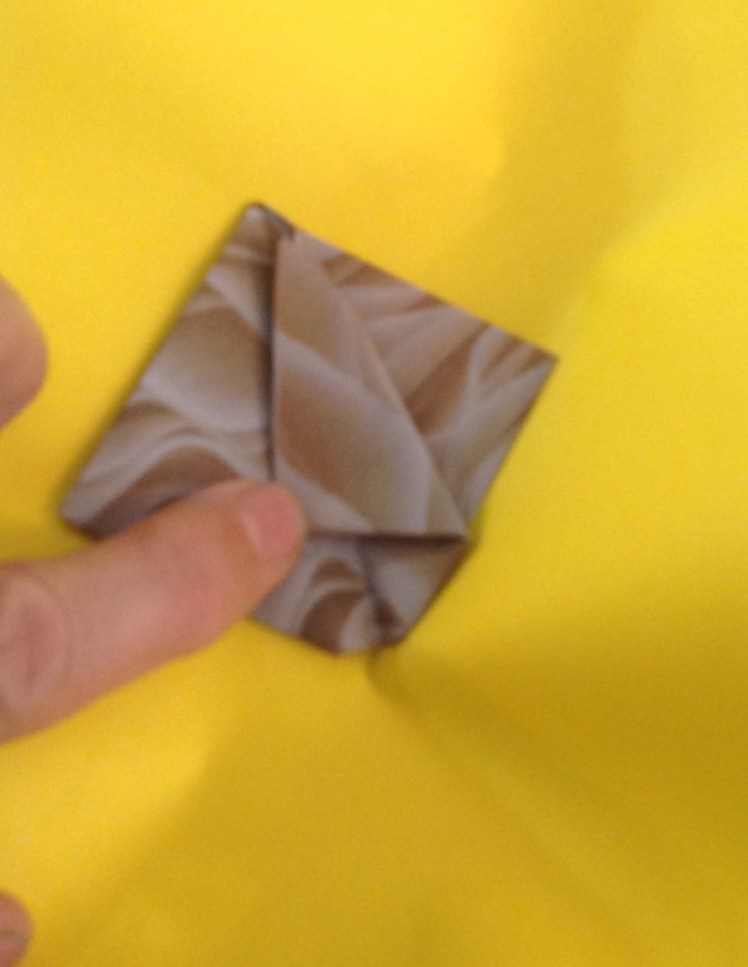
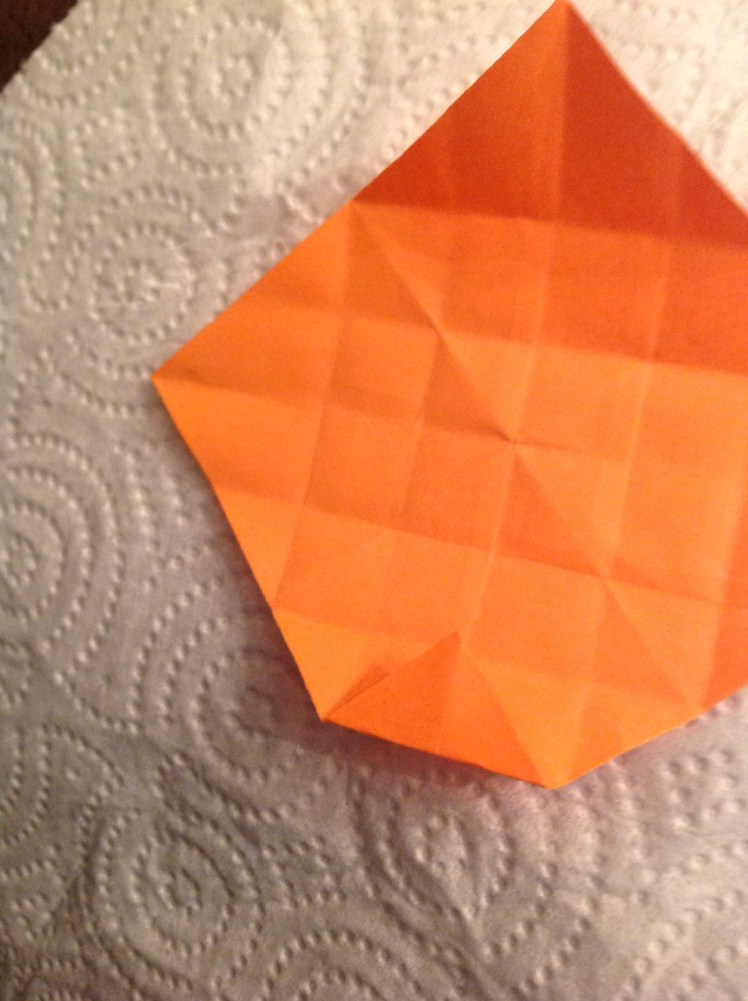
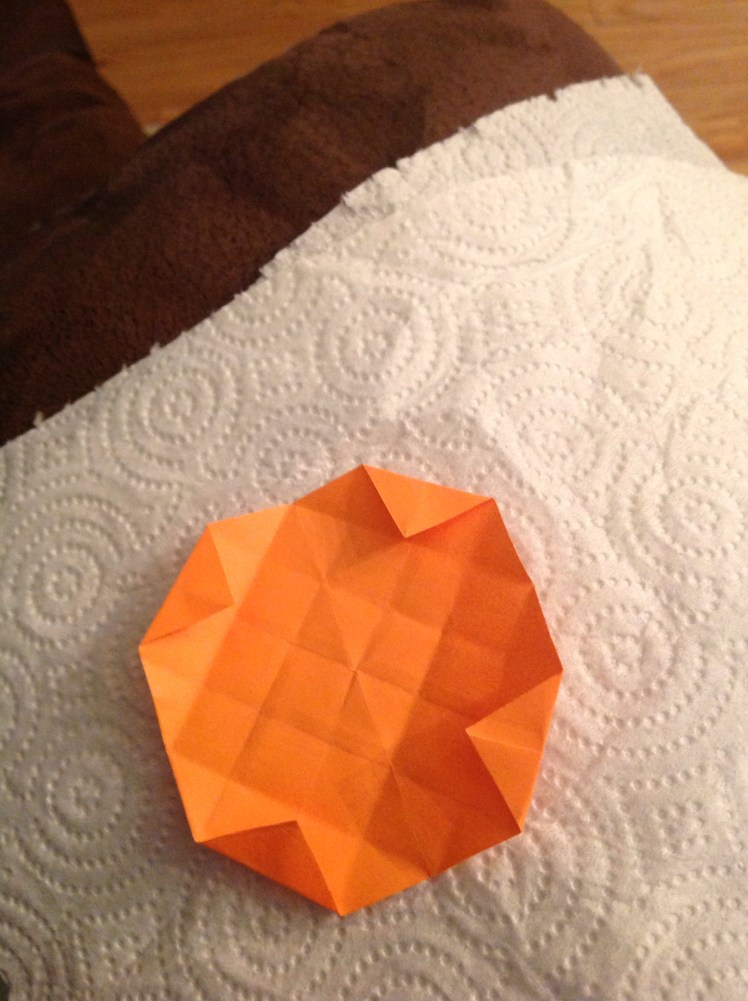
Now fold each of the four corners inward to the first crease toward the center of the paper.

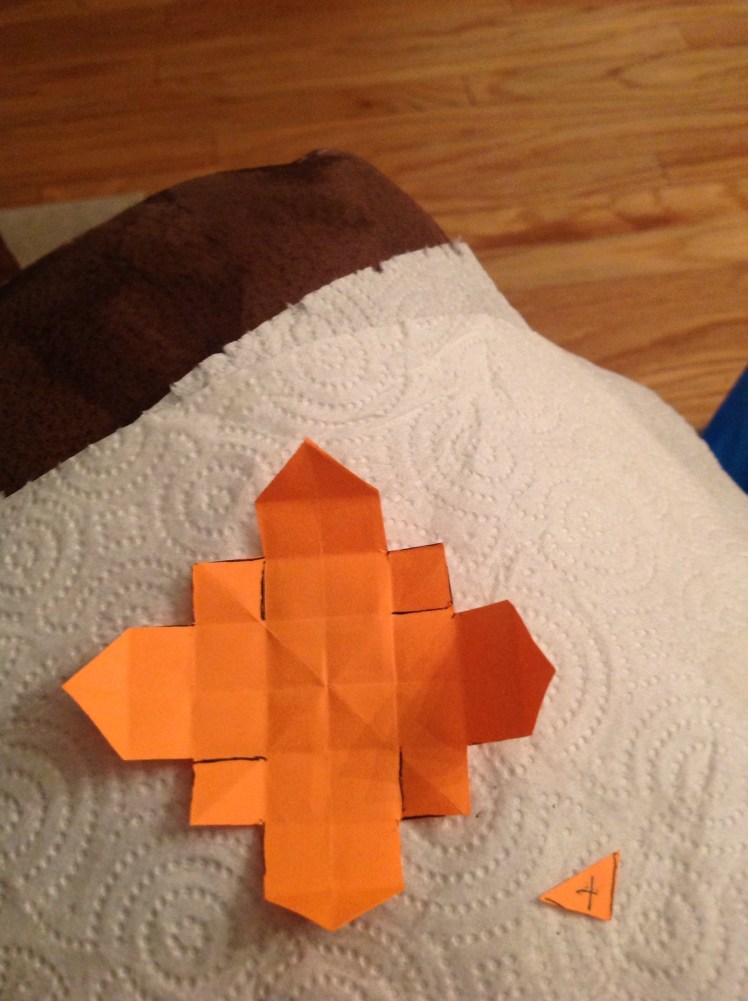
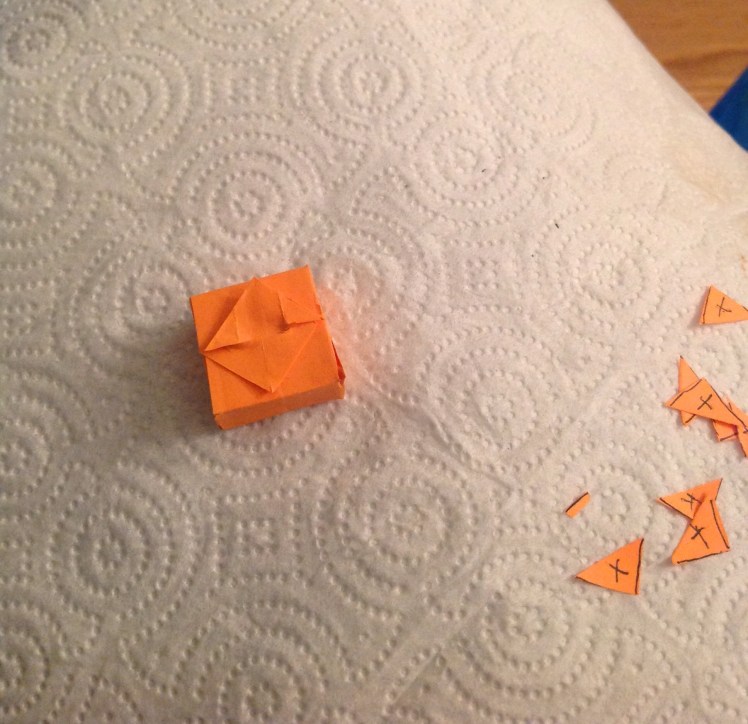
Now, grab your pencil and put an X on the two triangles in the middle of each side.

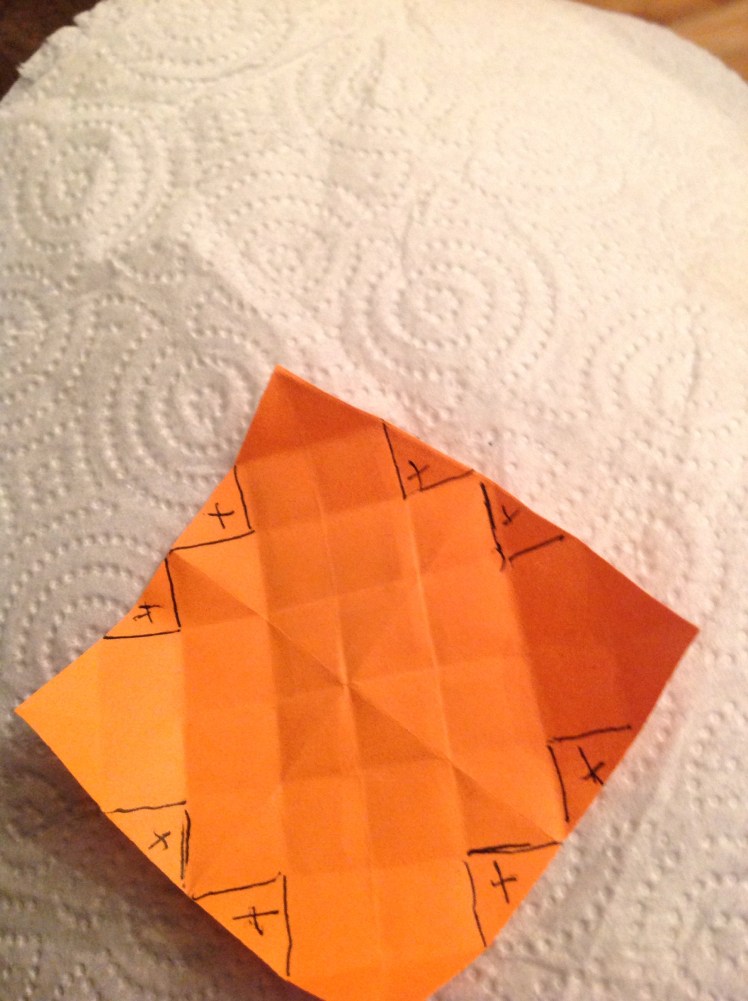
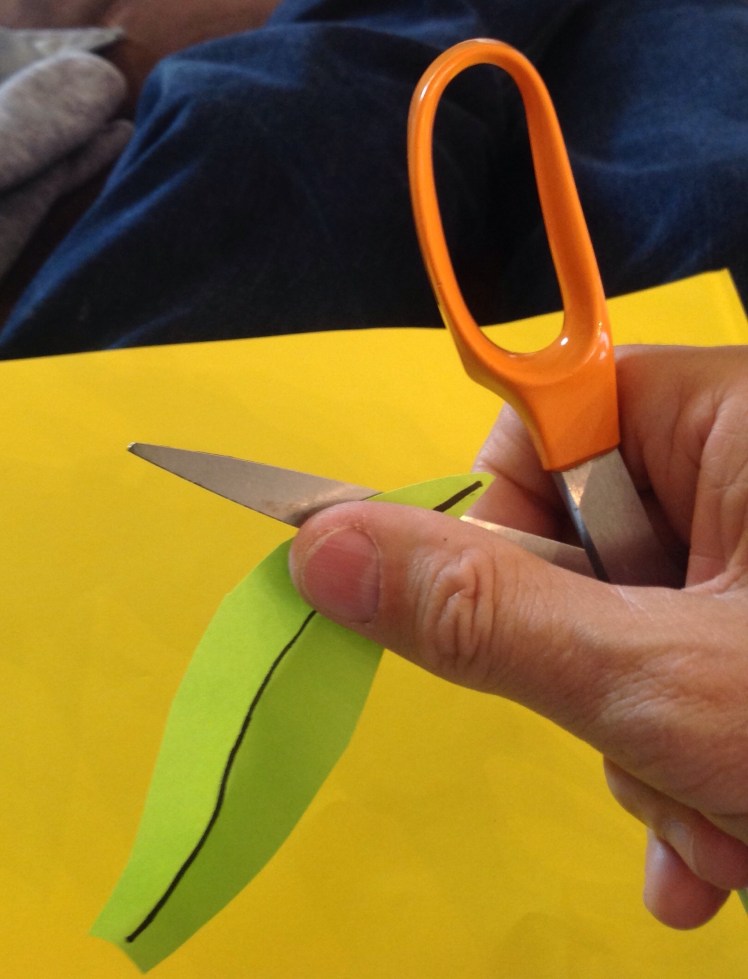
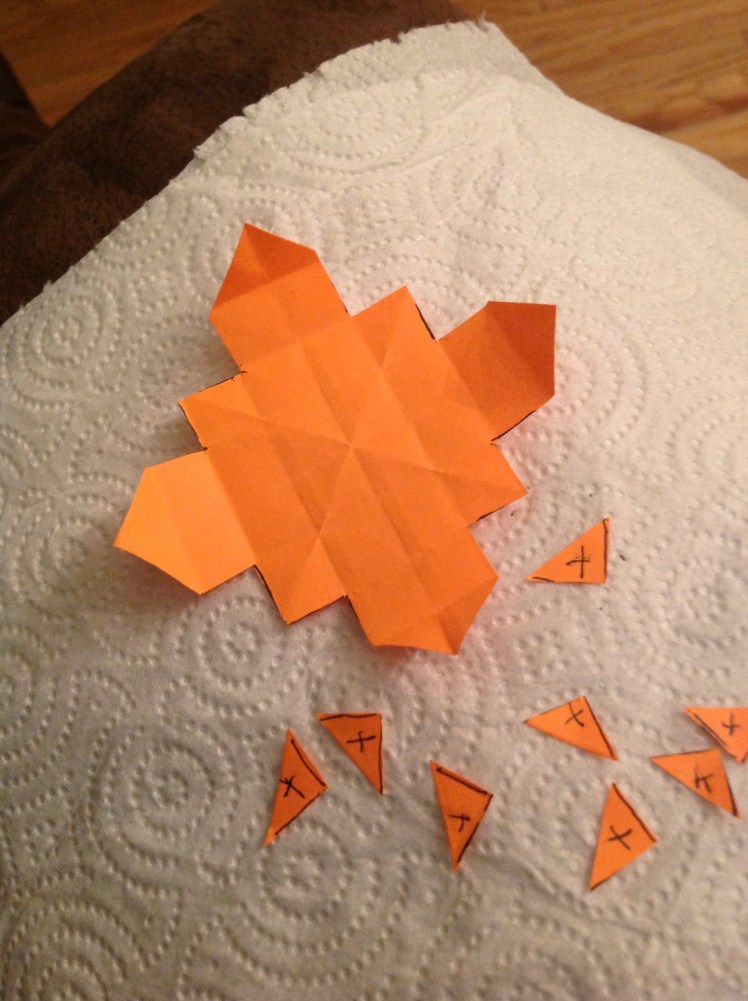
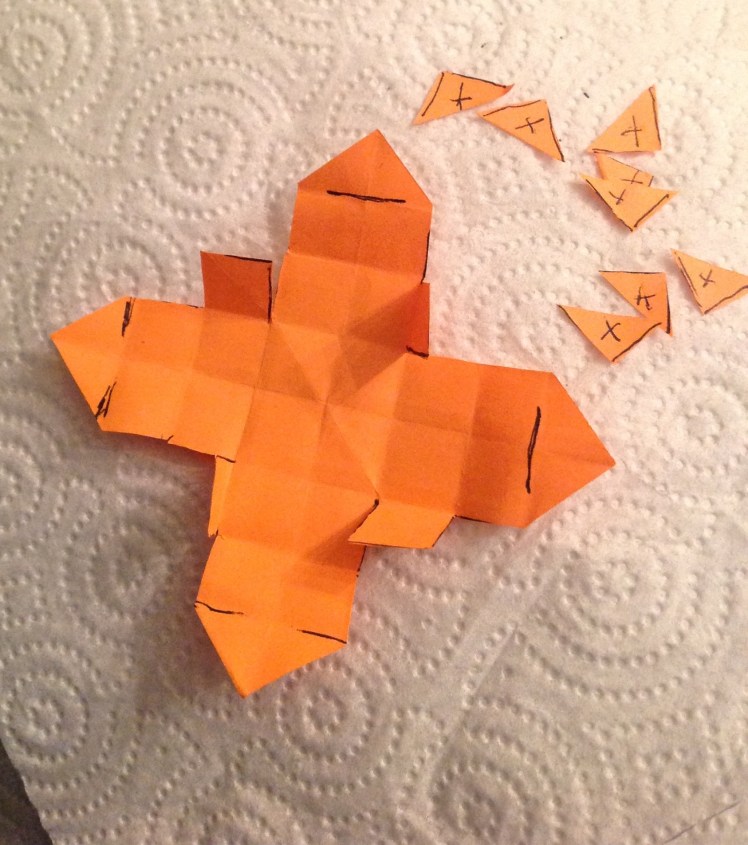
Take your scissors and cut out each triangle with an X on it.

Grab your pencil again and mark your paper like this:

Now you will cut on the dark lines to make the tabs that will close up the corners of the final box.

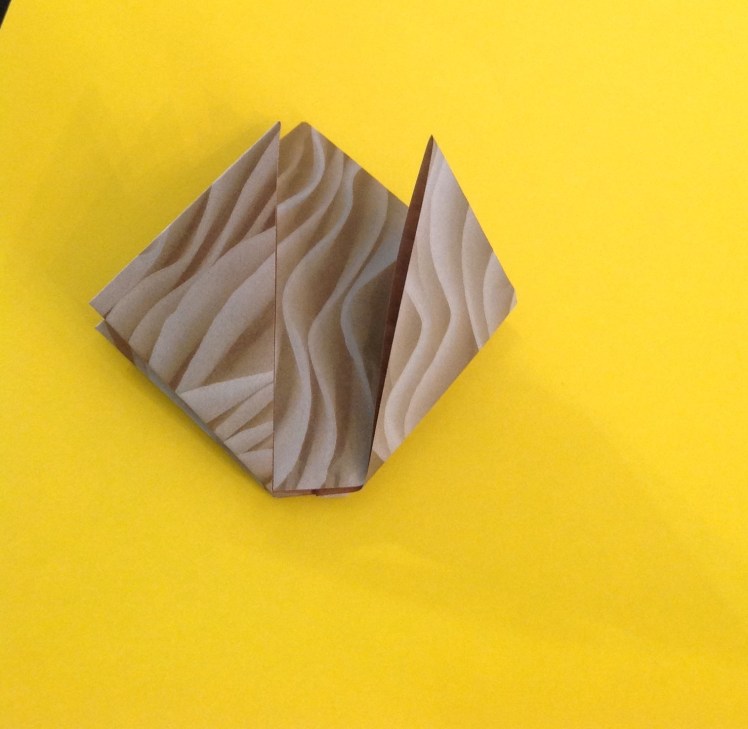
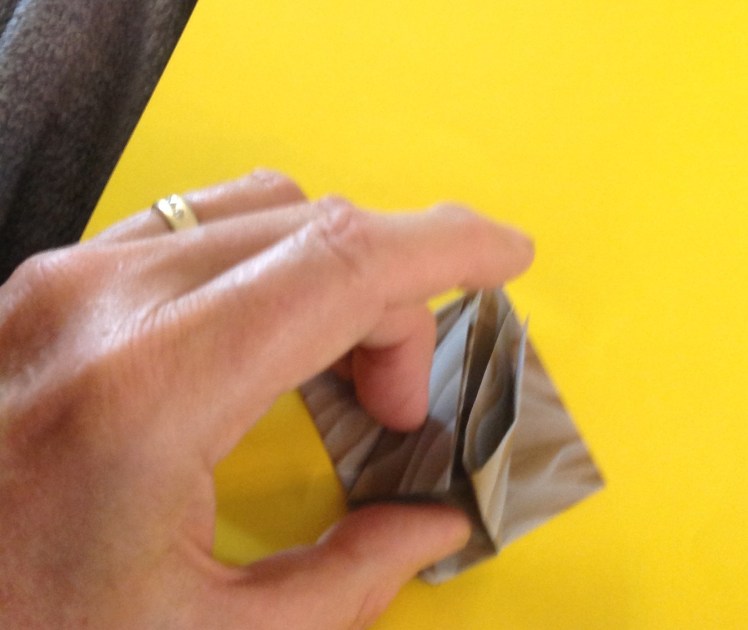
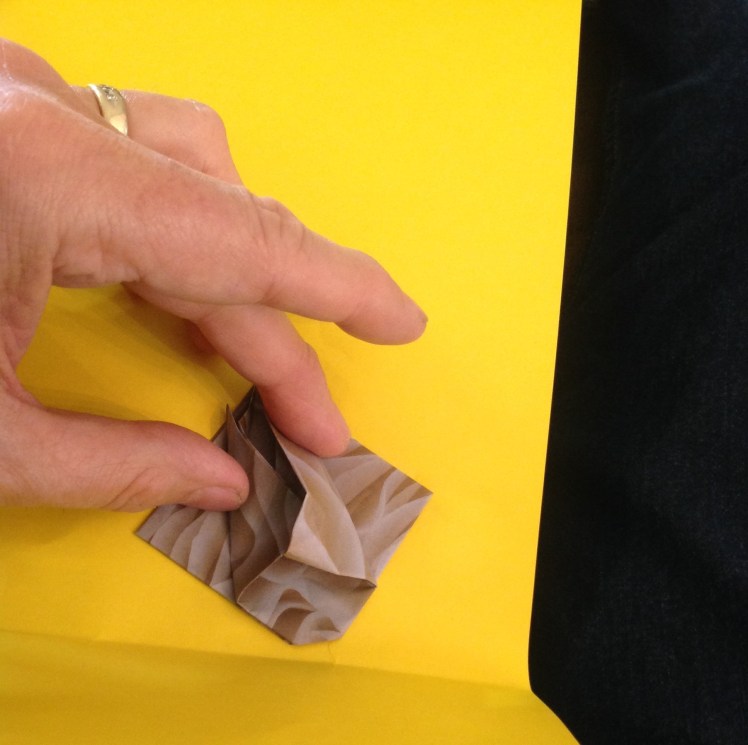
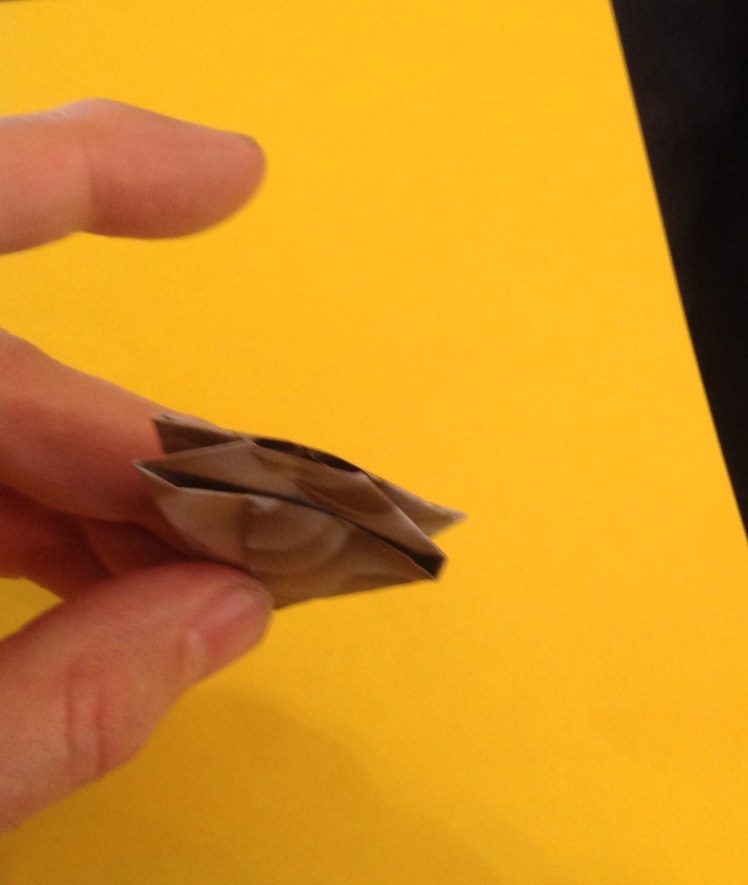
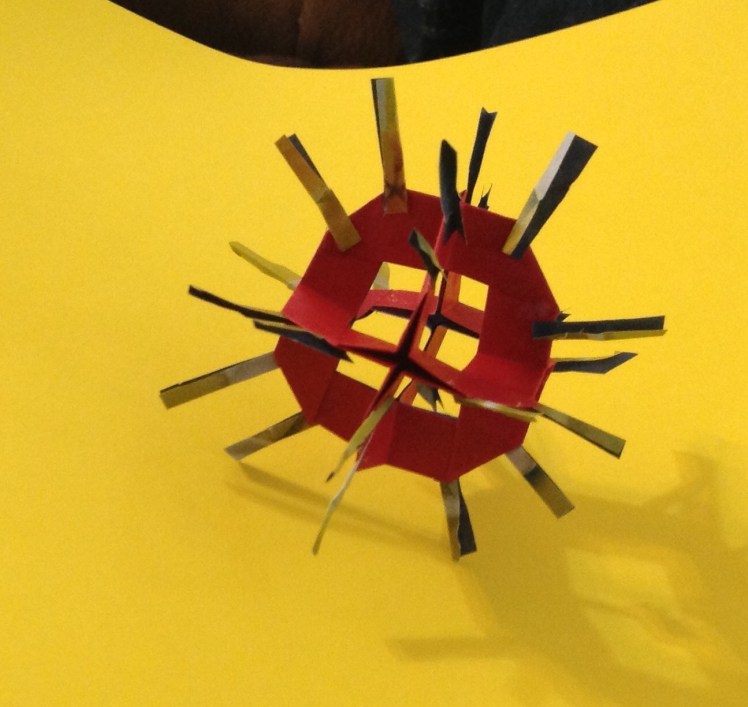
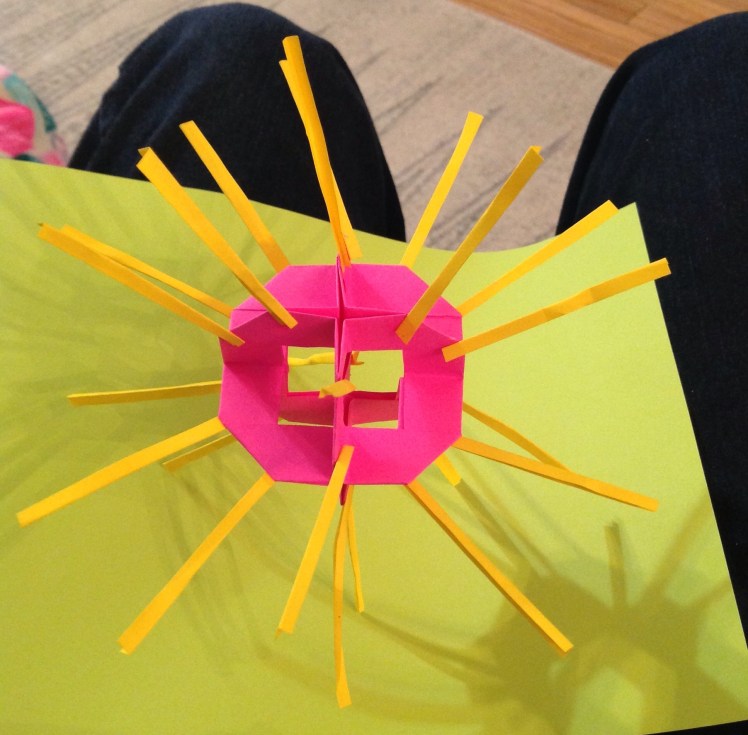
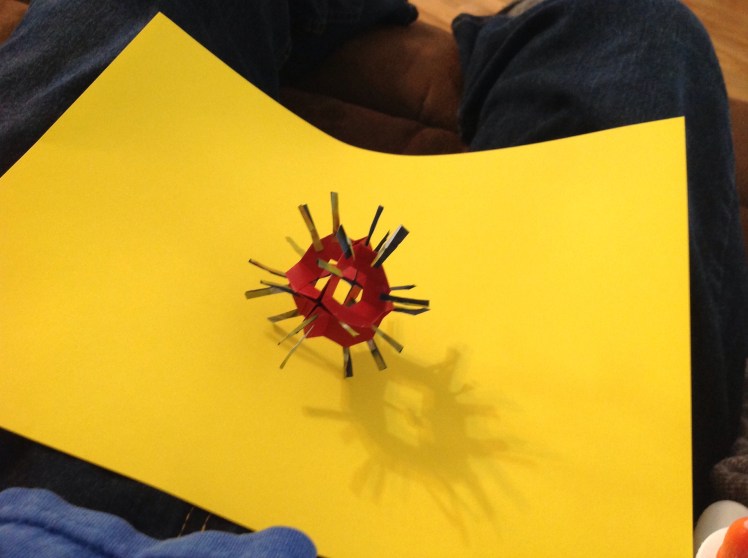
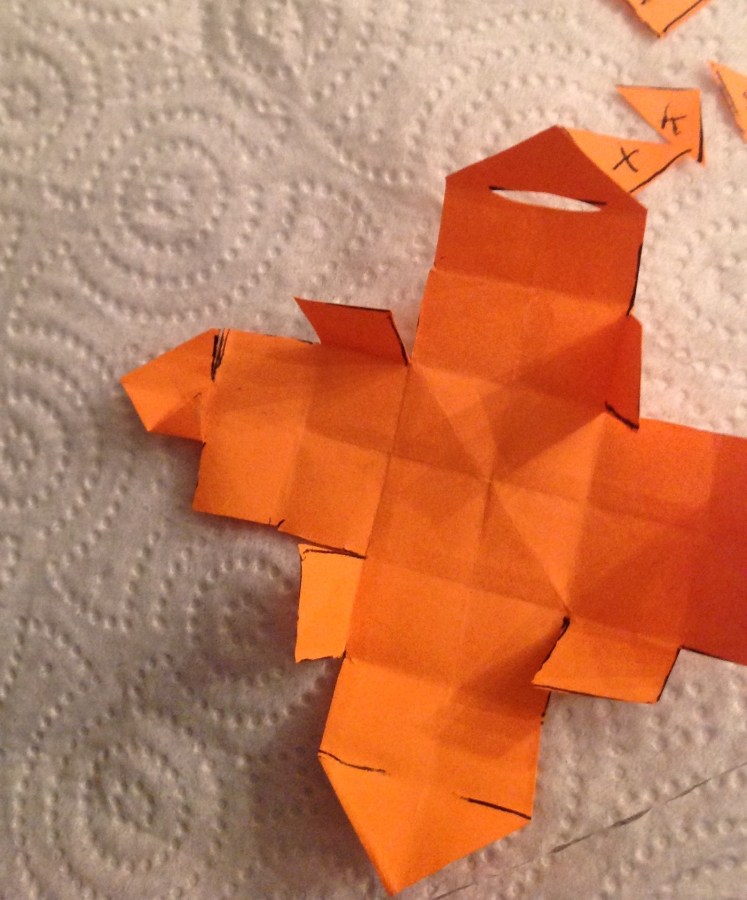
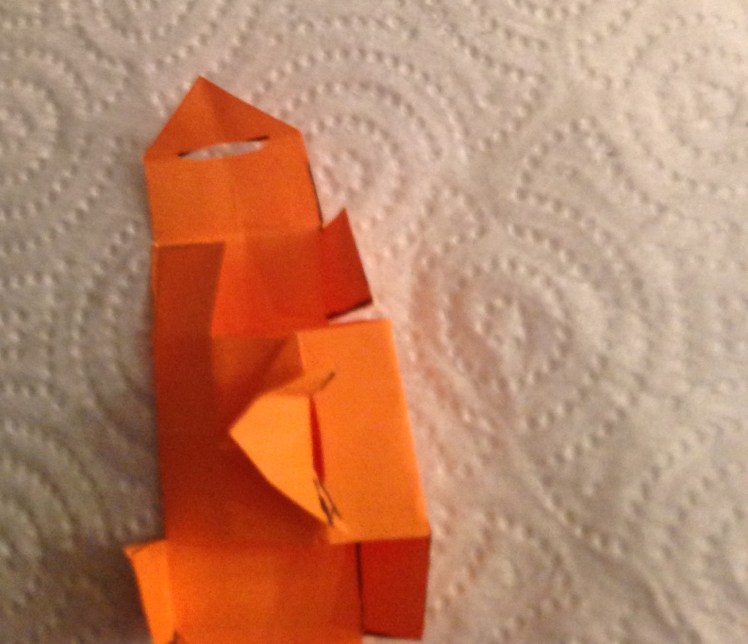
Now fold up the four tabs into a vertical position.

Next let’s make the locking tabs and insertion slits. Mark your paper first so your cuts will be in the correct spots.

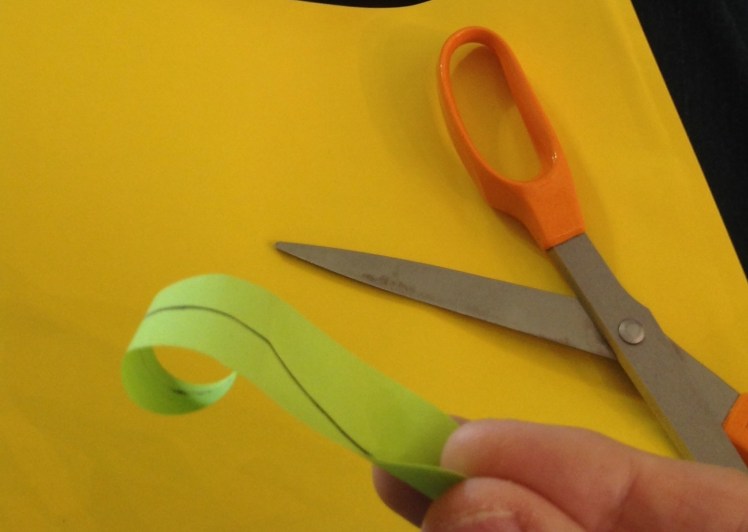
Notice that the two left hand points have lines that go halfway back to the middle and that the right hand points have insertion slips. Now cut on these lines.

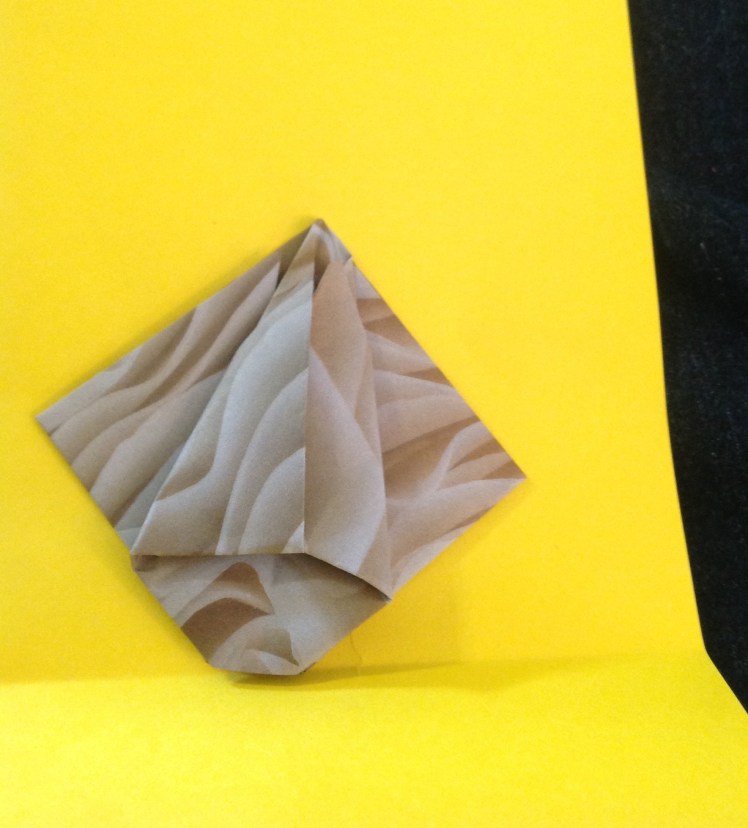
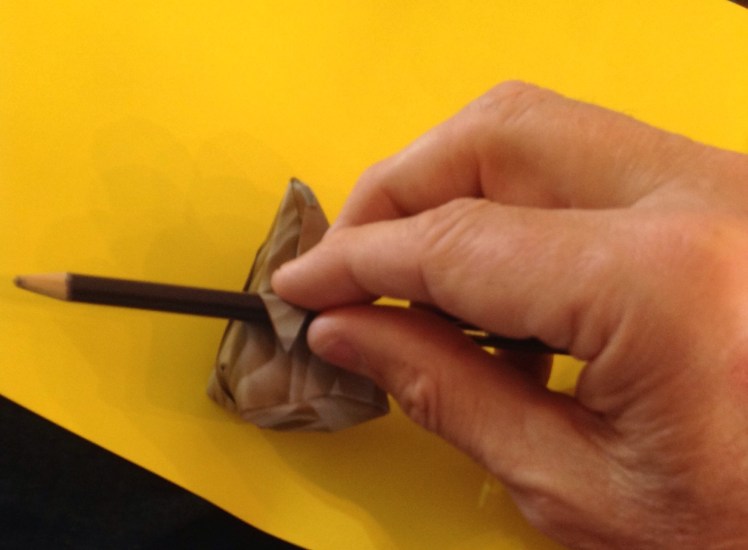
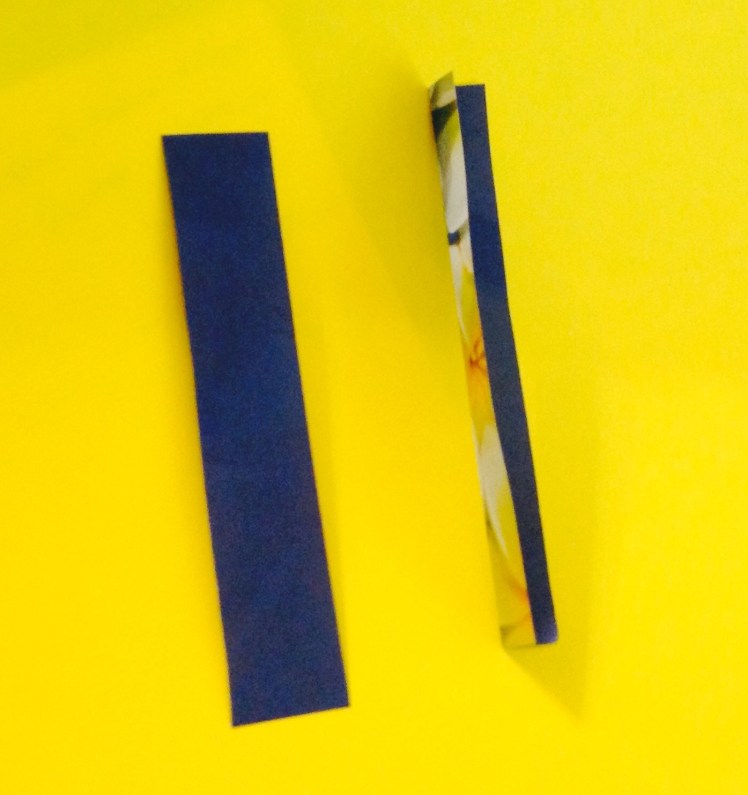
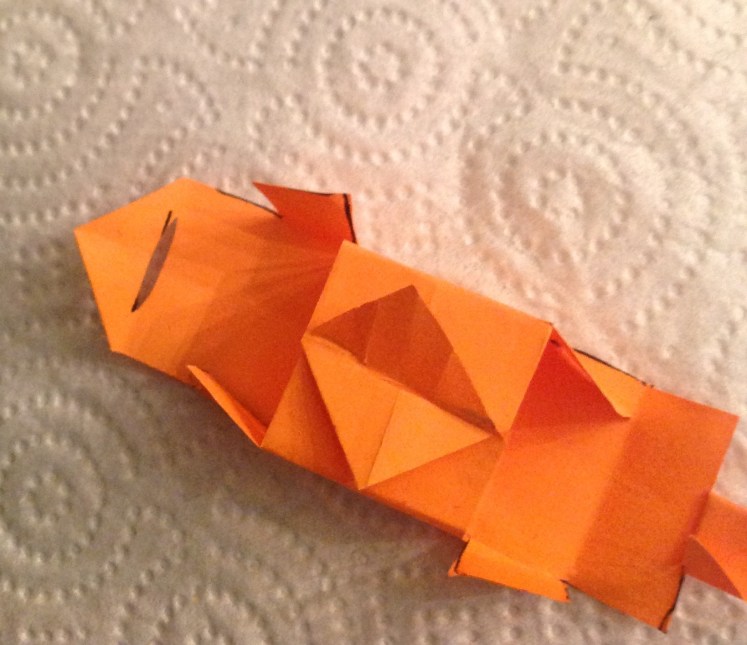
Now we need to fold in the locks like this:

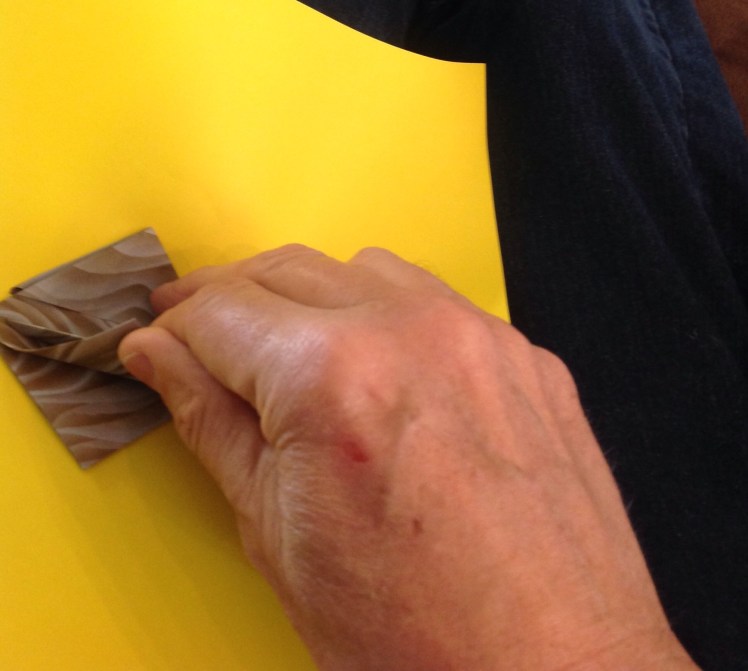
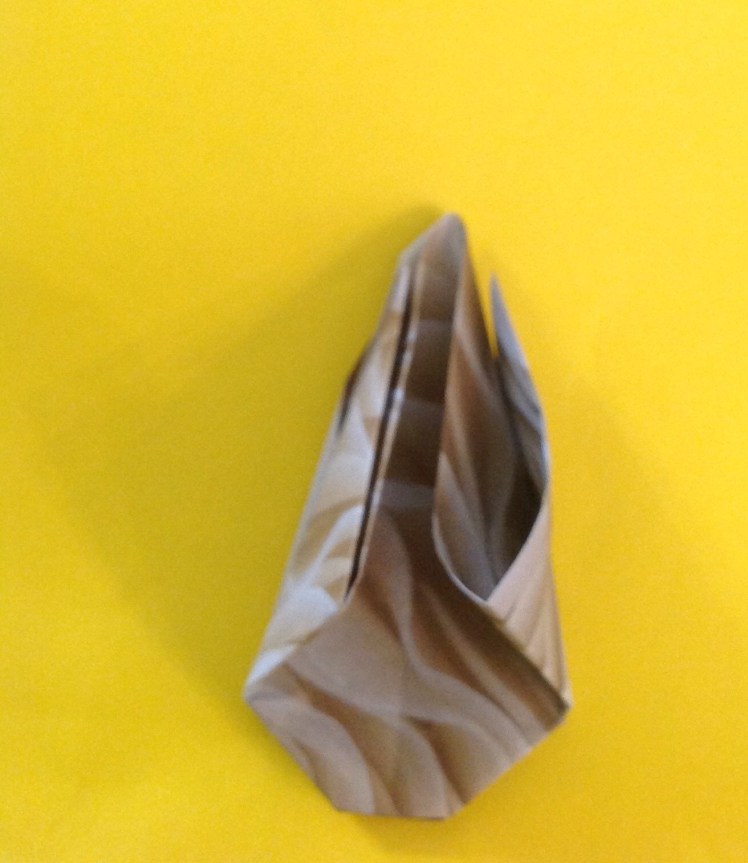
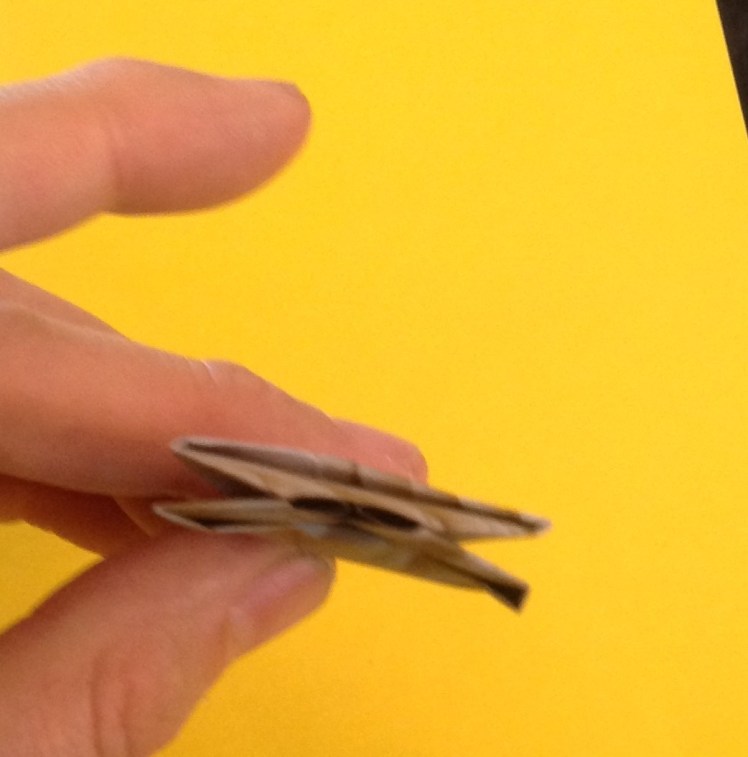
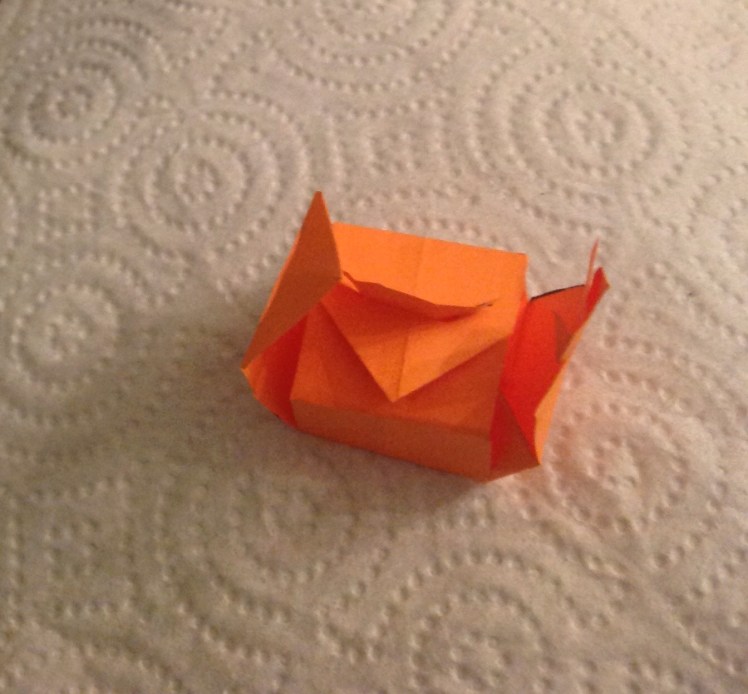
Check that each of the four square middle tabs are in the up position, then slide one of the locks into the bottom side of the receiving slot.

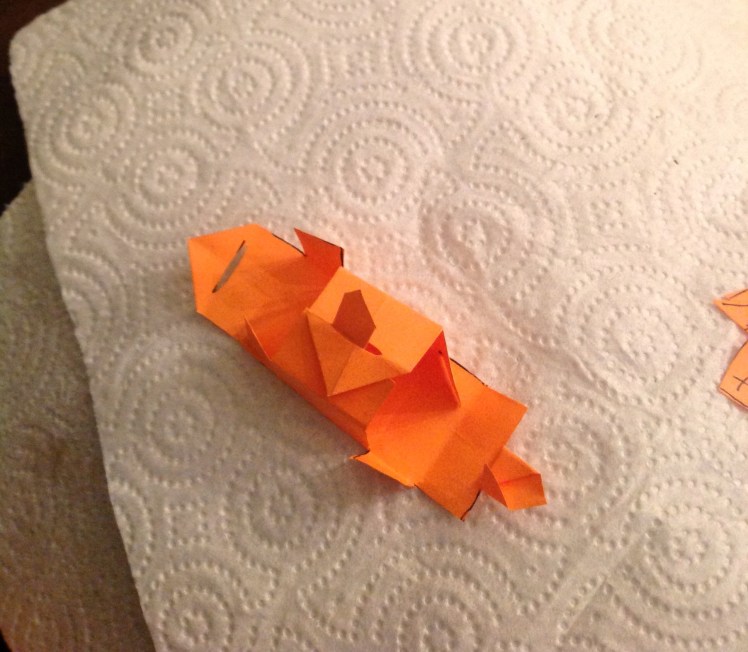
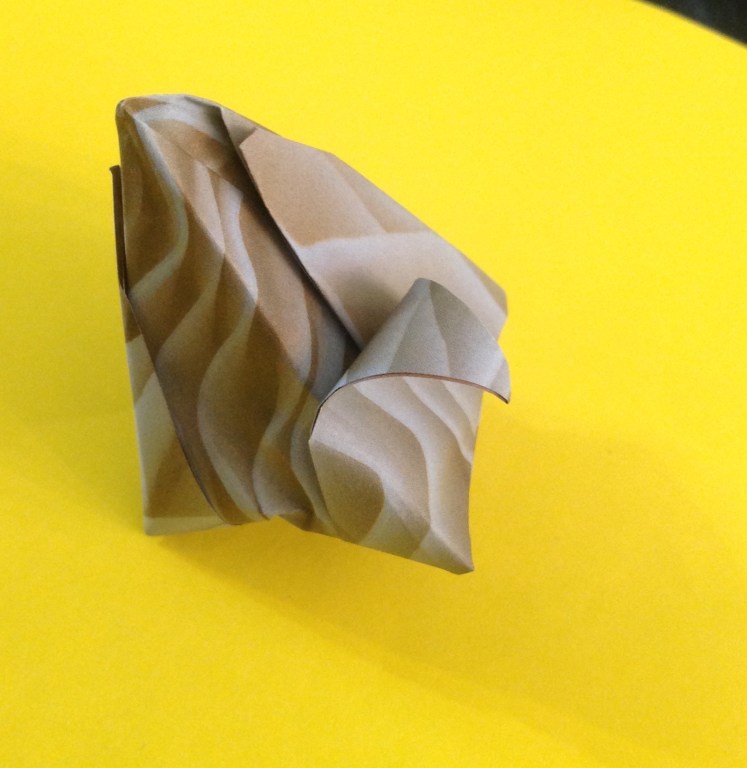
Now open the flaps to lock it in place.

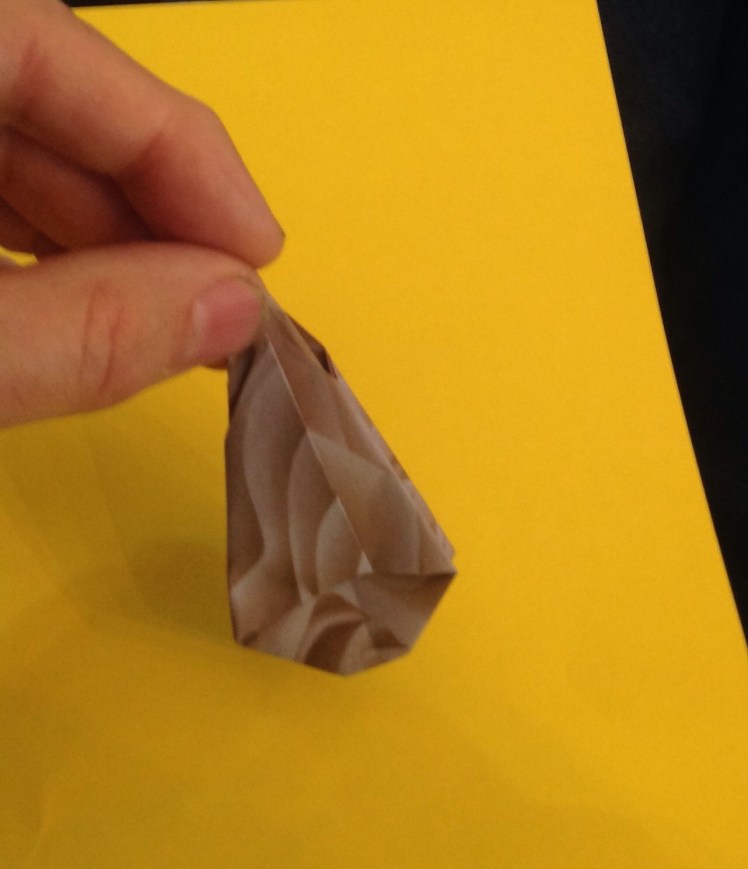
Slide the square flaps inside as you lift up the two remaining sides and put the lock into the bottom of the receiving slot on the opposite side. Fold out the flaps to lock the box.

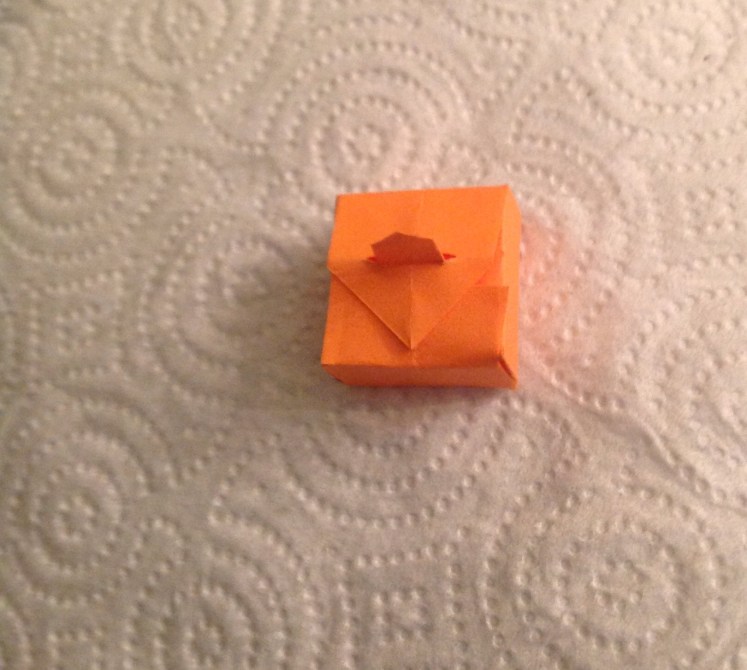
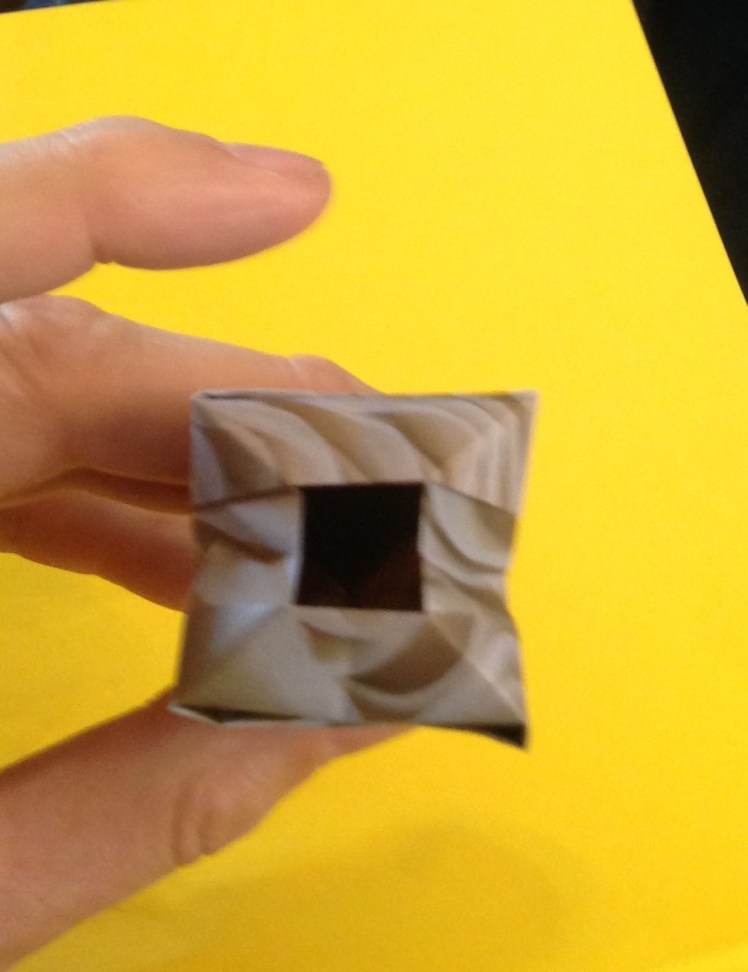
Congratulations! You have made your first lock box.

Can You Unlock the Box?

Remember you can unlock the box and carefully open it to insert your gifts or other items.

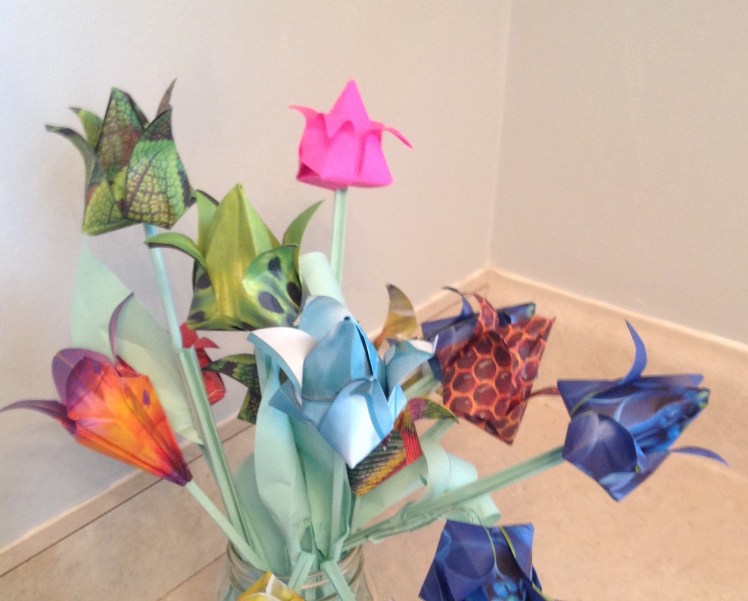
Other Ways to Use These Boxes:

There are many ways to use and add to these boxes. Here are a few suggestions:

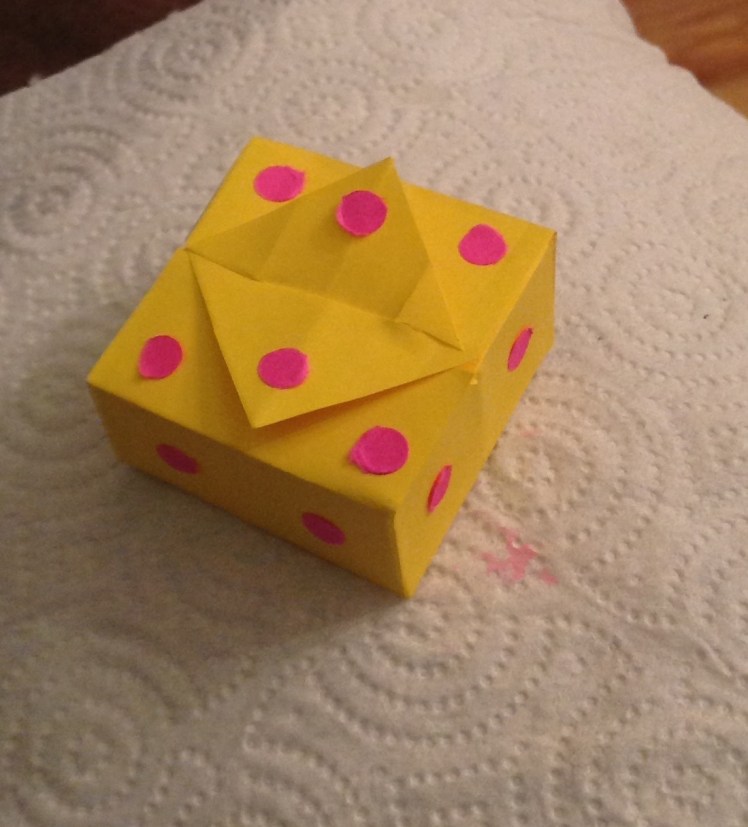
Draw On Your Inner Talents:

You can draw designs or write messages on the outside of the boxes. Another fun way to decorate them is to use colorful hole punches to put dots on the outside.
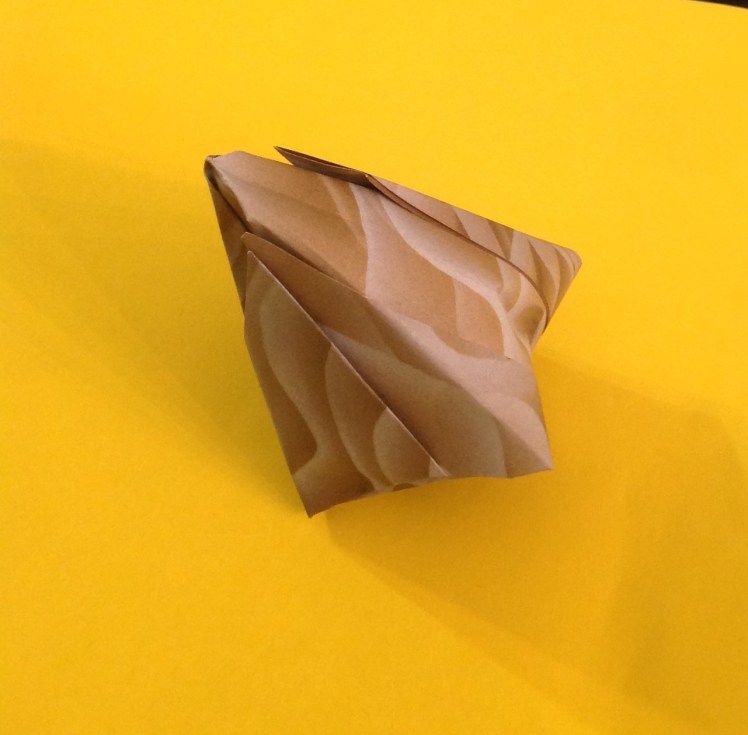
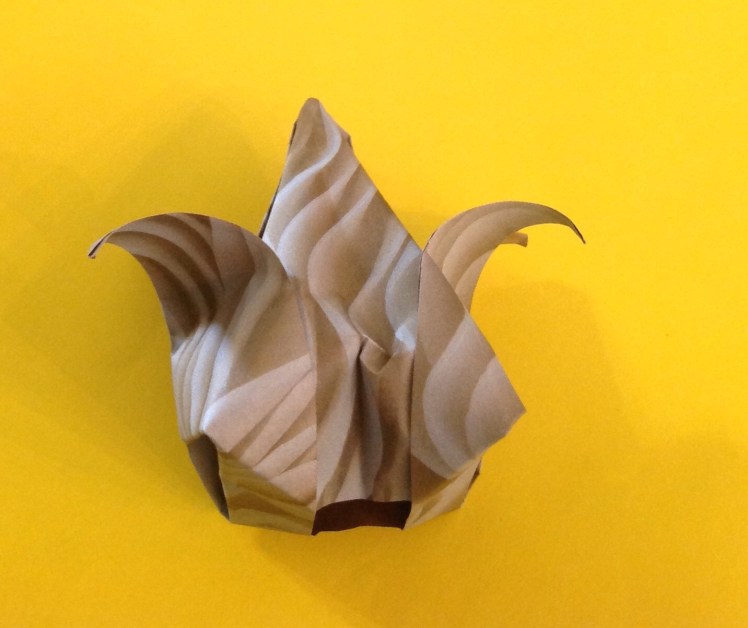
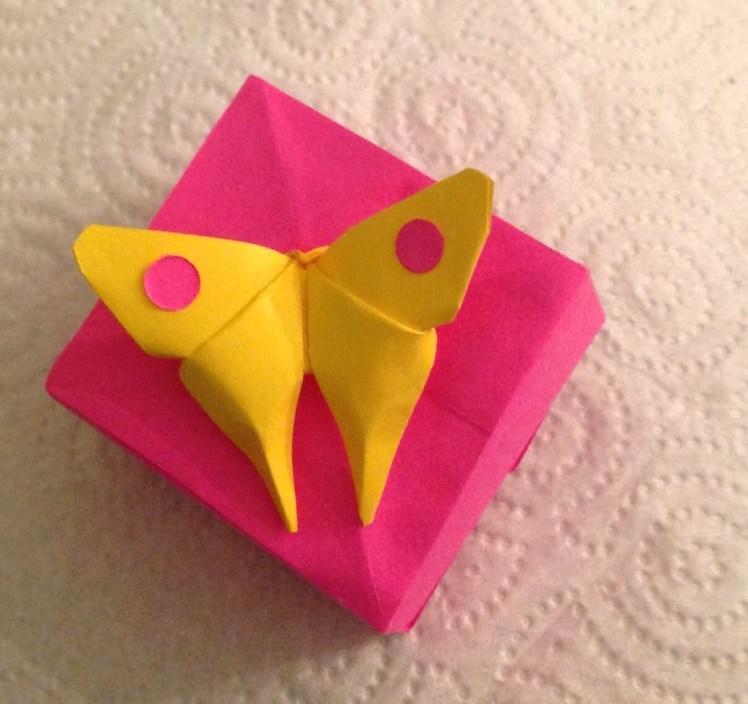
Butterfly Box

You can add other origami forms to the top as well. Here is a butterfly box:
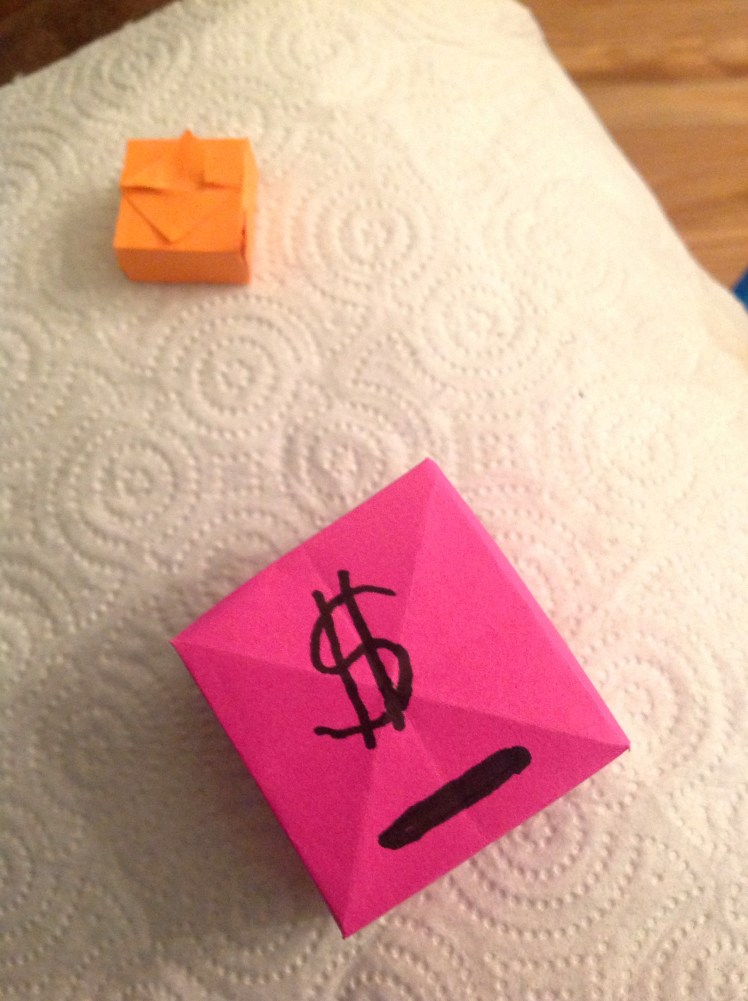
That Makes Cents!

If you cut a coin slot in the top of the box it makes a cute little bank.

That Smells Good!

If you take a straight pin and punch many holes through the top surface you can make a Pomander. Take some flower petals, (like roses), orange peal and other sweet smelling odor producers inside. The good odors will travel through the holes in top and fill the room with fragrance.

Thinking of Gifts!

As you enjoy your boxes, think of the most favorite gift that you have ever received.

Did it come in a box or was it given to you in another way? Gifts remind us that we are loved and appreciated by others. Gifts bring us joy and connect us more firmly with the gift givers.

The best gift I ever received did not come in a box. It was the gift given by God the Father that made it possible for me to become a child of God.

John 3:16

“For God so loved the world that He gave His only Son, so that that everyone who believes in Him may not perish but may have eternal life.”

When Jesus came to earth and took on human flesh it was God’s plan for Jesus to give his human life as a sacrifice for our sins. He went to the cross and died there for us. But He did not stay dead! He rose again to prove that He had the victory over sin and death and that He had paid the price for us to pay the debt of sin.

Romans 3:23

“For all have sinned and fall short of the glory of God.”

Romans 6:23

“For the wages of sin is death, but the gift of God is eternal life in Christ Jesus our Lord.”

If you have never received this gift, it’s offered to all. What an amazing deal! There is no greater gift.

Don’t Worry, Make Flowers!

How to make an origami Tulip.

It’s Time For The Tulips To Bloom:

I bet you, as I, love the Spring Time when all the flowers begin to bloom. One of my favorites is the tulip. I thought you would enjoy learning how to fold some origami Tulips that will last a little longer than the beautiful ones in your garden. You can make a bouquet for your inside table while leaving the real ones on display outside.

By the way; this makes a great Mother’s Day gift.

What You Need:

To make this project you will need a sheet of green copy paper, some colorful paper (either origami or copy paper), some white glue, scissors, a straight pin, and a pencil.

First Things First:

You will have to cut a square from the copy paper unless you are using a square sheet of origami paper.

Fold the square into the traditional water balloon base by folding an X on one side of the paper, turning it over and folding a cross on that side. It should look like this:

Next you will fold up the right side top wing portion like this:

Do the same on the left side but leave a little gap vertically between the two wings. Then turn the paper over and repeat on the backside.

Save Yourself From Frustration!:

This next step was the most frustrating for me when I first tried to fold the model. If you don’t do this correctly the petals will not fold down later.

Take the top right hand side and fold it to the left, then do the same on the backside. It should look like this:

Next, place the model so that the flat point is at the bottom. Fold the right hand top portion diagonally to the left like this:

Next, fold the left side over to the right diagonal edge:

Next, you will insert one wing into the pocket of the other like this:

Repeat on the backside.

Now for the Fun Part:

In order for your flower to bloom you will have to breathe into it a breath of life. (I doubt if your breath will make it alive, but it will make it more life-like.) If you have ever made a traditional origami water balloon it’s the same process. Just be sure not to blow too hard. You just want to inflate the model not blow it apart. You will need to blow into the hole at the bottom of the model like this:

Petal Power:

If you look closely on the outside of the model you should find four petals. These need to be rolled down to make the bud bloom. Carefully pull out the top of a petal and roll it around a pencil like this:

Repeat on all four petals:

Now for the Stem and Leaves:

Take your sheet of green paper and cut off of one side a long skinny rectangle. Cut out a couple leaves as well.

Let’s Make It 3-D:

For the stem portion you will just keep folding the rectangle in half as many times as you can so it will support the weight of the flower head.

The more times you fold the stem in half the stronger it will be. Use a straight pen or the tip of your scissors to lightly scratch a crease in a curved fashion down the middle of each leaf. When you bend the sides of the leaves together the crease will follow your scored line. Just be careful not to scratch too hard or you will tear through the paper. Now let’s curl the leaf tips. Open your scissor blade and use the flat side against the paper. Pull the paper down over the blade like this:

You Are Almost Done :

Now we will glue the leaves to the stem and top the stem with the flower like this:

Helpful Hint: if you put some glue on the top of the stem before putting the flower on, it will hold the flower place once it dries. Otherwise it is just gravity holding it in place.

It Takes More Than One to Fill the Vase:

In order to have a nice bouquet you will need several flowers and a vase. You can use a nice flower vase or make your own with a Mason Jar. Here are a couple pictures of my bouquet:

Notice the difference in the above pictures. The bottom one still has the label showing on the jar. Above that you can see how I covered the bottle with a ring of colored paper to make it more attractive. You might also see some irises mixed in with the Tulips. You can find origami models for several types of flowers on-line or in books you can find at the library. There are also several YouTube videos available.

As You Think About the Flowers, Think About This:

If you were successful in folding your bouquet, you are probably going to be pretty protective of your finished project. Did you know God cares for us in a similar way, only much more.

Are You Worried? Check This Out:

Matthew 6:28-34

“And why do you worry about clothes? See how the flowers of the field grow. They do not labor or spin. Yet I tell you that not even Solomon in all his splendor was dressed like one of these. If that is how God clothes the grass of the field, which is here today and tomorrow thrown into the fire, will He not much more clothe you – you of little faith? So do not worry, saying, ‘What shall we eat? or ‘What shall we drink?’ or ‘What shall we wear?’ For the pagans run after all these things, and your Heavenly Father knows that you need them. But seek first His kingdom and His righteousness, and all these things will be given to you as well. Therefore do not worry about tomorrow, for tomorrow will worry about itself. Each day has enough trouble of its own.”

Notice that this is a conditional promise of God to His Children. If you are not in His family you can be by acknowledging Jesus Christ as LORD of your life. Believe on Him (His death, burial and resurrection) and you will be saved.

For those of us who know Him, the flowers can be a constant reminder of His care for us.

Origami Covid-19 Model

With all of us practicing “Social-Distancing” and staying in our houses during this epic 2020 pandemic, I thought I would amuse you with a fun project and bring you a word of encouragement.

It is amazing to think that a tiny virus has been able to effect changes throughout the whole world. Though we need to respect the potential dangers of this disease and follow the directions given to us by our government leaders, we do not need to live in fear. God is still in control! One way to face our fears is to visualize our enemy. Let’s make a paper model of the virus.

To make this model I made an Origami Quadra-Sphere. You can find the directions for folding this in my April 4, 2019 post. Once you have constructed a Quadra-sphere you just need to add some spikes.

Easy to Fold:

It is really easy to make the spikes. Just cut some long rectangles and fold them in half lengthwise. It takes quite a few spikes to complete the model, so make a lot! You can add as many as you like but I glued one on each corner of the Quadra-sphere.

If Want More Drama:

To make your model more dramatic use bright colors like red, yellow, and orange.

You can make your model any size, but the smaller you make it the more it resembles the real thing. Just think about how small real viruses are. It takes a powerful electron microscope just to see them!

Once you make your model you can place it on a bright paper base or hang it by a string to make a mobile. Guess what? This model won’t hurt you.

If You Are Fearful, Listen to This:


For those of us that have a personal relationship with Jesus Christ, our LORD, we can take courage from the promises in Scripture given to by our Savior.

Isaiah 43:1

“Do not fear, for I have redeemed you; I have called you by name; you are mine.”


I John 4:18

“Perfect love casts out fear.”


Psalm 18:2

“The LORD is my rock, my fortress and deliverer.”


Romans 8: 38-39

“For I am convinced that neither death nor life, neither Angels or demons, neither the present or the future, nor any powers, neither height nor depth, nor anything else in all creation, will be able to separate us from the love of God that is in Christ Jesus our Lord.”

If you do not have this peace of mind, you can by asking God to give you eternal life through His Son, Jesus Christ.

John 3:16

“For God so loved the world that He gave His one and only Son, that whoever believes in Him shall not perish but have eternal life.”

Is This an Alien Invasion?


What Is This?:

A friend of mine found one of these in her yard and sent me an email asking if I knew what it was. I had seen the later stage of this creature last year when I was mowing my lawn out back growing on a cedar tree. After a little research I found that it was Cedar-Apple Rust fungus.

Is This Christmas?

After seeing her picture, I decided to go out an see if my tree had any of these growing in my yard. When I reached the large cedar tree in my backyard I found what looked like a Christmas tree ornamented in orange and brown spiky balls. Needless to say, I was impressed with how successful this group of fungi is in reproducing more of its own kind.

Here are some more pictures of what I found:

It Takes Two to Tangle!

While doing research on this organism I found out it takes two different hosts for it to complete its reproductive cycle, one from at least two different families of plants. Some of the plants that can serve as hosts are the Chokecherry, Mountain Ash, Service Berry, Hawthorn, Pears, Crab Apples, Juniper, Cypress, Quince, Service Berry, Apples, and many members of the Rose Family.

So Where Do They Come From?:

Even though these unusual creatures look like aliens from outer space, they are actually common residents of the Eastern United States. They actually look very different in their various stages of development. It usually takes two years for them to complete a cycle. They start out with tiny spores that drift on the wind once they are released from another host’s parasitic infection. Once they land on the plant the spores send out little root like structures that bury into the stems of other plants. It takes about 7 months until the organism is noticeable. The stem region starts to swell up to form a gall. After about 18 months these swellings start to form gelatinous golf ball like structures. These are brown, as you can see in some of these pictures.

They Turn Orange With the Spring Rains:

After a couple warm Spring rainfalls the little brown balls start to depress around the surface. From these depressions come little finger-like projections. These eventually turn bright orange on the outermost ends of the extensions. Scientists call these reproductive structures Telial Horns”. It is this part that holds the spores that will be released after they are formed. Interestingly these structures can emerge several times on the same gall, ( 5-7 times) during the course of the Spring and early summer.

Are They Dangerous?:

Though these creatures look dangerous they actually do no harm to humans and little harm to the trees they infest. It is the fruit that suffers. Those that tend  apple orchards are the ones that fear this fungus the most. They would not be happy if you planted a Cedar tree near their orchards. When the spores travel to the apple and pear trees, as well as the others mentioned above, they become noticeable first on the leaves.

Easy to Spot:

If you were to see red, or brown spots showing up on the leaves of your trees you would know that the fungus has arrived. Most farmers will have already sprayed their trees with fungicide prior to this development. Others prune out the infected branches quickly to prevent its spread. Most farmers select fungal resistant varieties of fruit trees to also slow its progress.

What’s In a Name?:

These creatures go by a variety of names but the most important one is the scientific name: “Gymnosporangium juniper-virginianae” .

They are in a Family of fungi known as “Pucciniaceae”. The most common name is “Cedar-apple Rust”. The rusty part is how they look when they start to dry out and release the spores.

Why Not Do Some Further Research?:

If you live in the Eastern part of the United States, why not go out and check the trees around your neighborhood? You can also see many pictures  of this fungus and find more information on many of the agricultural web sites on-line.

Consider the Design:

Whenever I discover something new in God’s Creation I’m reminded of just how well designed each organism is in relation to its survival. Some organisms have very complex life cycles. All organisms are dependent on their relationships with others.

Irreducible Complexity:

There is also complexity in all the parts that make up the whole: the cells, tissues, organs, and systems that combine to form the organism.  For each step of this design to work there is irreducible complexity. The organism could not survive unless all the parts were there at the same time. This is why I believe it was all designed by the Master Creator. As you go through the next week, think about this concept every time you see another living organism. God designed it all as a way of showing us His divine power and purpose. He enjoys seeing us considering His care in how everything He created functions. He wants all of us to know He loves us and has a purpose for our lives. Do you know Him?