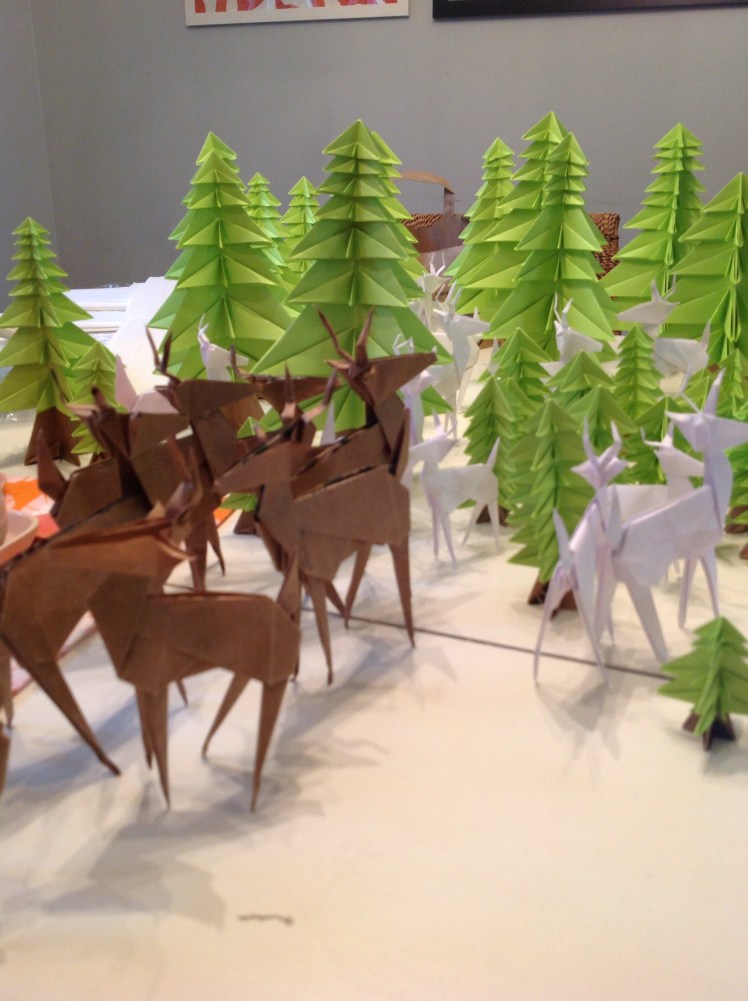
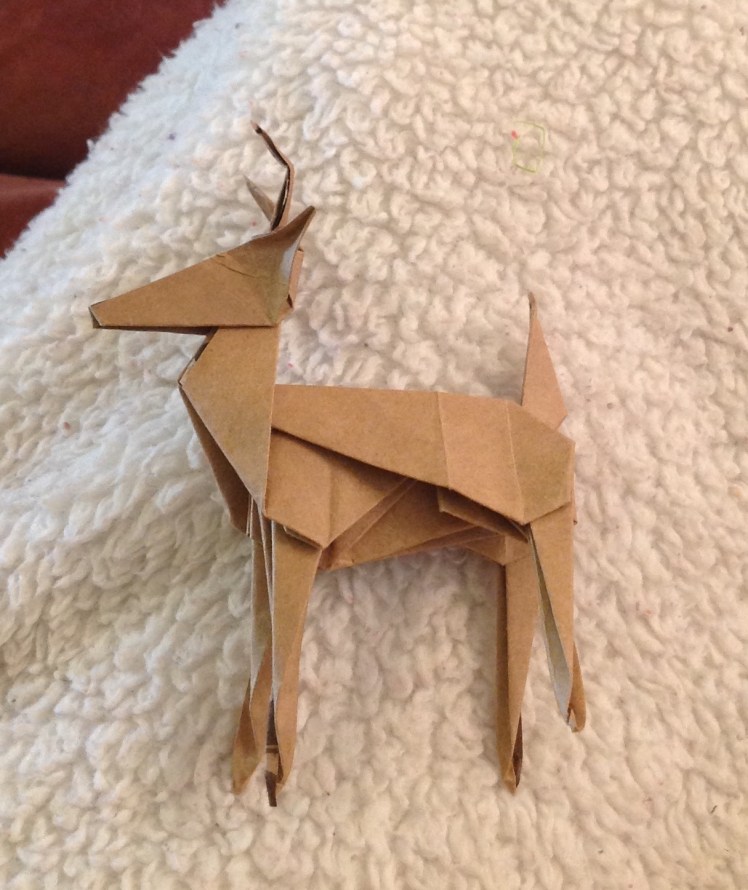
Origami Reindeer from a Brown Paper Grocery Bag
Recycle Your Grocery Bags
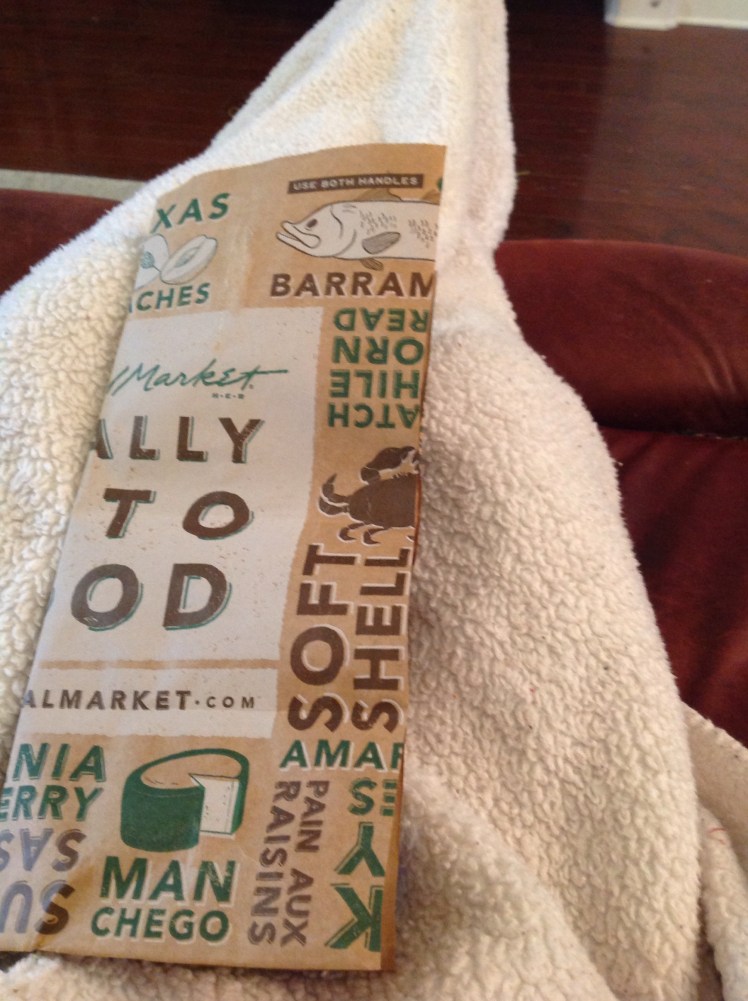
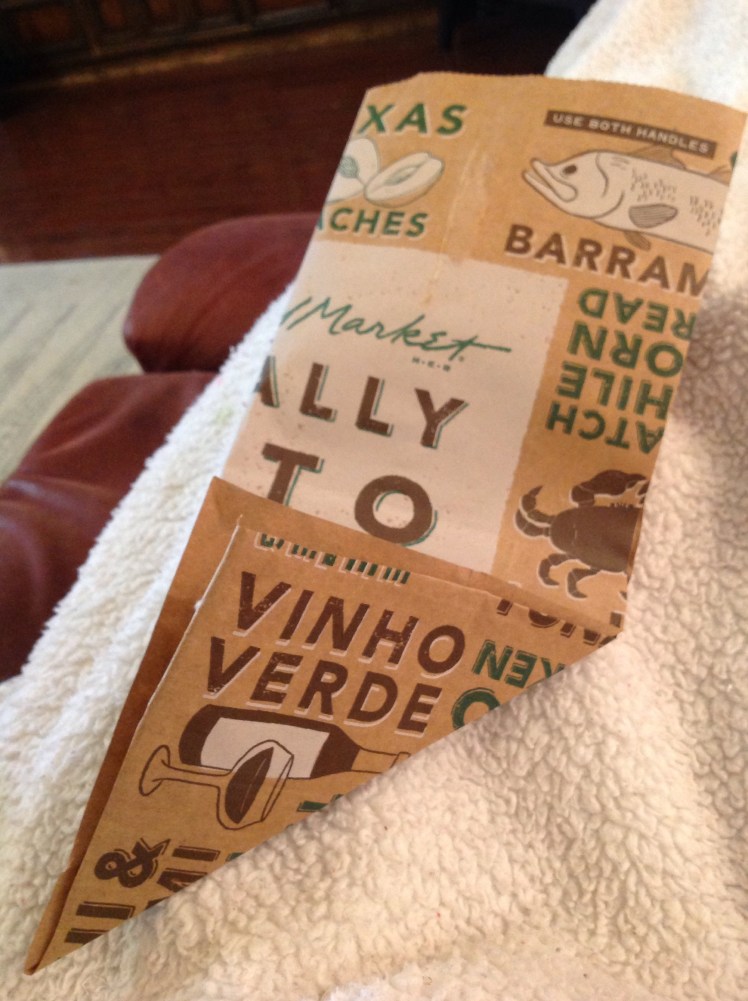
I recently visited a very large grocery market in Texas called Central Market. I was with family members who were buying stuff for a Thanksgiving. Needless to say, since we were buying groceries for the whole extended family and friends we had a bunch of grocery bags when we got home. So….what do you do when life gives you a ton of Grocery bags?….Turn them into something useful.
Christmas Is Coming:
Since our next celebration will be Christmas I thought it would be fun to make and give my family and friends an early Christmas gift: Origami Reindeer, from a model I created while experimenting with folding.
Learn the Base Folds:
One of the first things I learned when exploring origami was that almost every fold begins with one of the origami bases. In this model you need two Bird Bases and one Fish Base. The bird bases must be the same size and the fish Base is made from a square one sixth the size of the squares used to make the bird bases.
Let’s Begin:
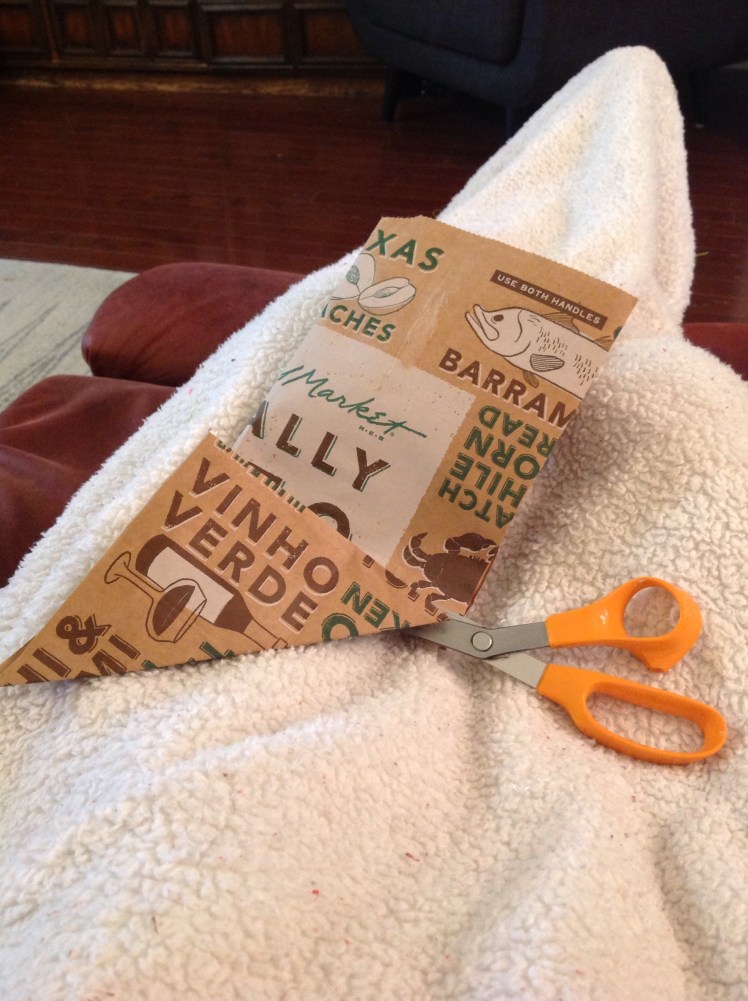
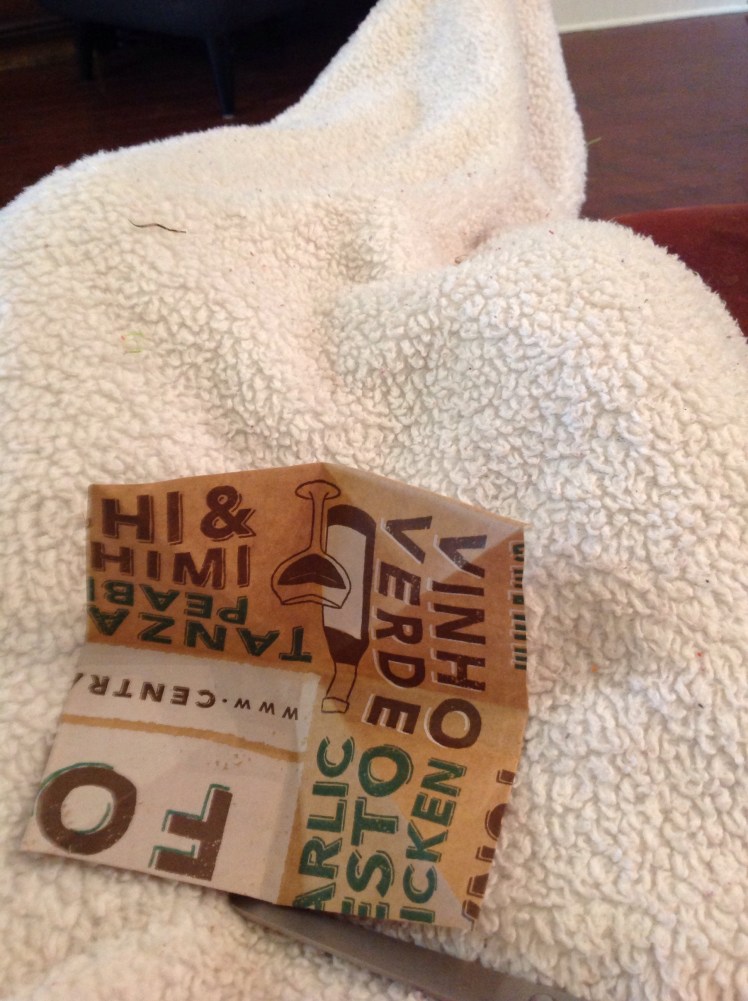
To start our project you need a brown paper bag, scissors, white glue, and a little patience. First cut out the bottom of the sack and down each of the side panels. This will give you enough paper to make several Reindeer. Take one of the side panels and place it printed down then fold it in half.
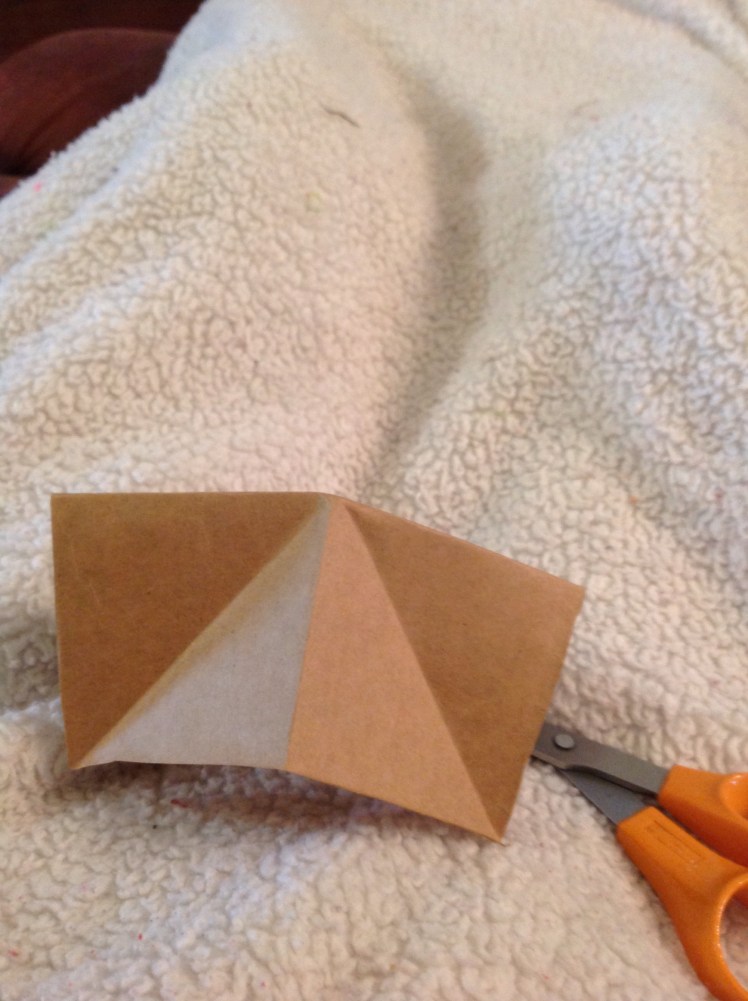
Next we will create two squares by folding the ends diagonal and cutting off the squares:
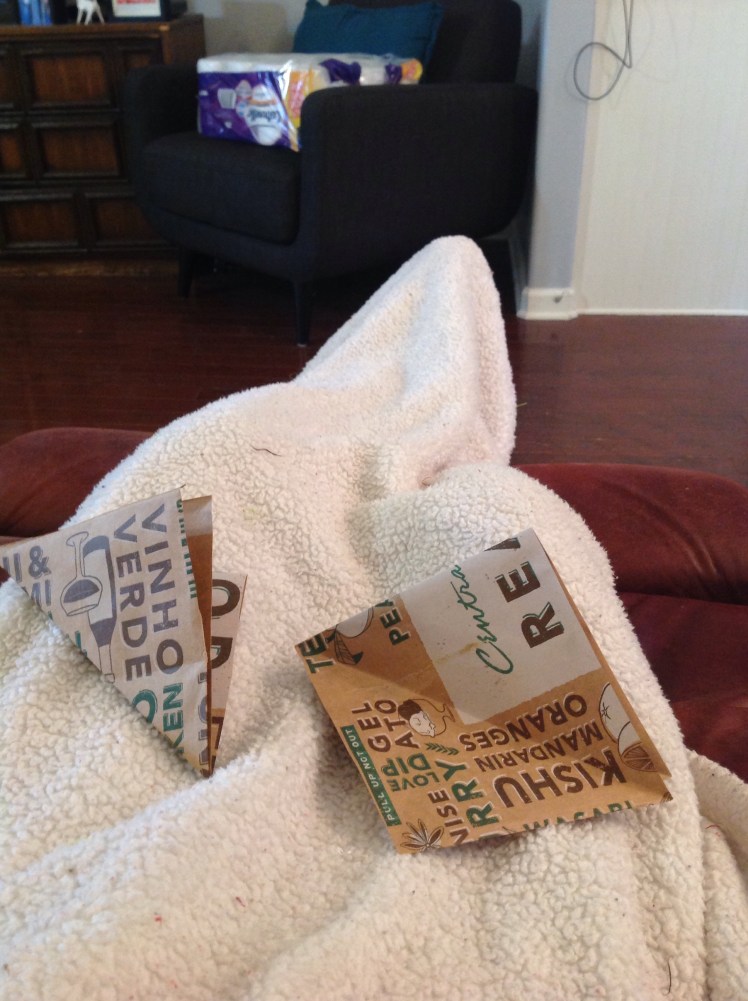
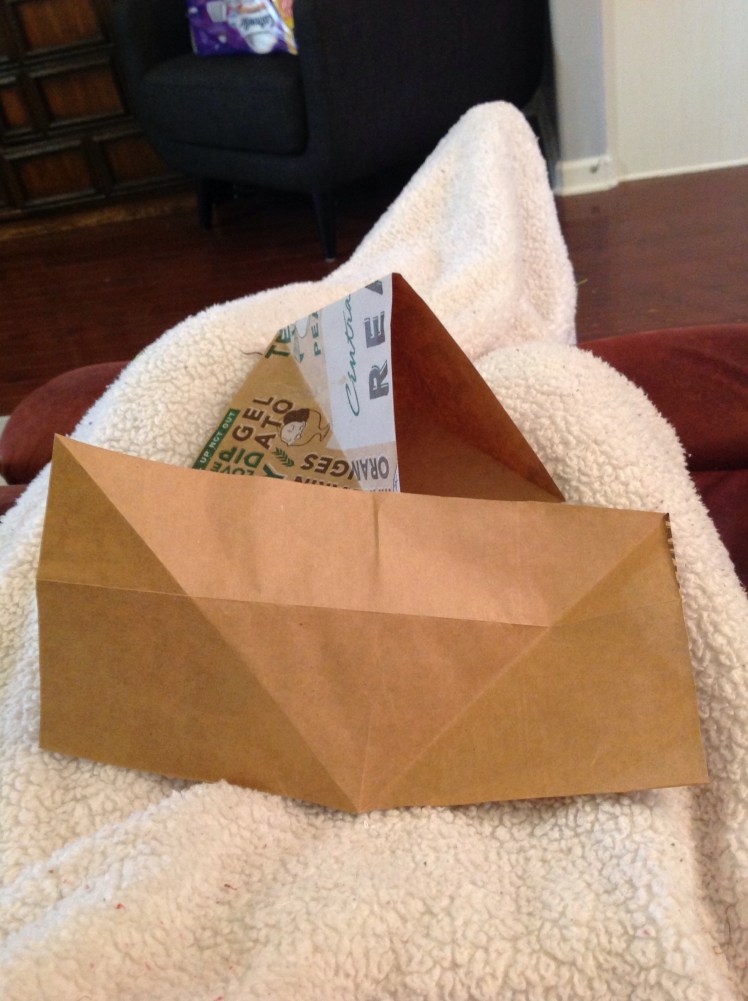
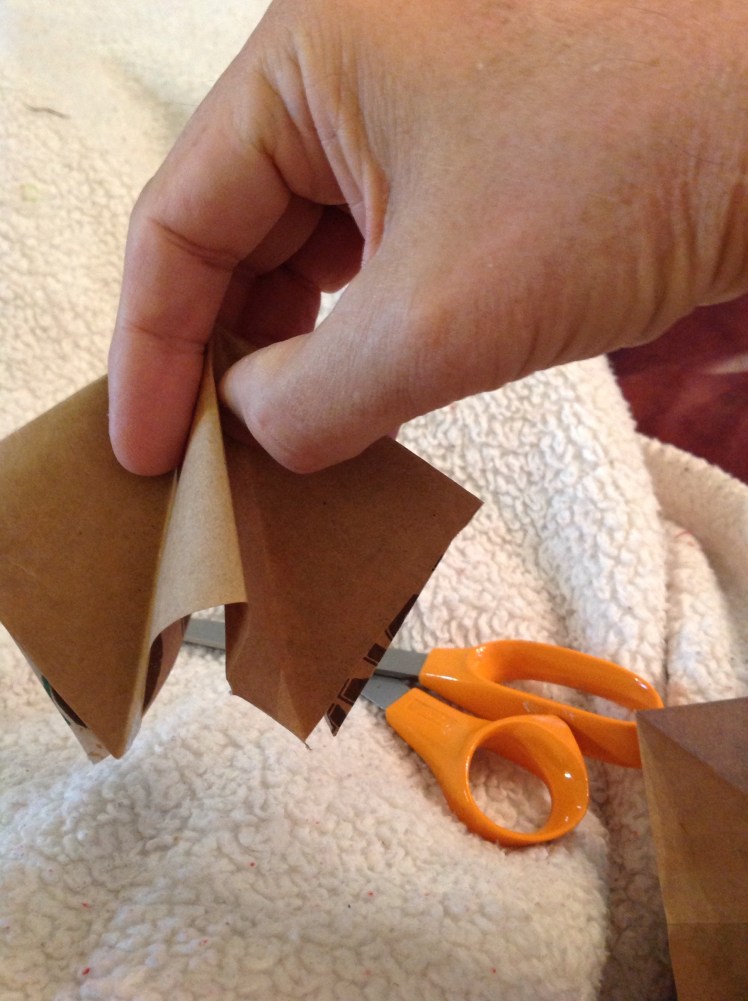
Open the rectangles and cut in half to form your squares.

How to Fold The Bird Bases:
Now we can make the two Bird Bases needed for the body of the deer. Begin by placing one of the squares in the diamond position. Now fold an “X” on the paper with two crossing valley folds. Then, turn the paper over and place it like a book, square position. Now fold a cross by folding the top to the bottom and one side to the other.
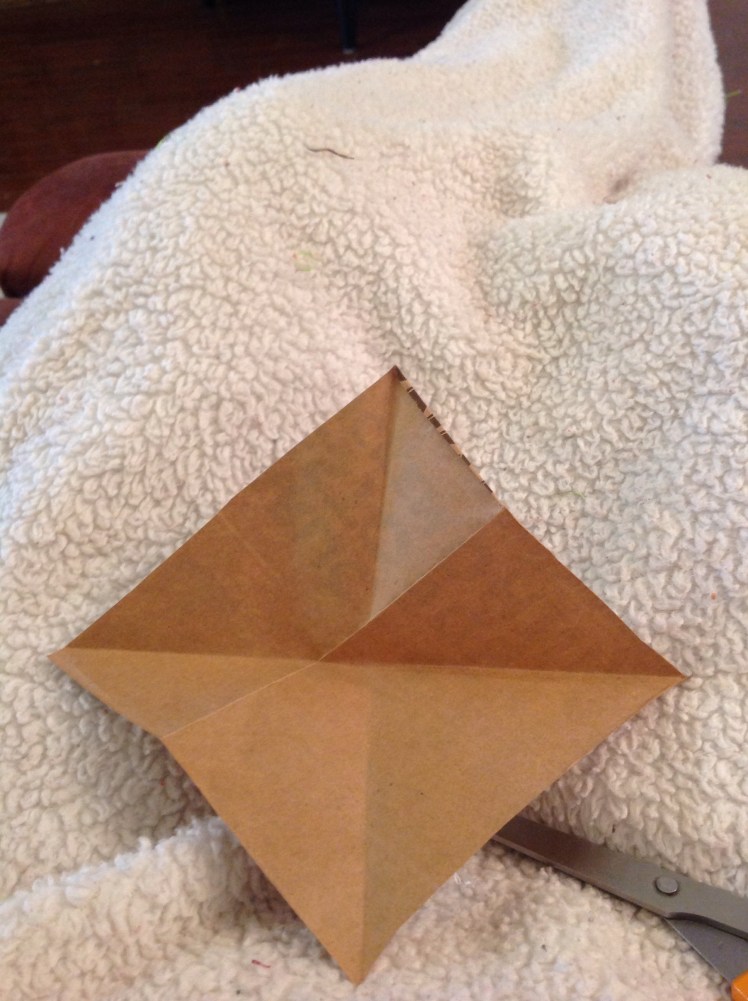
Set Up Your Tent:
Now place the four corners of the paper on the table so it looks like a tent.
Squeeze It Into an Inverted Water Balloon Base:
Grab each end of the tent and bend your hands downward. This will collapse the form into the inverted water balloon base:
Open Side Toward You:
Next lay the base on the table so the open side faces you. Squash it flat and then fold an Airplane Point using the top layers of each side to seal the bottom. Turn the paper over and fold the same on that side.
Think of an Ice Cream Cone:
Fold down the part that would be the ice cream at the top of the Cone. Bend it down the flip the paper and bend it down on the other side. This will create a hinge fold and provide a pivot place for forming the petal folds to follow.
Put the “ice cream” part back up. Now swivel the paper so the Cone is up. Pretend that the paper is an alligator’s head. Unfold the top layer and stick your fingers into the jaws on both sides. Bend the alligator’s top jaw back towards you. Reform the Cone shape to form a diamond. Do this on the other side of the paper as well.

Let’s Make the Legs:
Place the Bird Base so that the split end is toward you. Use the middle horizontal crease as your guide when folding the next fold. Bend the left side out diagonally until it lines up with the horizontal crease in the middle of the base. Repeat on the other side up the base. Now, flip the paper and do the same folds on the reverse side to create hinge folds. Again, these folds will let the paper know where to bend when you do the pop folds.
Next, pop fold the side pieces so they go to the inside of the fold like this:

Make the Legs Skinny:
Next we will make the Legs skinnier by folding them in half diagonally out toward the sharper point. Again, Pop fold these inside and repeat on both sides of the top and bottom of the figure.
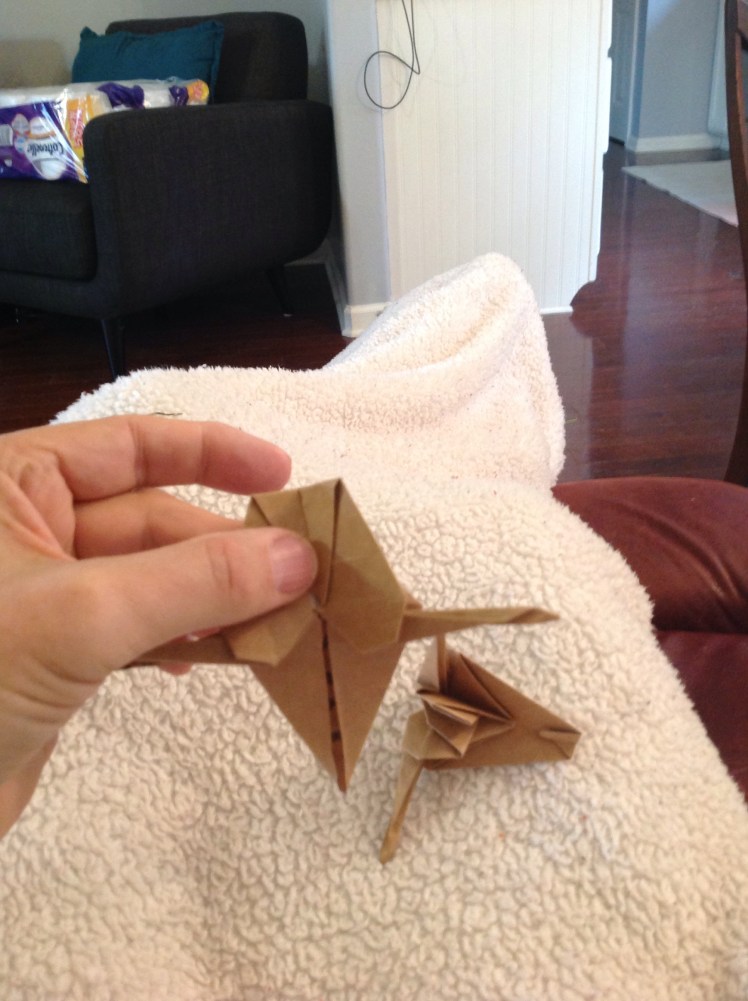
Make Two of These:
Let’s Start with The Back Region:
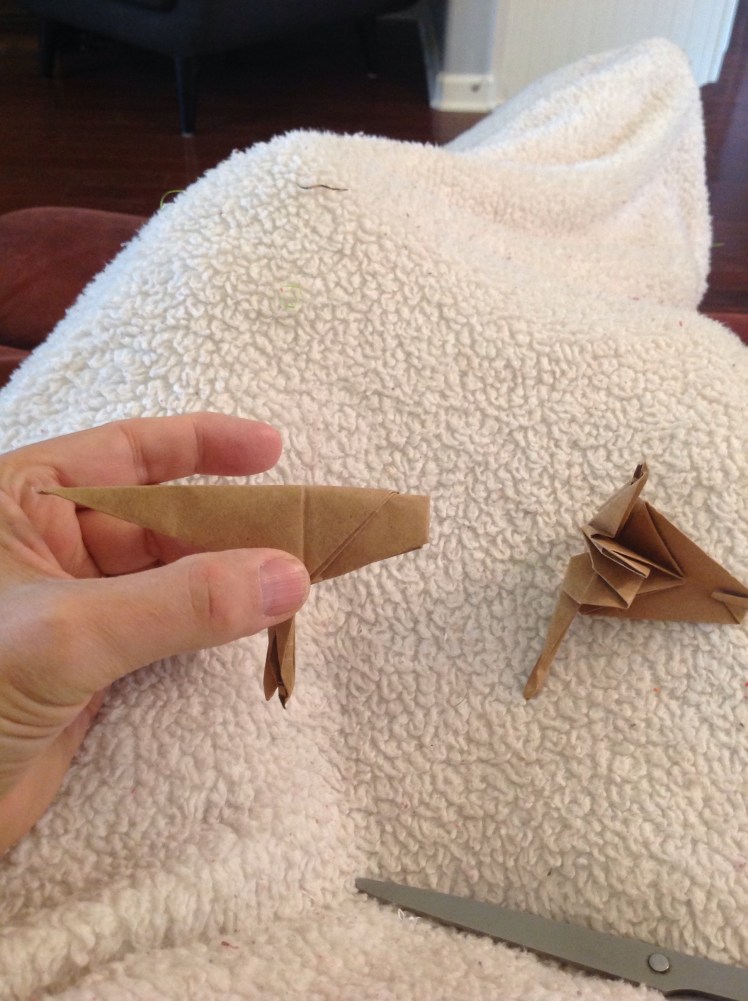
To form the back of the deer you need a tail. To make the tail fold the top layer down like this:
Tip the Top:
Next fold down just the tip of the top point like this:
Let’s Finish the Tail:
To form the uplifted tail we need to fold up the tail region vertically. Be sure to bend it up on both sides and clear up under the rump region. Now grab the tip of the tail and bend it up into a hold fold. This should look like this:
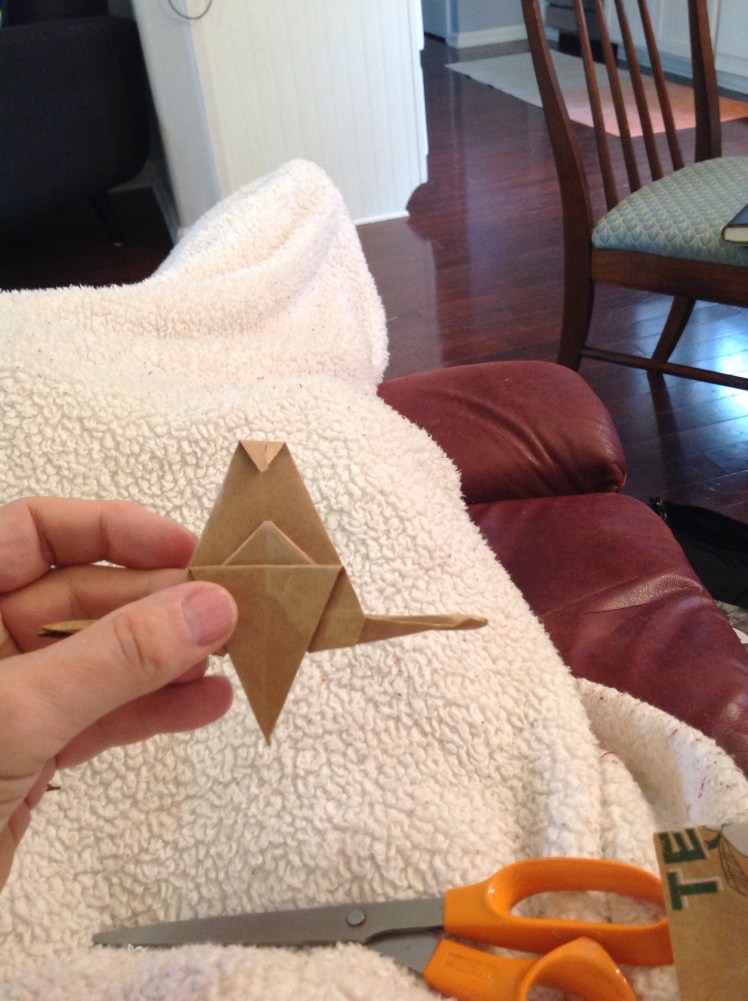
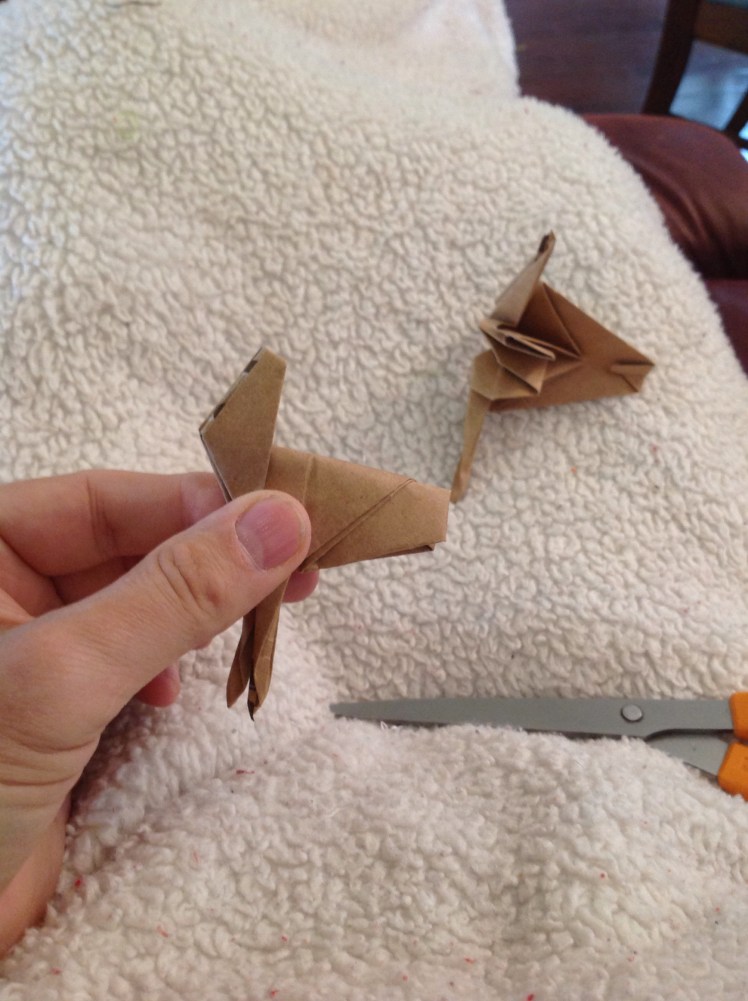
Let’s Make The Front of the Body:
Take your other Bird Base and fold down the top layer so it looks like this:
Pull both legs downward and crease the fold down the center axis like this:
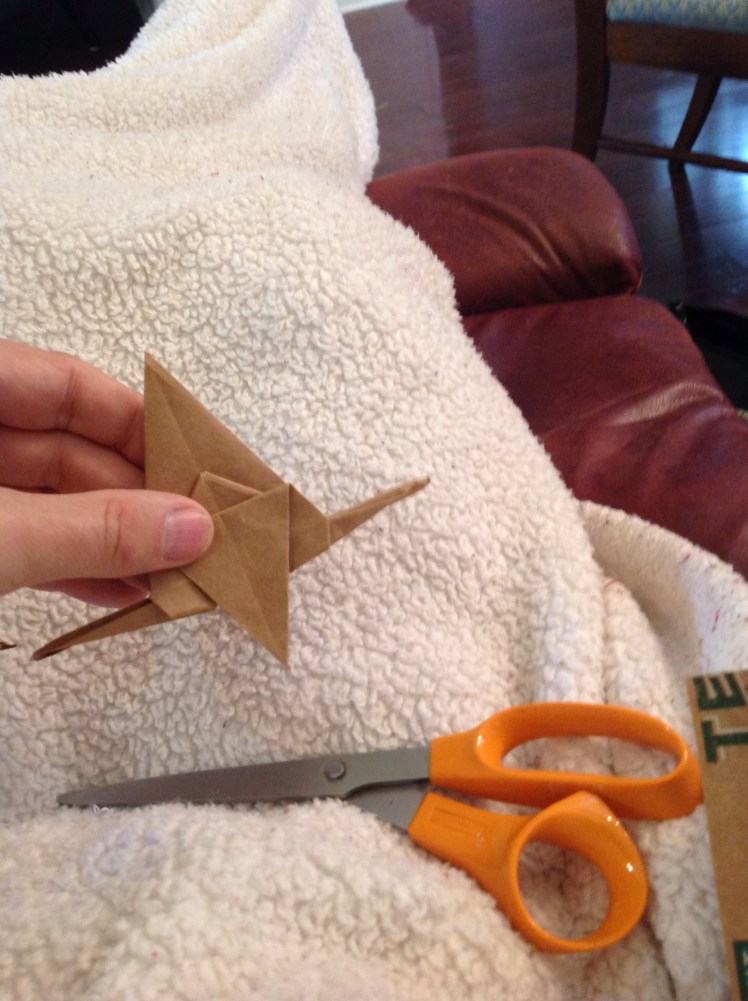
Tuck it In:
Now open the fold and fold in the point of the end that has the diagonal layer above it like this:
Bend up the skinny end of the paper to form the neck.


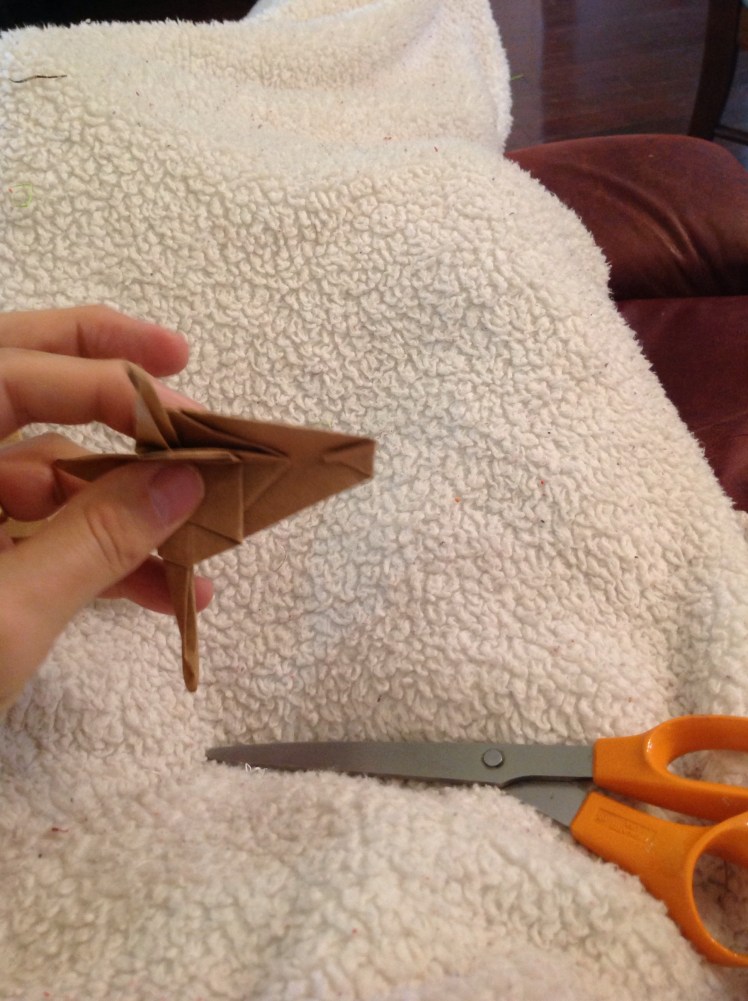
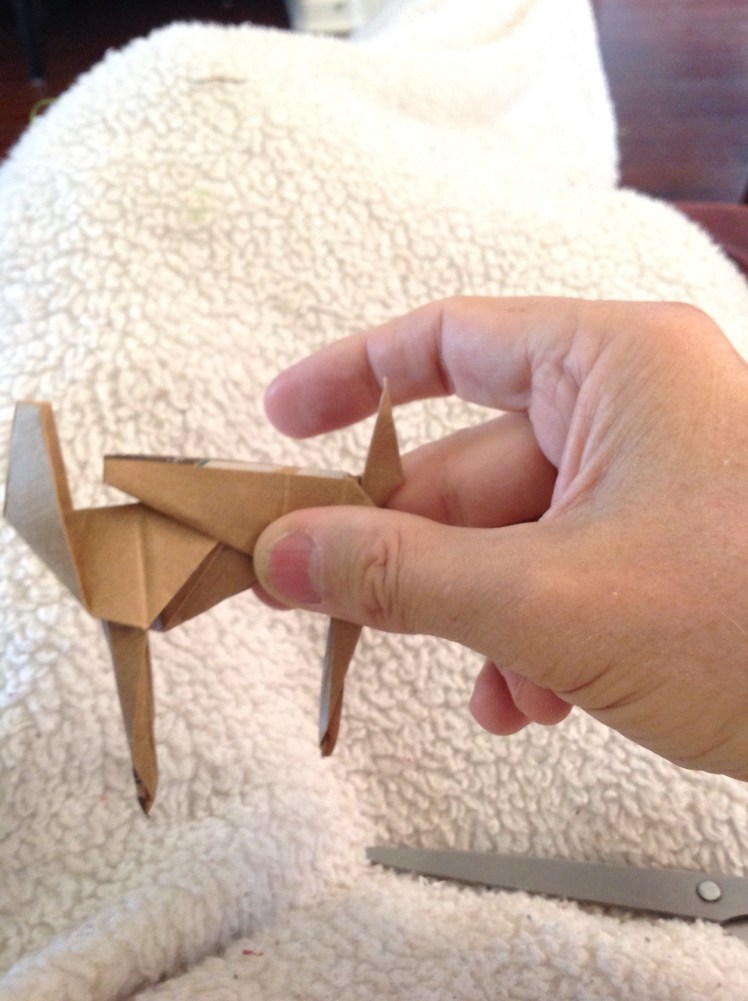
Hood Fold the Neck to the Outside:
Now that the paper is hinge folded it will be easy to pull up the hood to center the body under the neck: It should look like this:
Some Assembly Required:
Yes, just like so many of those toys you receive as gifts, some assembly required! It’s not too difficult, however. Since brown paper is very porous it will require a bit more pressure when gluing and will need to be held a little longer while it sets. Here is how to assemble the body:

Add Glue to Flatten the Form:
The pictures following show you where it is best to add some glue:
Squeeze and Hold!:
After applying the glue, press down on the side and apply pressure for at least thirty seconds to bind the form together.
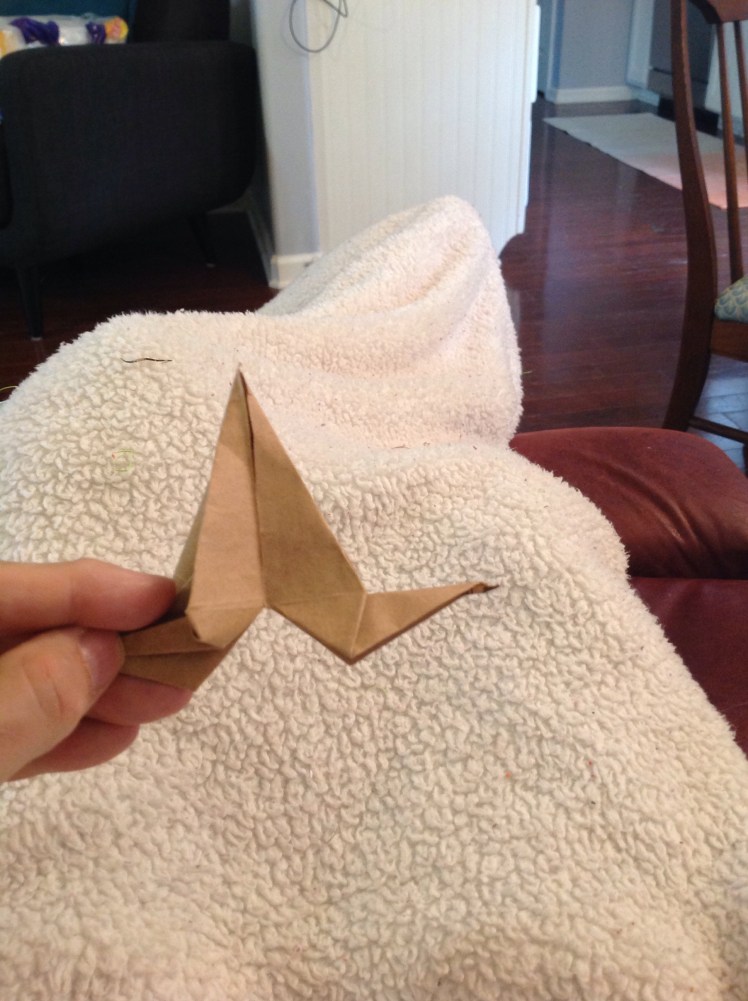
If I Only Had a Head!
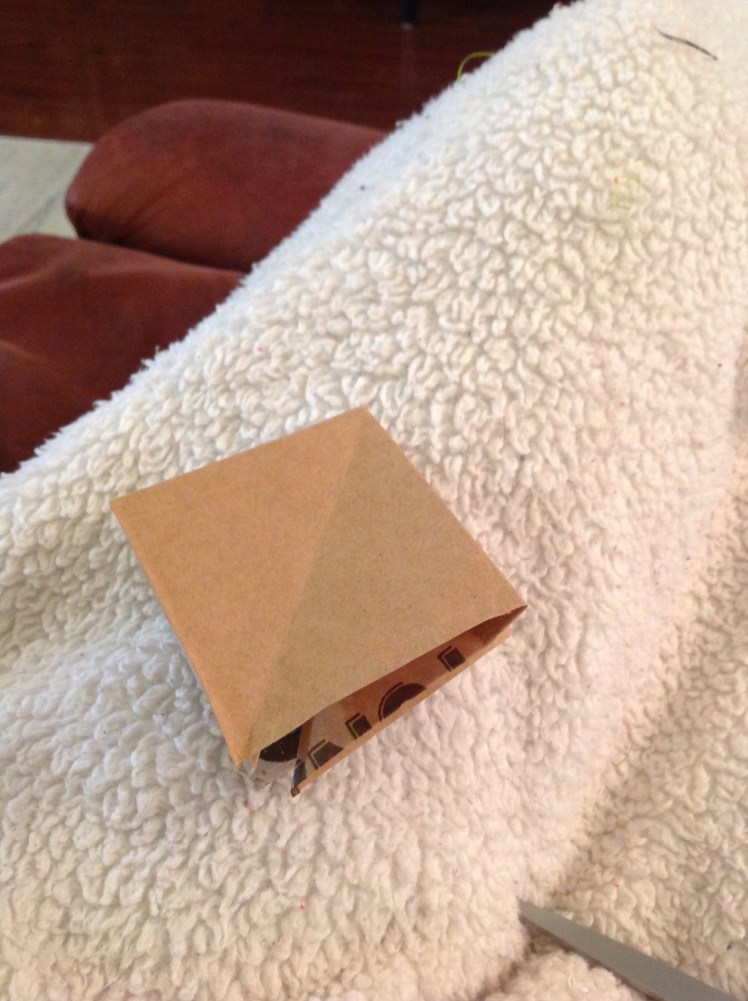
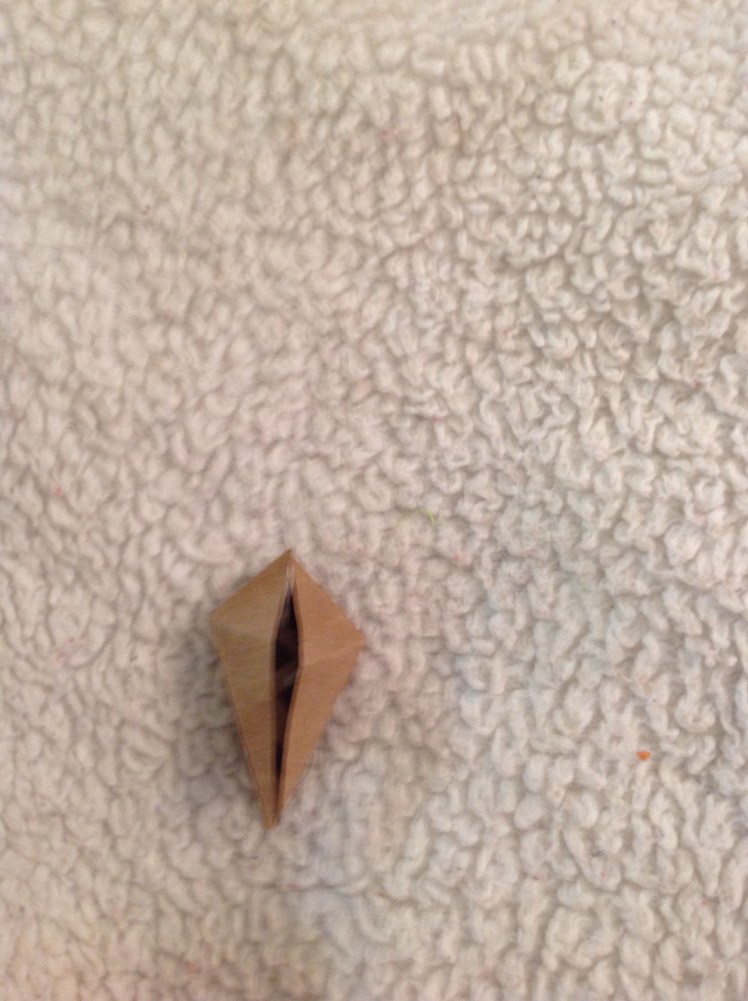
Now we need to make the head. Using the smallest square of paper, (it should be one sixth the size of the squares used for the body pieces), we will turn it like a diamond with the printed side up. Fold an Airplane Point on one side. Open it and do the same on the other end of the paper. Now, turn the paper over and pull the two point together like this:

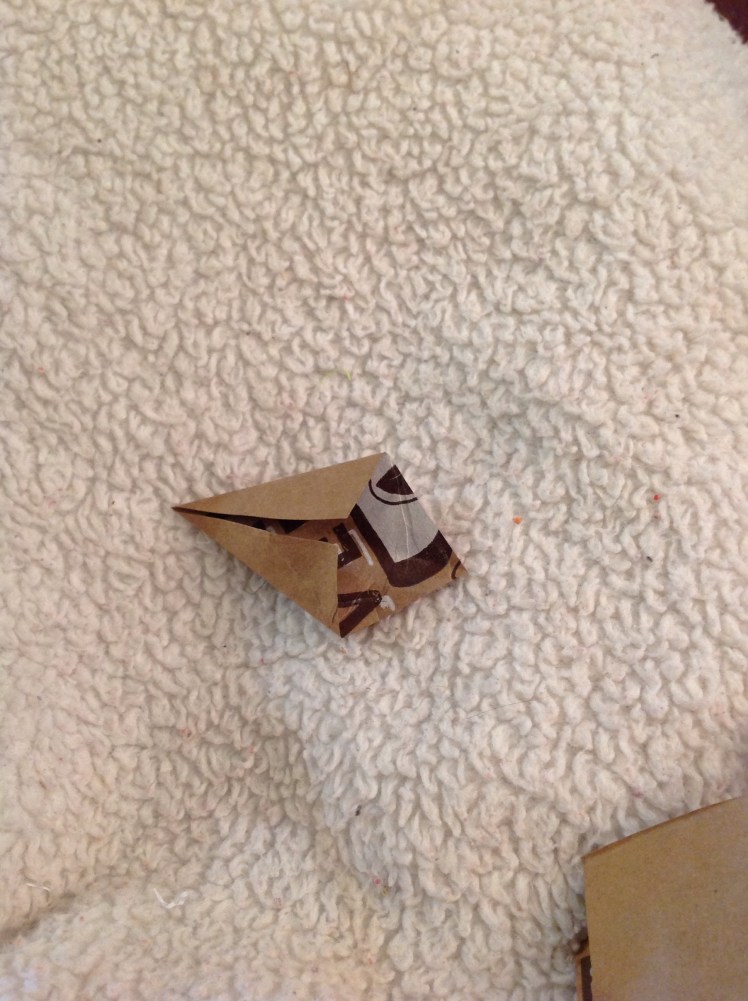
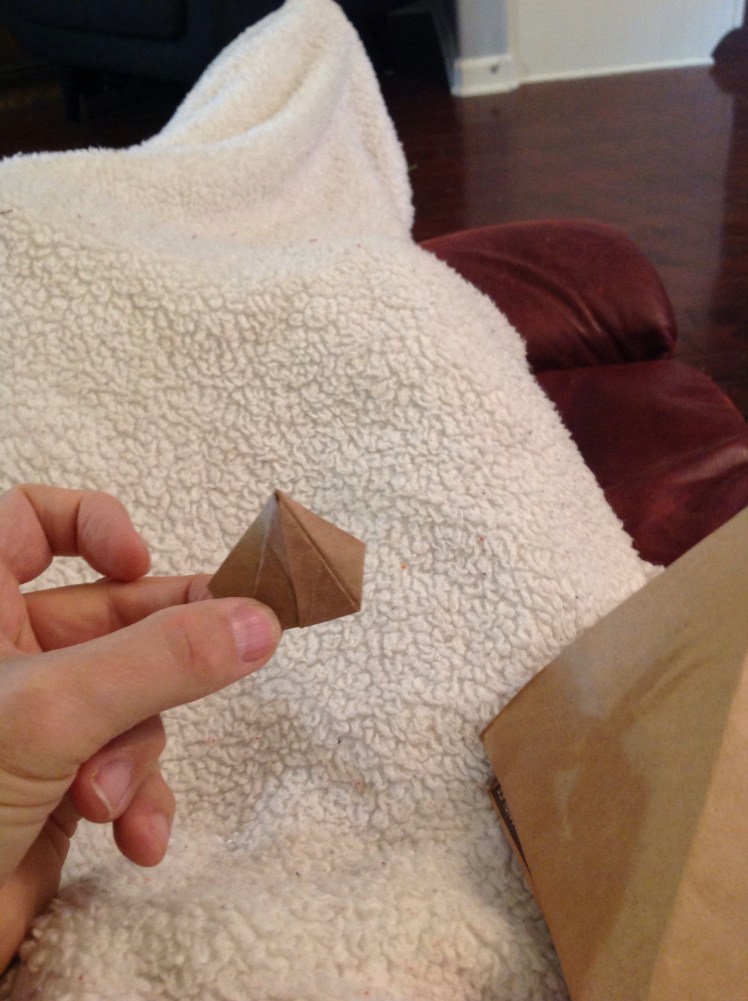
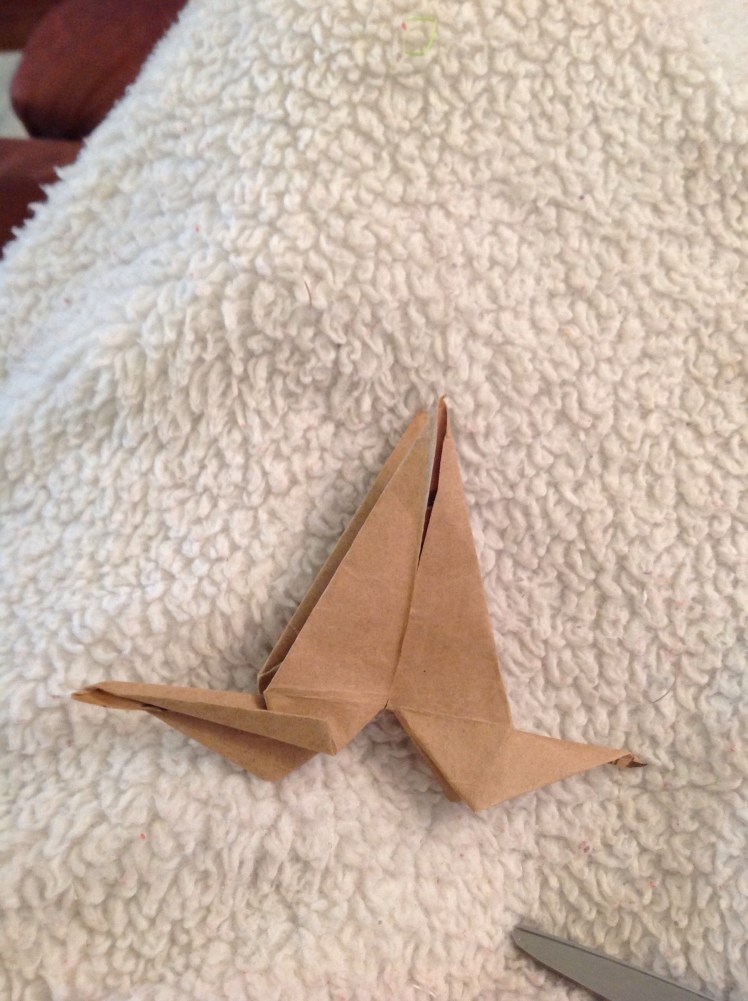
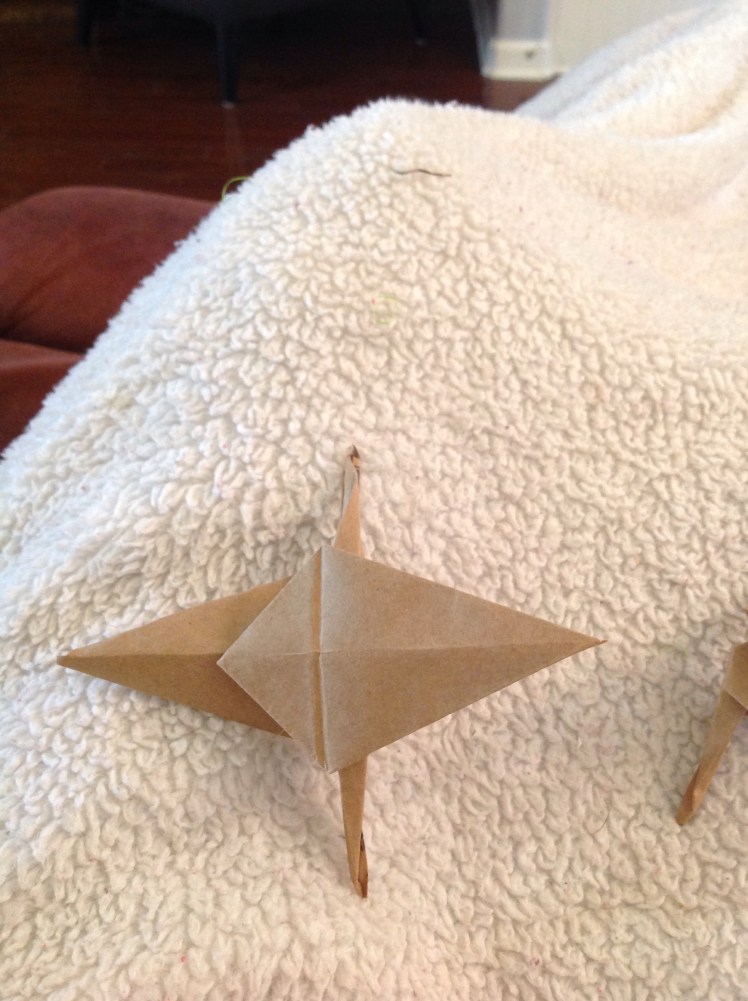
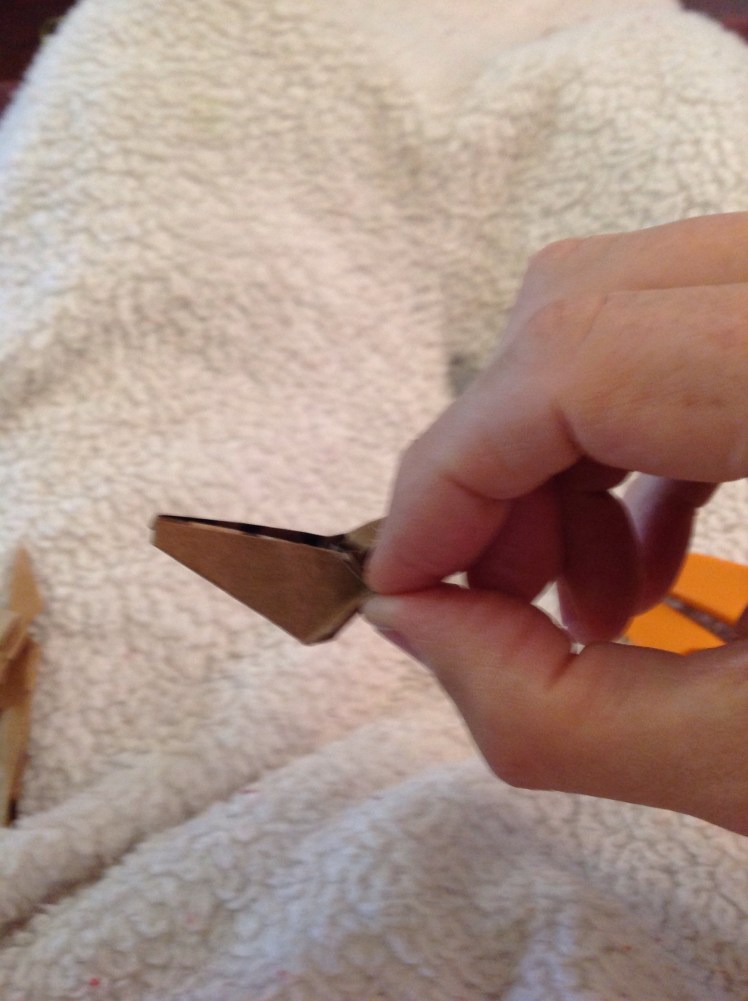
Here is the Finished Fish Base:
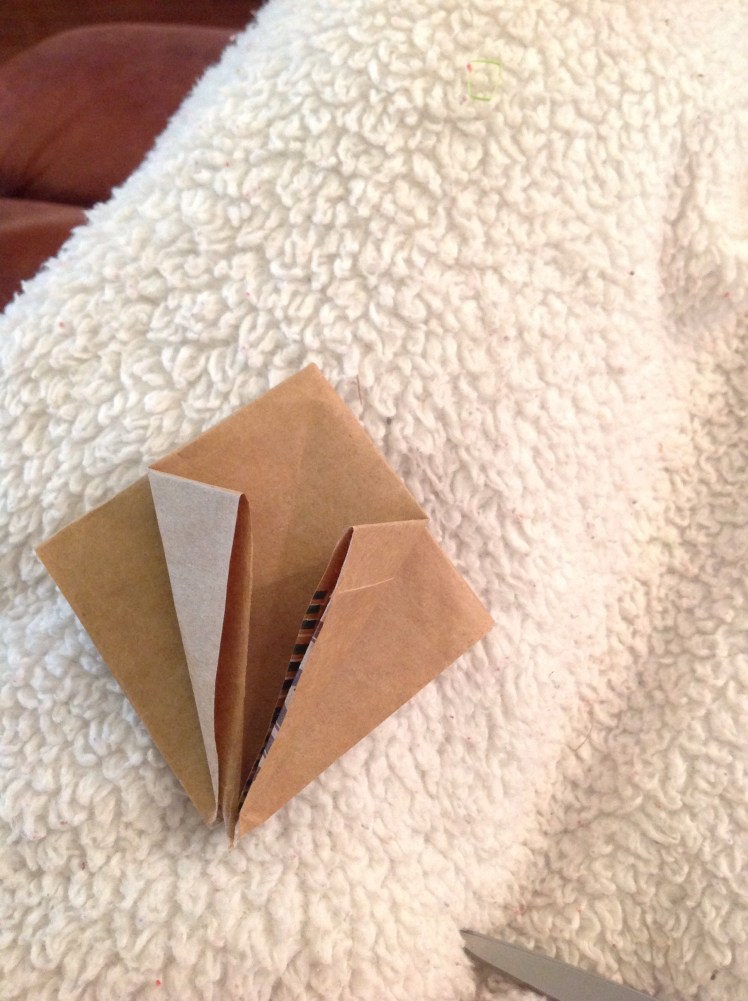
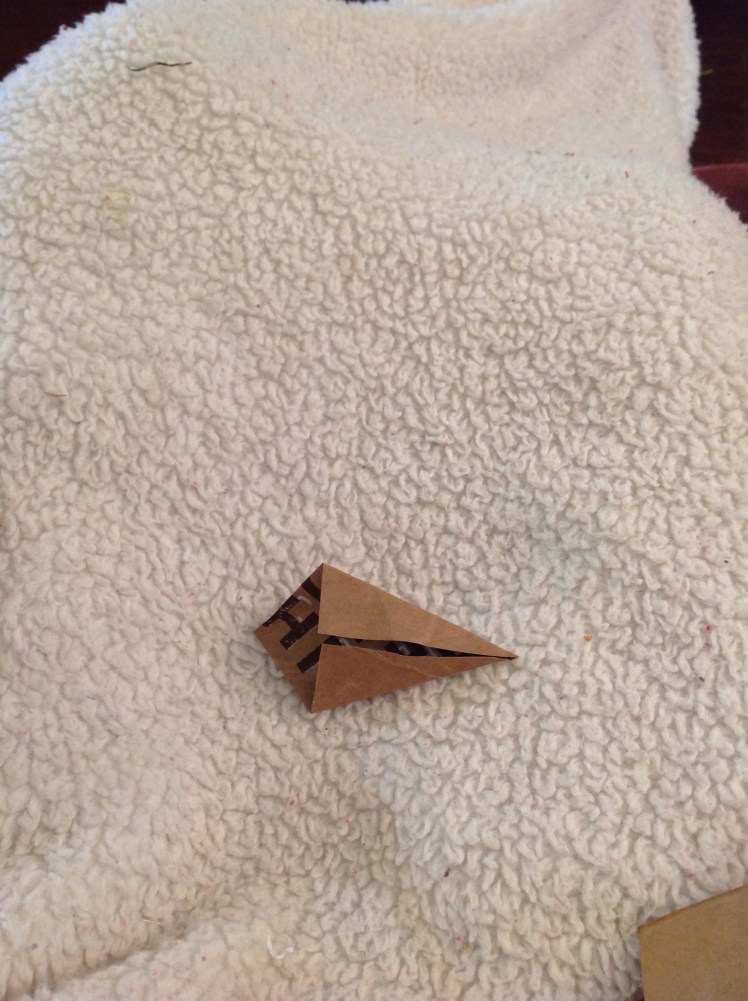
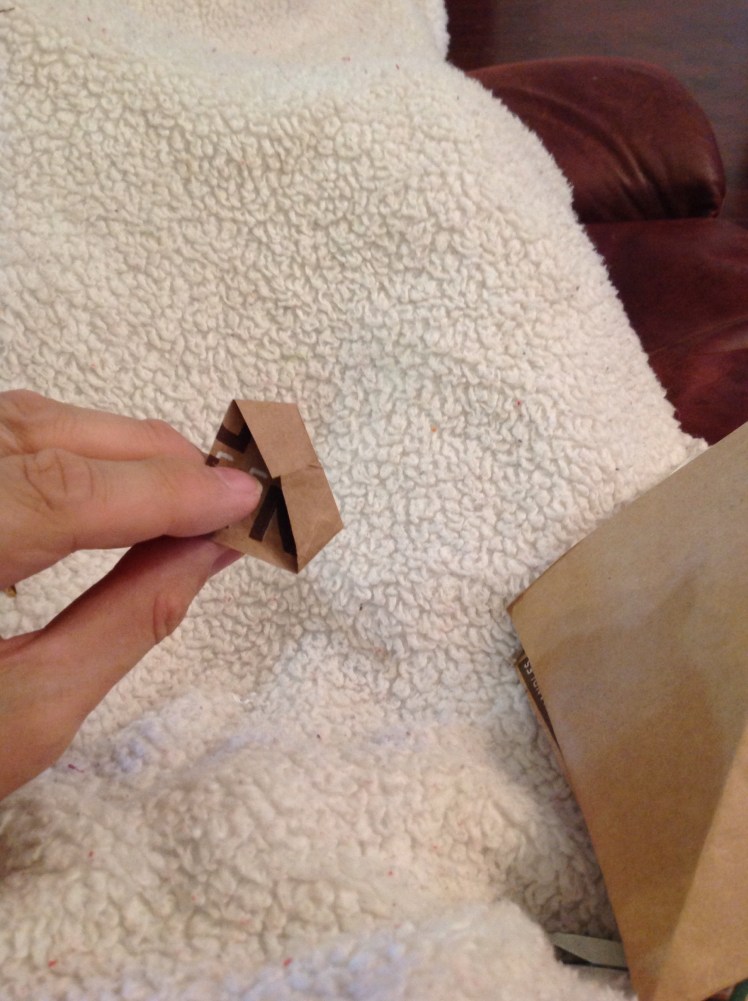
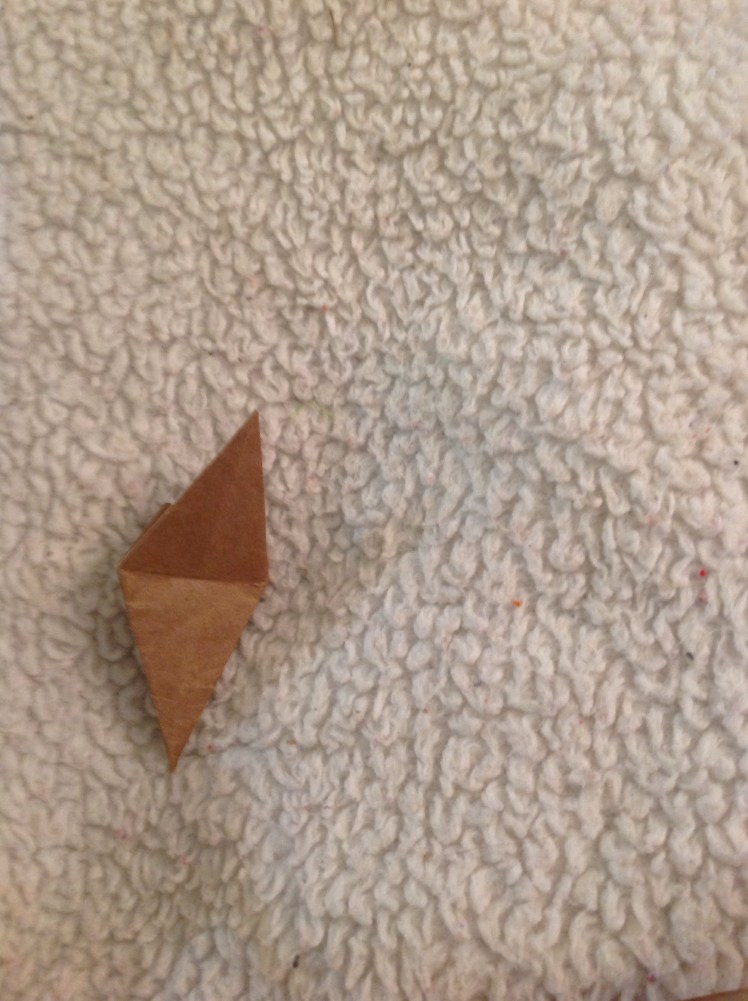
Open the Sharp Pointed End:
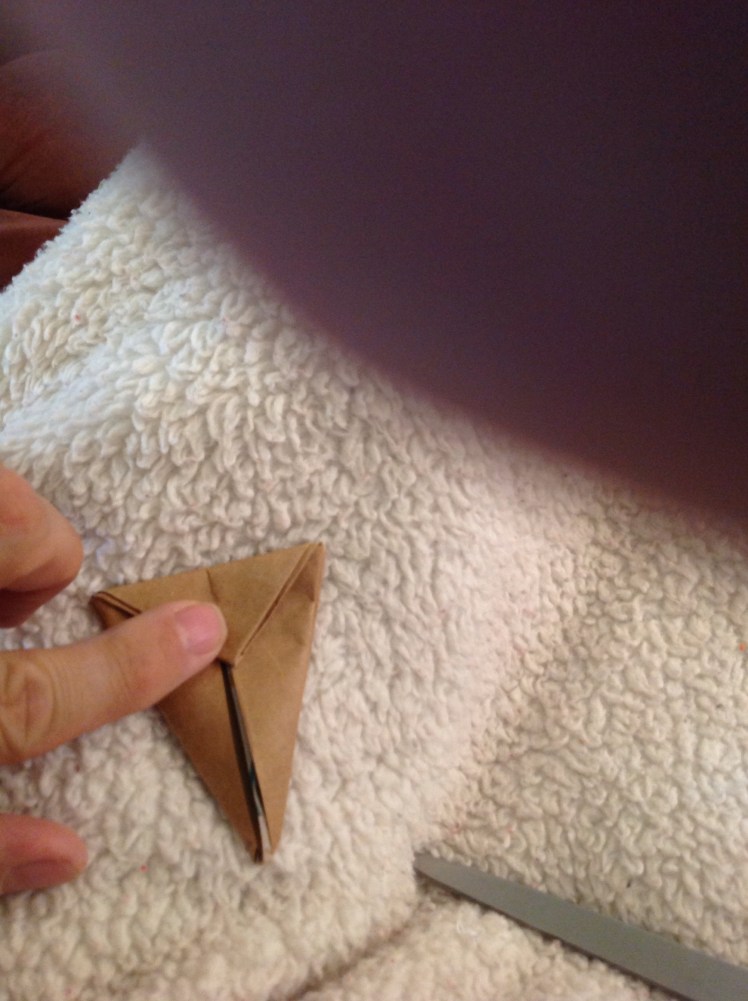
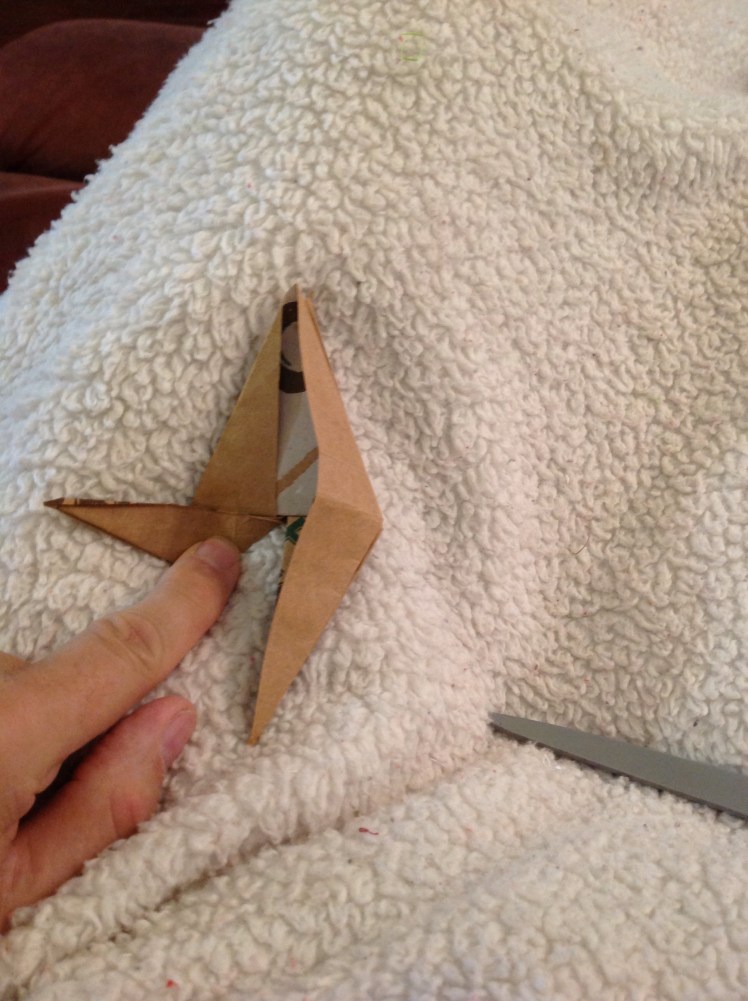
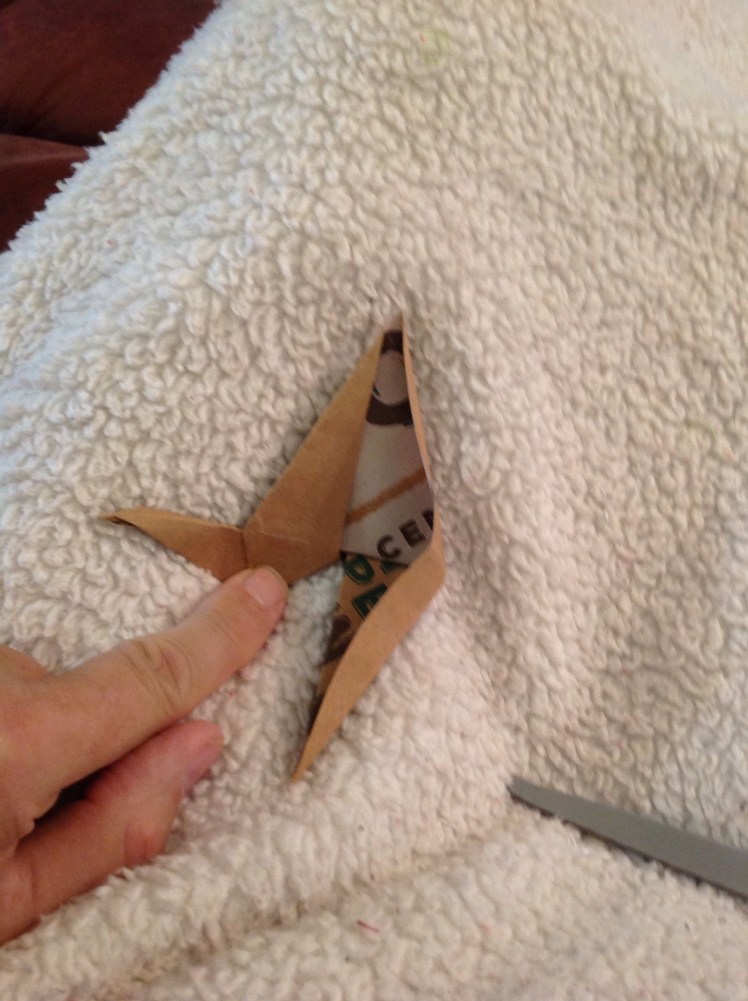
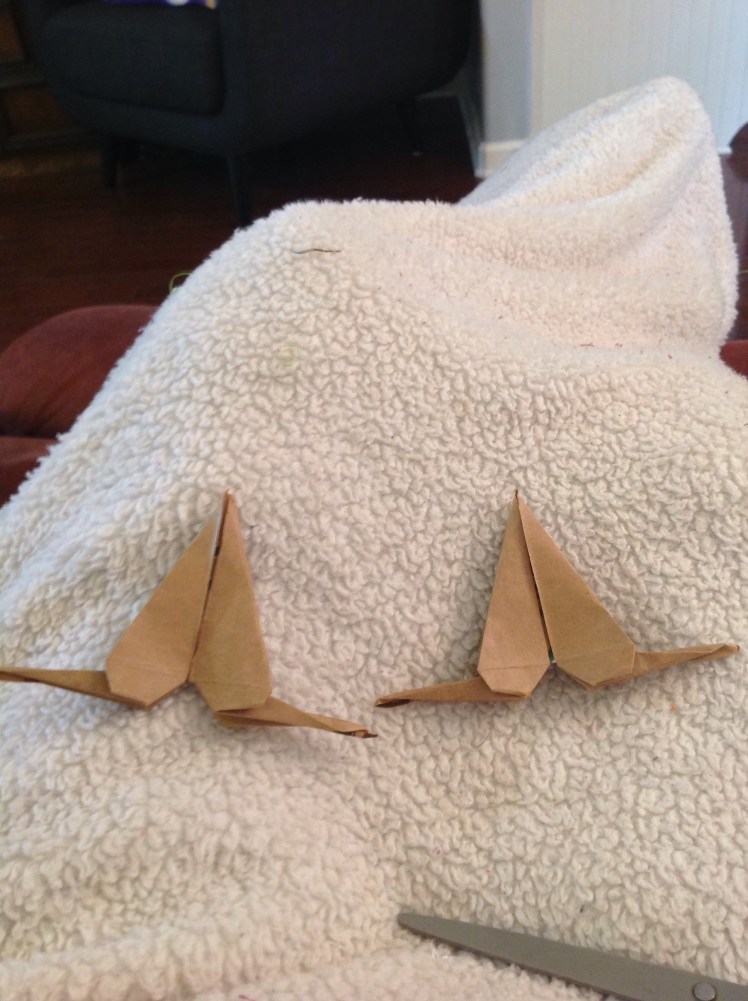
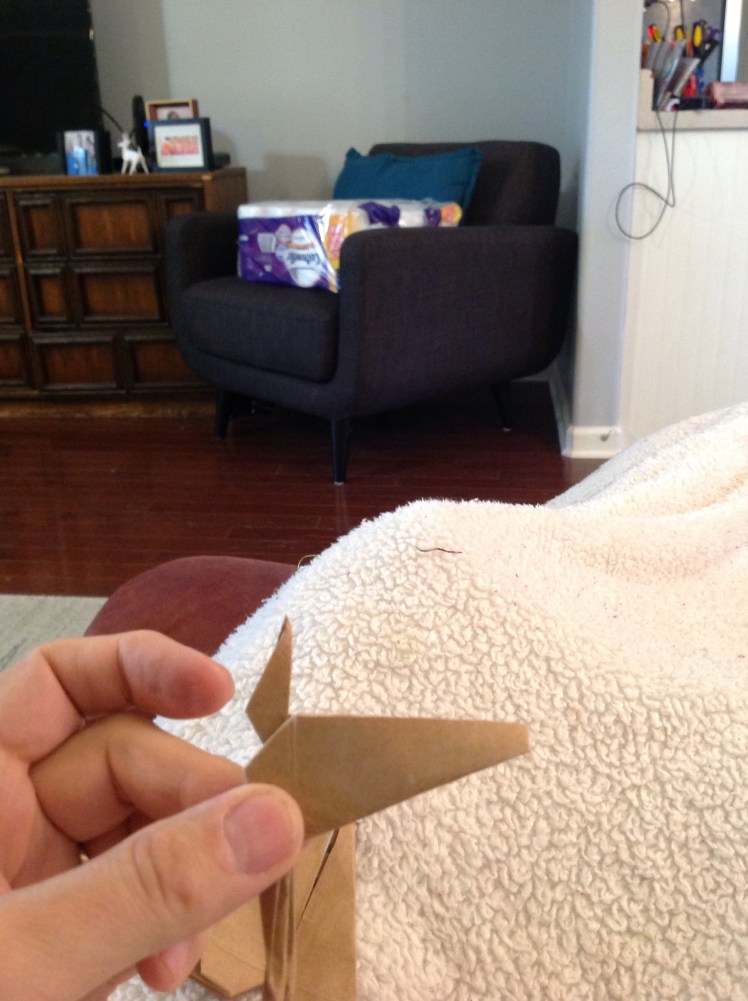
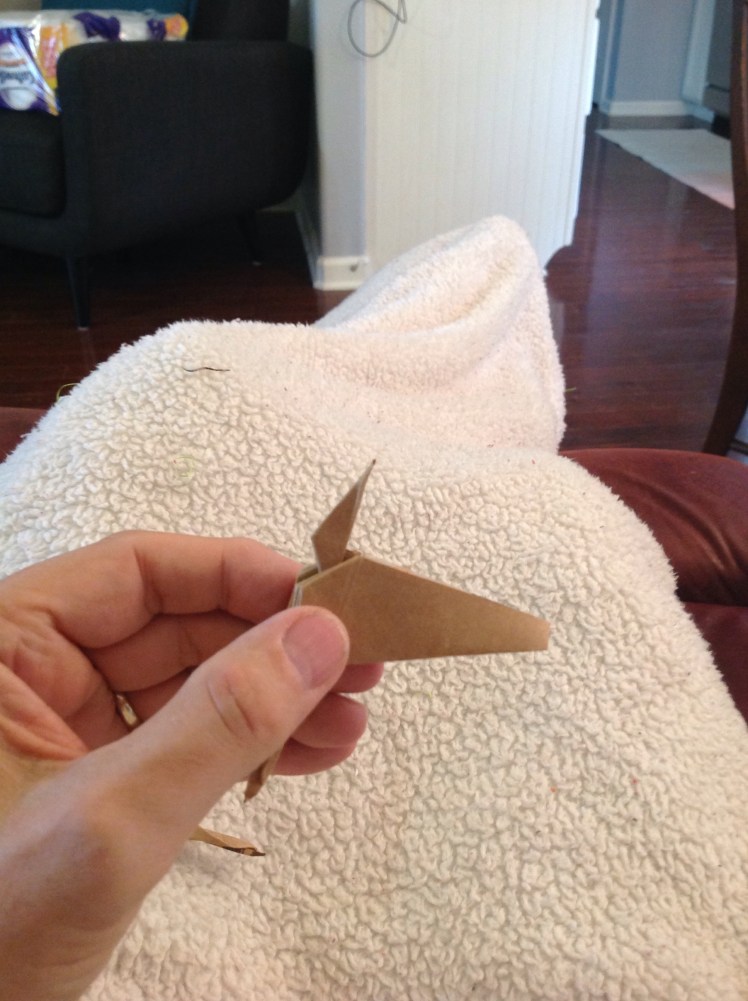
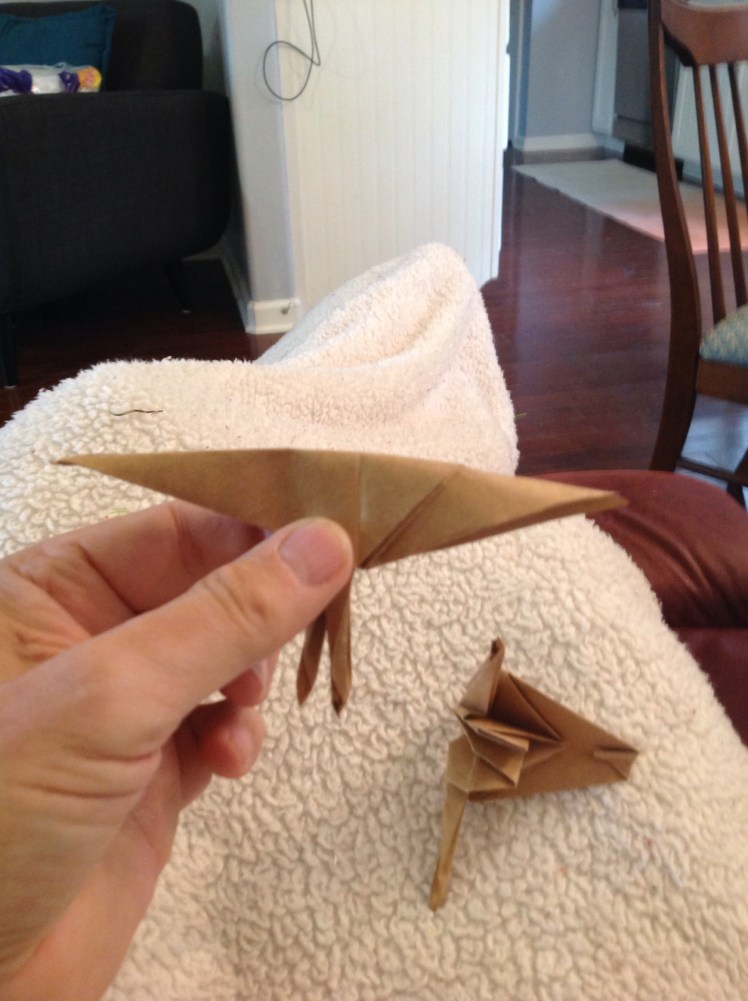
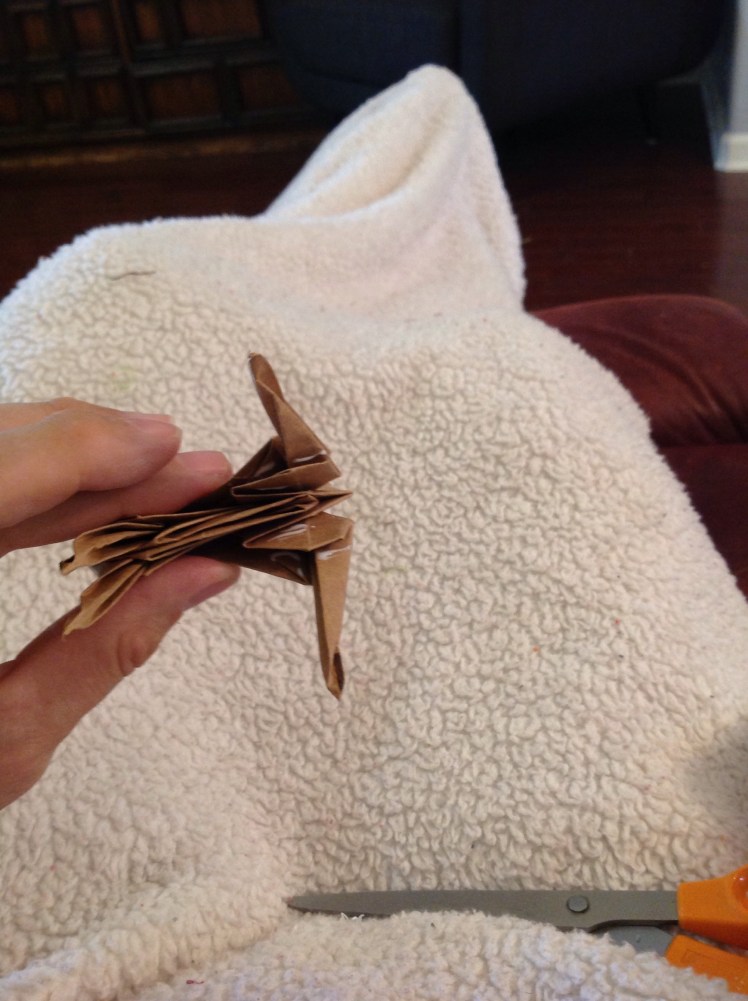
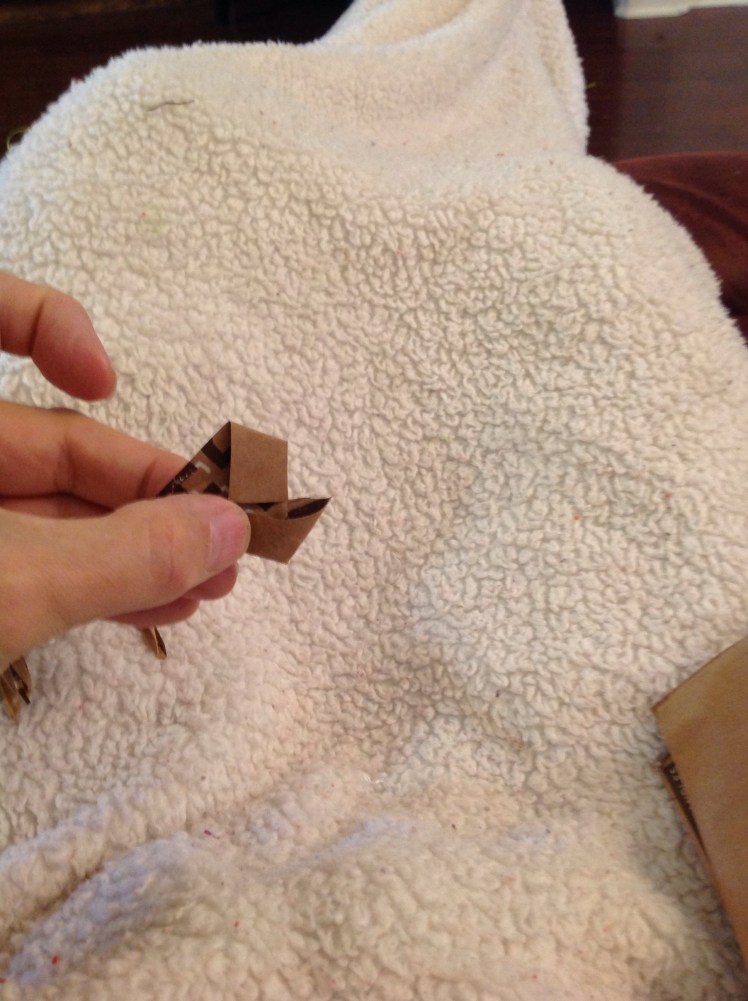
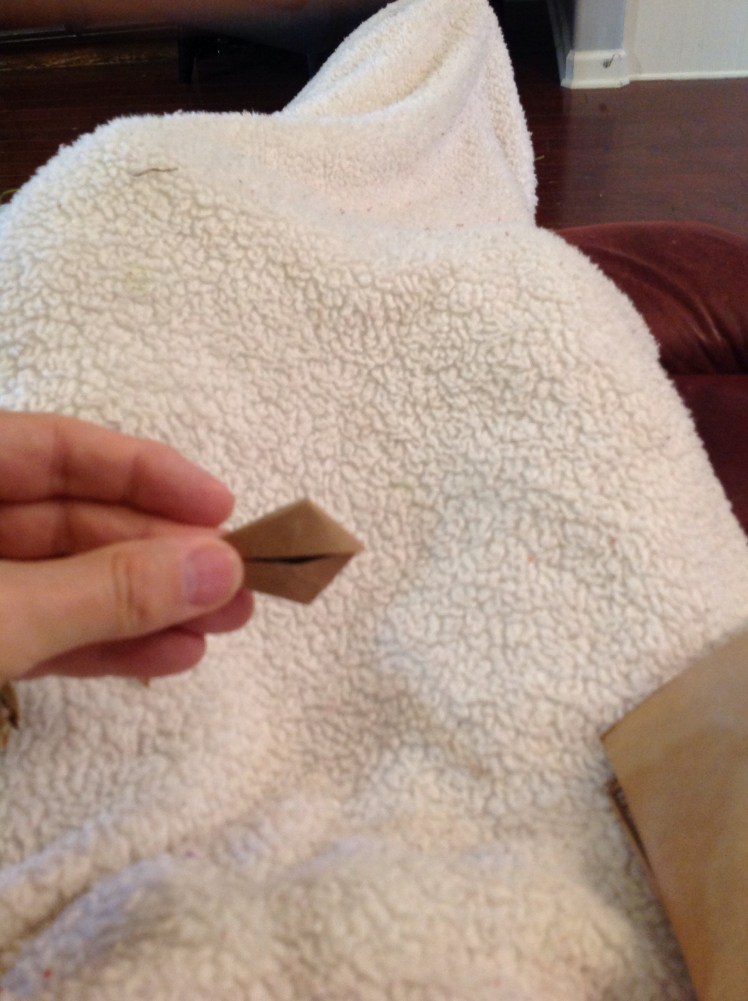
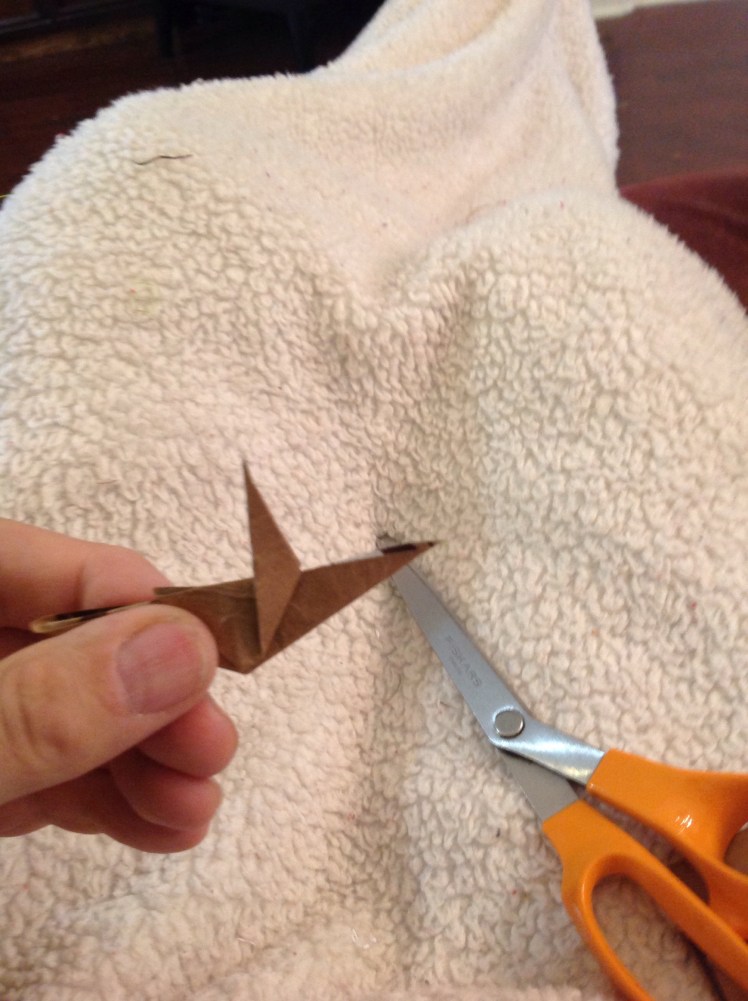
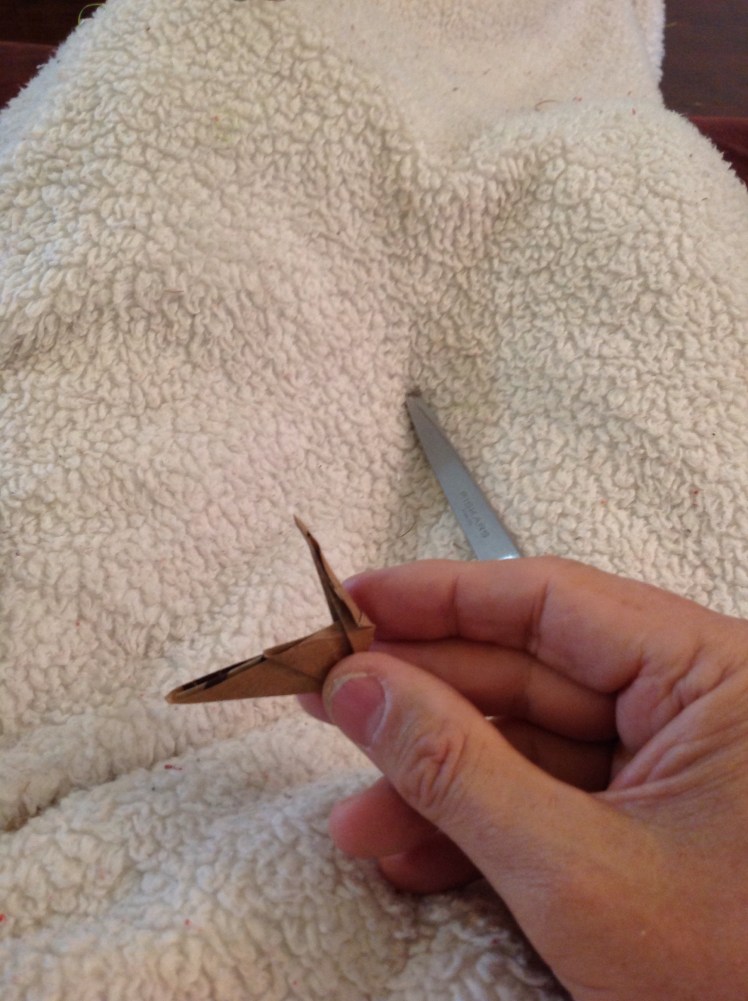
Split One End to Form the Horns:
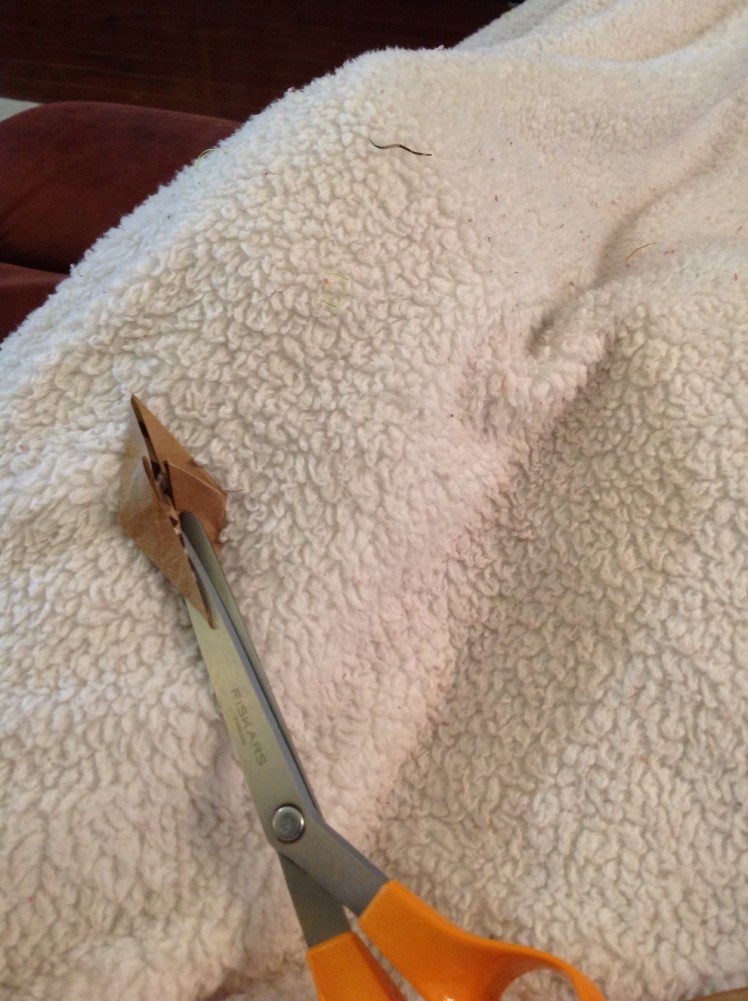
Fold the two outer edges down and flip the ears forward. Bend the horns up on each side of the paper. Fold them in half diagonally to make them skinnier. Add bends to shape the antlers. Flip the ears back so they surround the base of the antlers. Pinch the ends of the ears to shape them.


It’s Time to Get Our Heads On Straight:
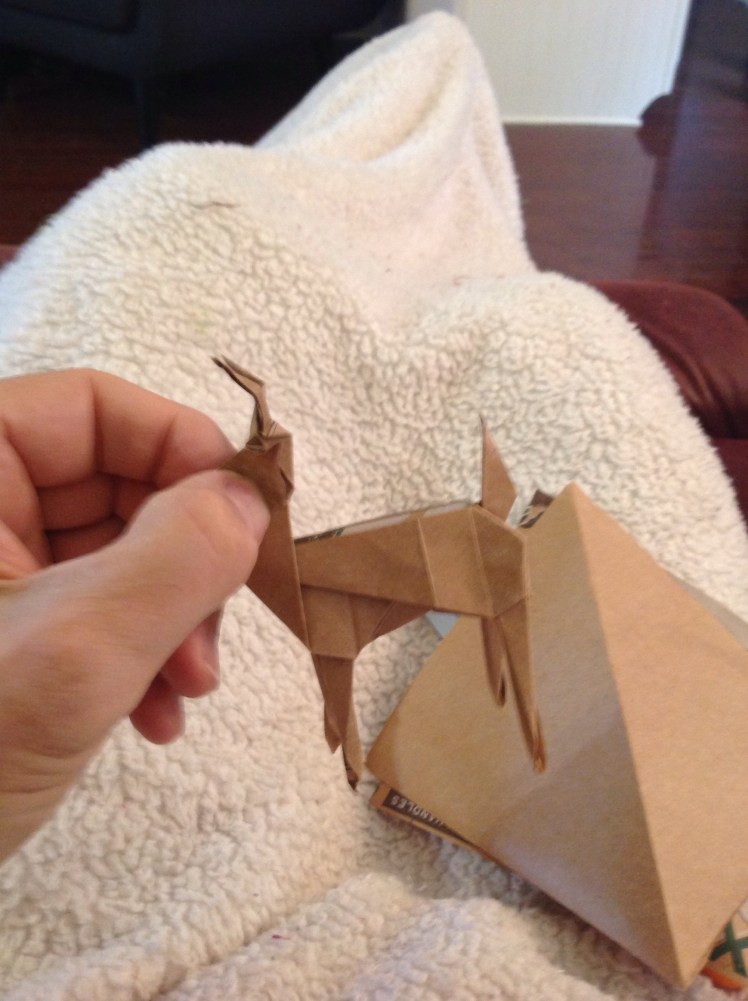
Now that you have finished the head you only need to glue it on to the neck. Adjust the position that most captures the characteristics of a deer. Squeeze the cheeks until the glue dries……and…….you have a deer.
Time to Consider the Significance of the Deer:
Every time I fold a deer I am reminded of the song entitled, “As the Deer”. Maybe you have heard it to. The lyrics are taken from Scripture and read, “As the deer panteth for the water. So my soul longeth after Thee. You alone are my heart’s desire. And I long to worship Thee…”
The Scripture from which this song derives is Psalm 42:1-5:
NIV “As the deer pants for streams of water, so my soul pants for you, my God. My soul thirsts for God, the living God.”
I don’t know where you are in your relationship with the God of the universe, but I can tell you, in knowing Him and accepting His free gift of salvation, your soul can be fully satisfied just like King David was when he penned these words long ago. He has been satisfying souls with the living water since the beginning of time.
Make More and Share:
After I made a bunch of deer I gave several away. Some actually went back to the market where we got the bags. Others went to a work site where several employees were begging for a deer to put in the work cubical. Others went to friends and families. I just folded up a bunch more to give to some students that are taking my origami class at the Library. It’s amazing how many people you can meet giving away origami creations. Who do you know would enjoy one? Why not make a large herd of deer to give away. Spread some cheer!