Discovering New Forms:
This past week I have been experimenting with several methods for forming geo-forms from paper. While fooling around with the paper I came up with a new way to make a sphere. Each base unit has four arms for attachment, thus the “Quadra” name.

Above is a picture of a space station made with seven spheres and connectors.

Above you can see the base spheres used for the project.
Let’s Learn How to Fold the Base Units for Constructing a Sphere:
For each sphere you will need at least two sheets of colored copy paper (you could also use white).

Next you will fold the paper top down to the bottom.

Next fold the right side to the left quartering the sheet of paper.

Cut off the extra end piece to form rectangles. Then cut in half to
get four squares from each sheet of paper.


Now that you have the squares let’s turn them into base units.
Begin by X-ing one side of the paper. Then flip it over and fold a cross in the center of the paper to form the water-balloon base’


Lay the fold on its side with the pointed end down. Then fold up the bottom to the middle of the top and crease it well.

Next, open the fold and pinch the four corners so it forms a mini table top.

Then depress the middle while squeezing the sides to sink fold the center.


Now you have your base unit., we will make six of these before the gluing part.

Now let’s do the gluing:

Place glue on just the small triangle region of the star points like this.
Then add another unit like the following:

Keep adding units in this same fashion until all the points are covered.


Want to Go to a Grander Scale?
After making several spheres you may want to create a larger sculpture. To do this you will need connector units. These are easy to make by just folding a square of paper into a inverted water balloon base. These slide right into the slots of the ends of the sides of the spheres.


You can vary the sizes of the squares used to make the connectors for different looks.

Add as many spheres as you like to make long chains or larger spherical constructions.


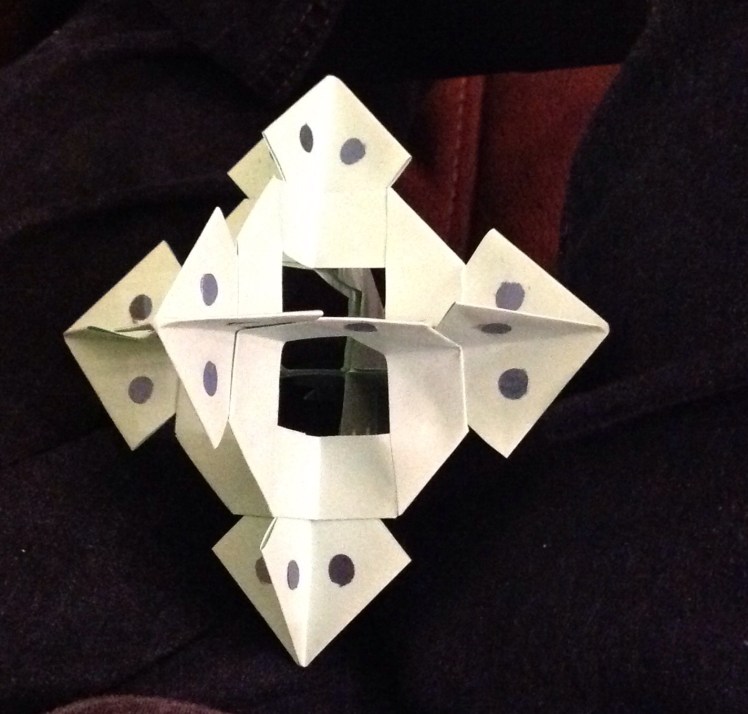
You can use a hole punch to create dots to glue on the surface.
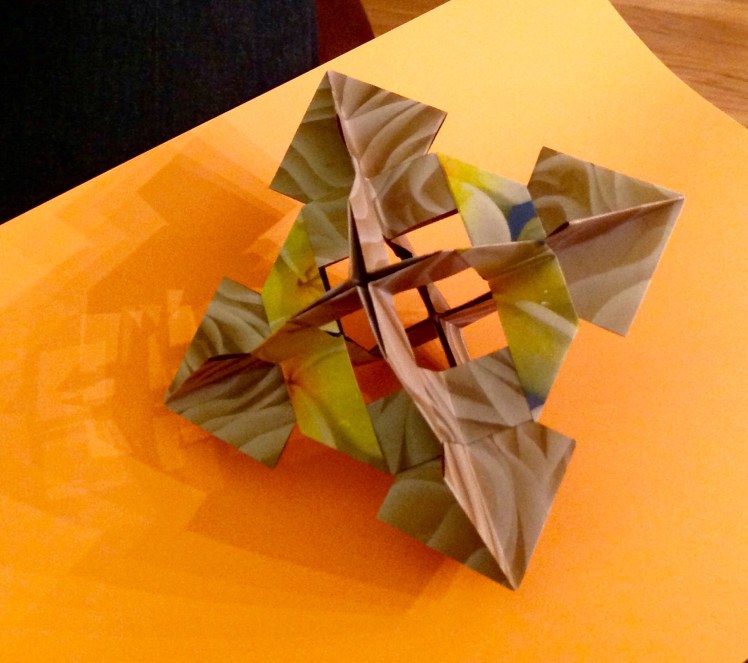
You can also use colorful paper with patterned designs.
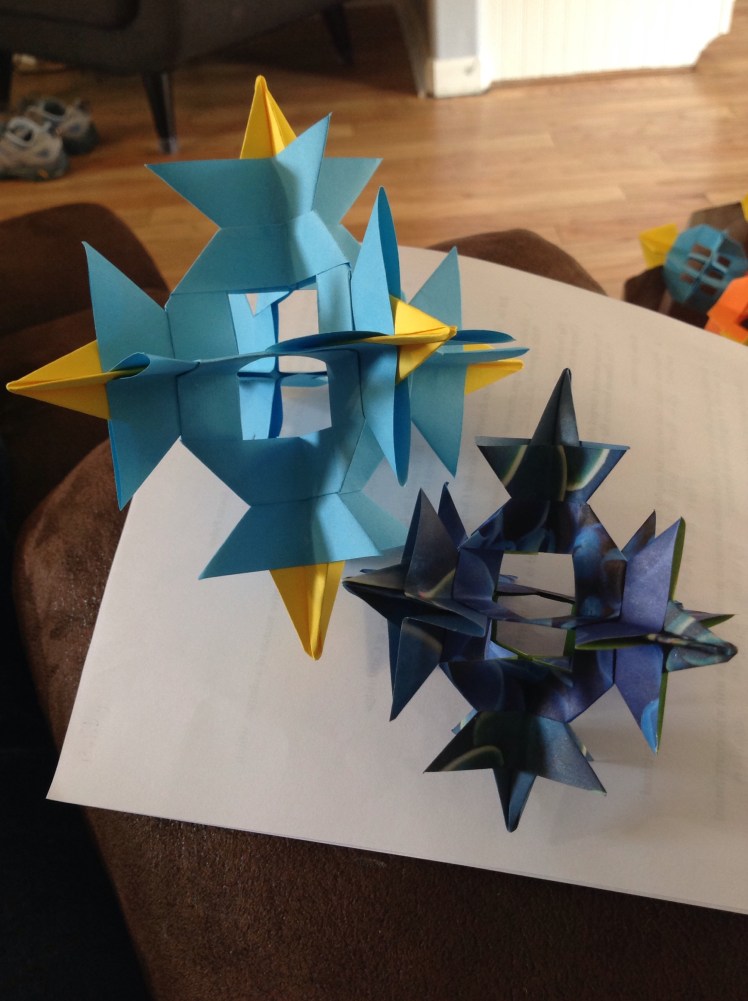
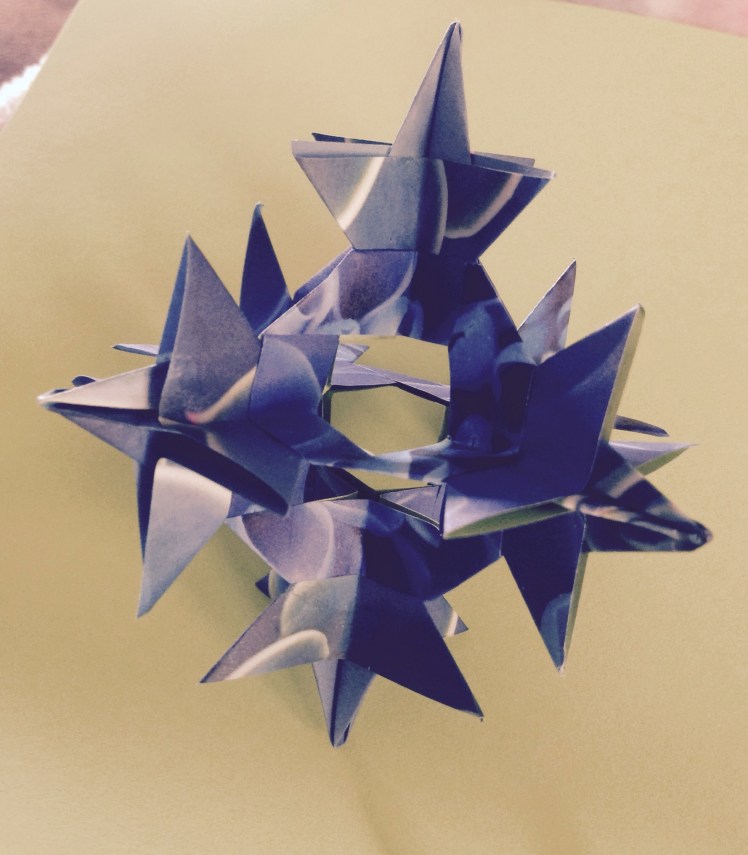
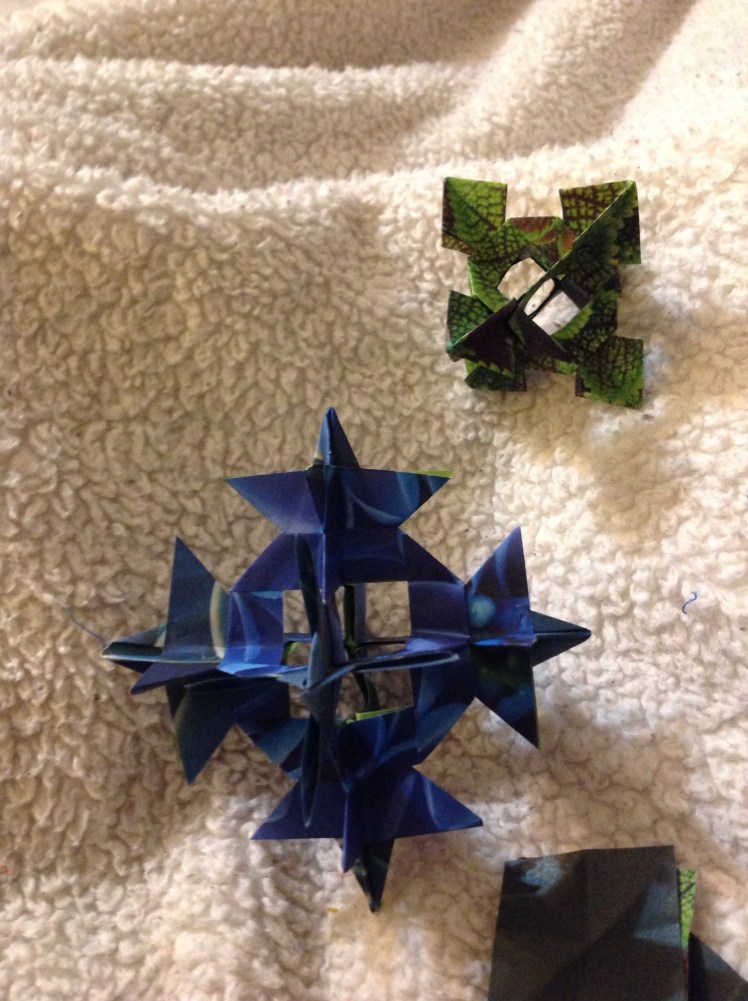
The next few photos show how you can modify the connectors to create other designs. I inserted regular water balloon bases instead of inverted ones. Then I added additional spikes. Try experimenting with your own original connectors. It’s fun!
Consider the Design.
Whenever I see designs in nature I am reminded that each design needs a designer. I find it hard to believe that this is all by chance. It seems more logical to assume that a powerful, wise, careful, Designer created all things.
We are currently studying the design structure of atoms in my class at school, and have noticed each element follows a certain pattern to form the basic units of the structure of the element. Even though we can’t see these microscopic units we can use models to show how they are constructed using Bohr models and other atomic models. As you construct your own forms remember how complex the designs of our Maker are seen all around us. It takes a lot of wisdom and power to create things from nothing.
The very observable designs in Creation demand a Creator. I hope you know Him as I do. He has plans for your life and future.
Colossians 1: 16-17
“For by Him all things were created, in heaven and on earth, visible and invisible, whether thrones or dominions or rulers or authorities-all things were created through Him and form Him. And He is before all things, and in Him all things hold together.”
