

 Let’s Make a Daisy Wheel and a Star Bracelet:
In previous posts I have shown you how to fold and glue the units to be used to create these new forms. It always amazes me how many ways the units can be combined.
To make these variations you just need to glue them together in new arrangements.
First Things First:
In order to have plenty of units to work with, you should find the colors of paper you want to use and determine the size of the units you will fold. In these projects all the units are the same size. To find the instructions for folding the base units look at my earlier blog entitled : Eco-Balls: Neat away to Recycle Paper which is found in the Origami section under the date of publication: Sept. 18, 2017. You will need 24 units to make the Daisy Wheel and 12 to make the Star Bracelet.
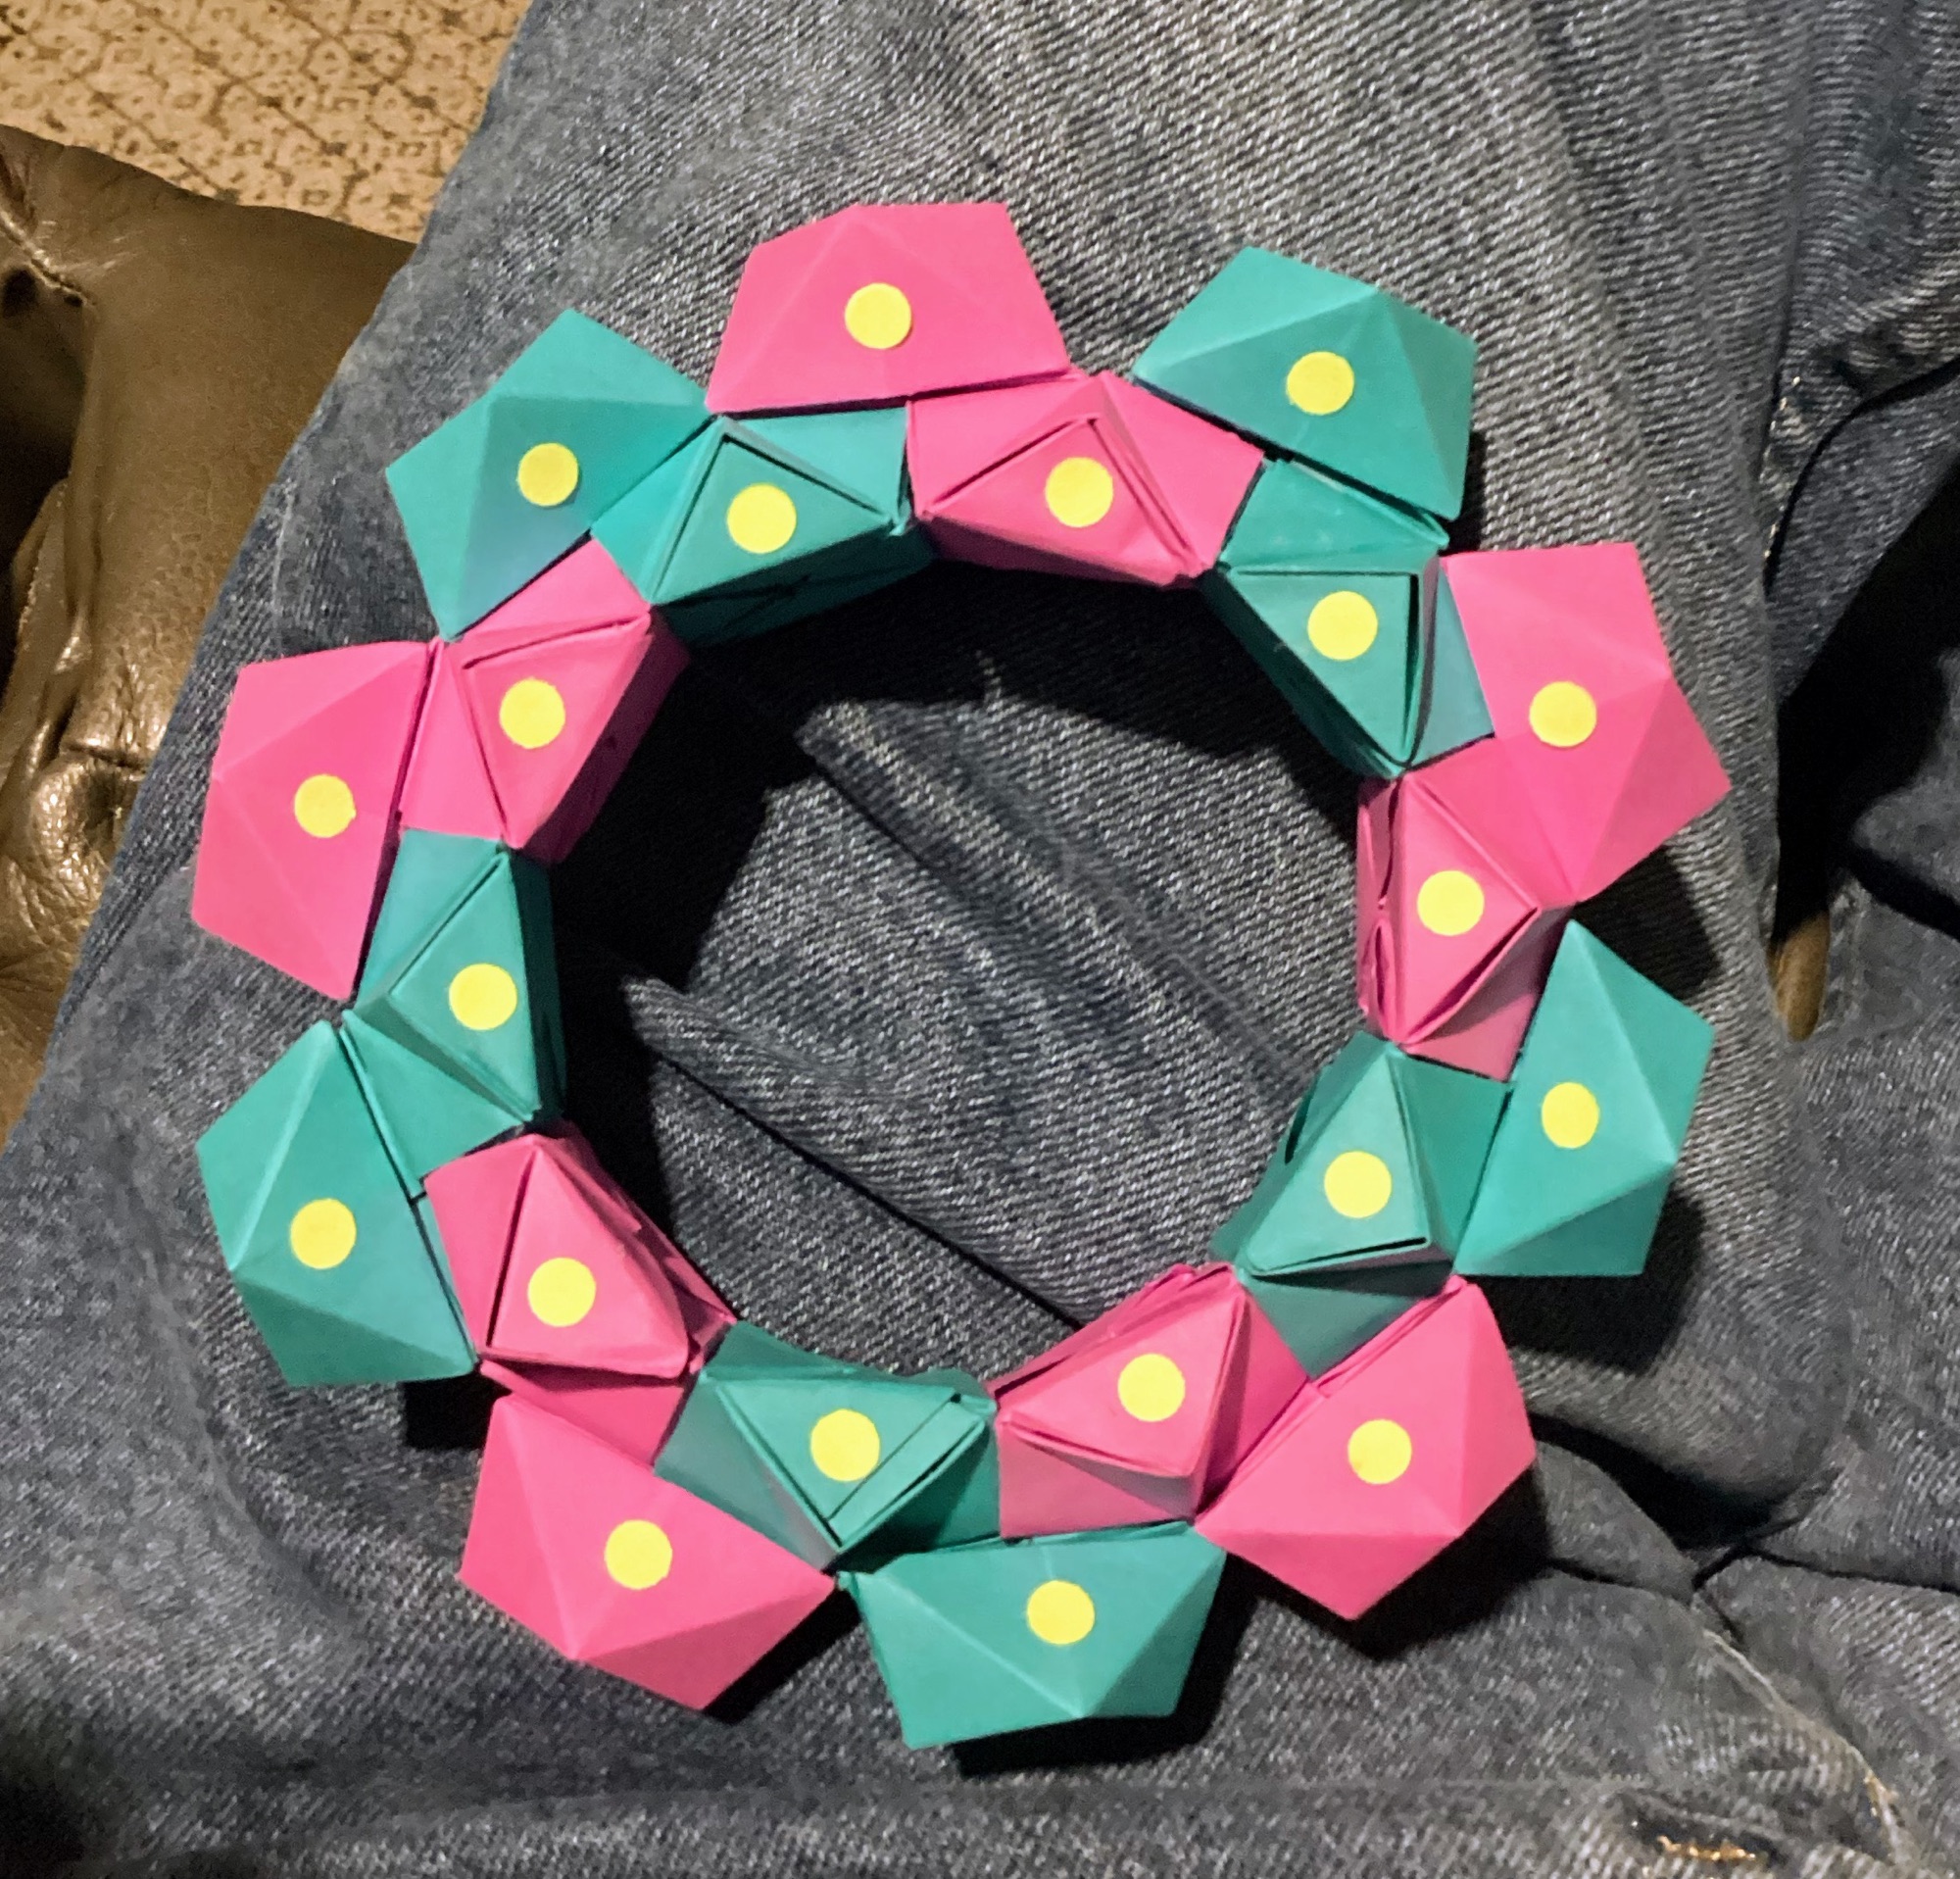
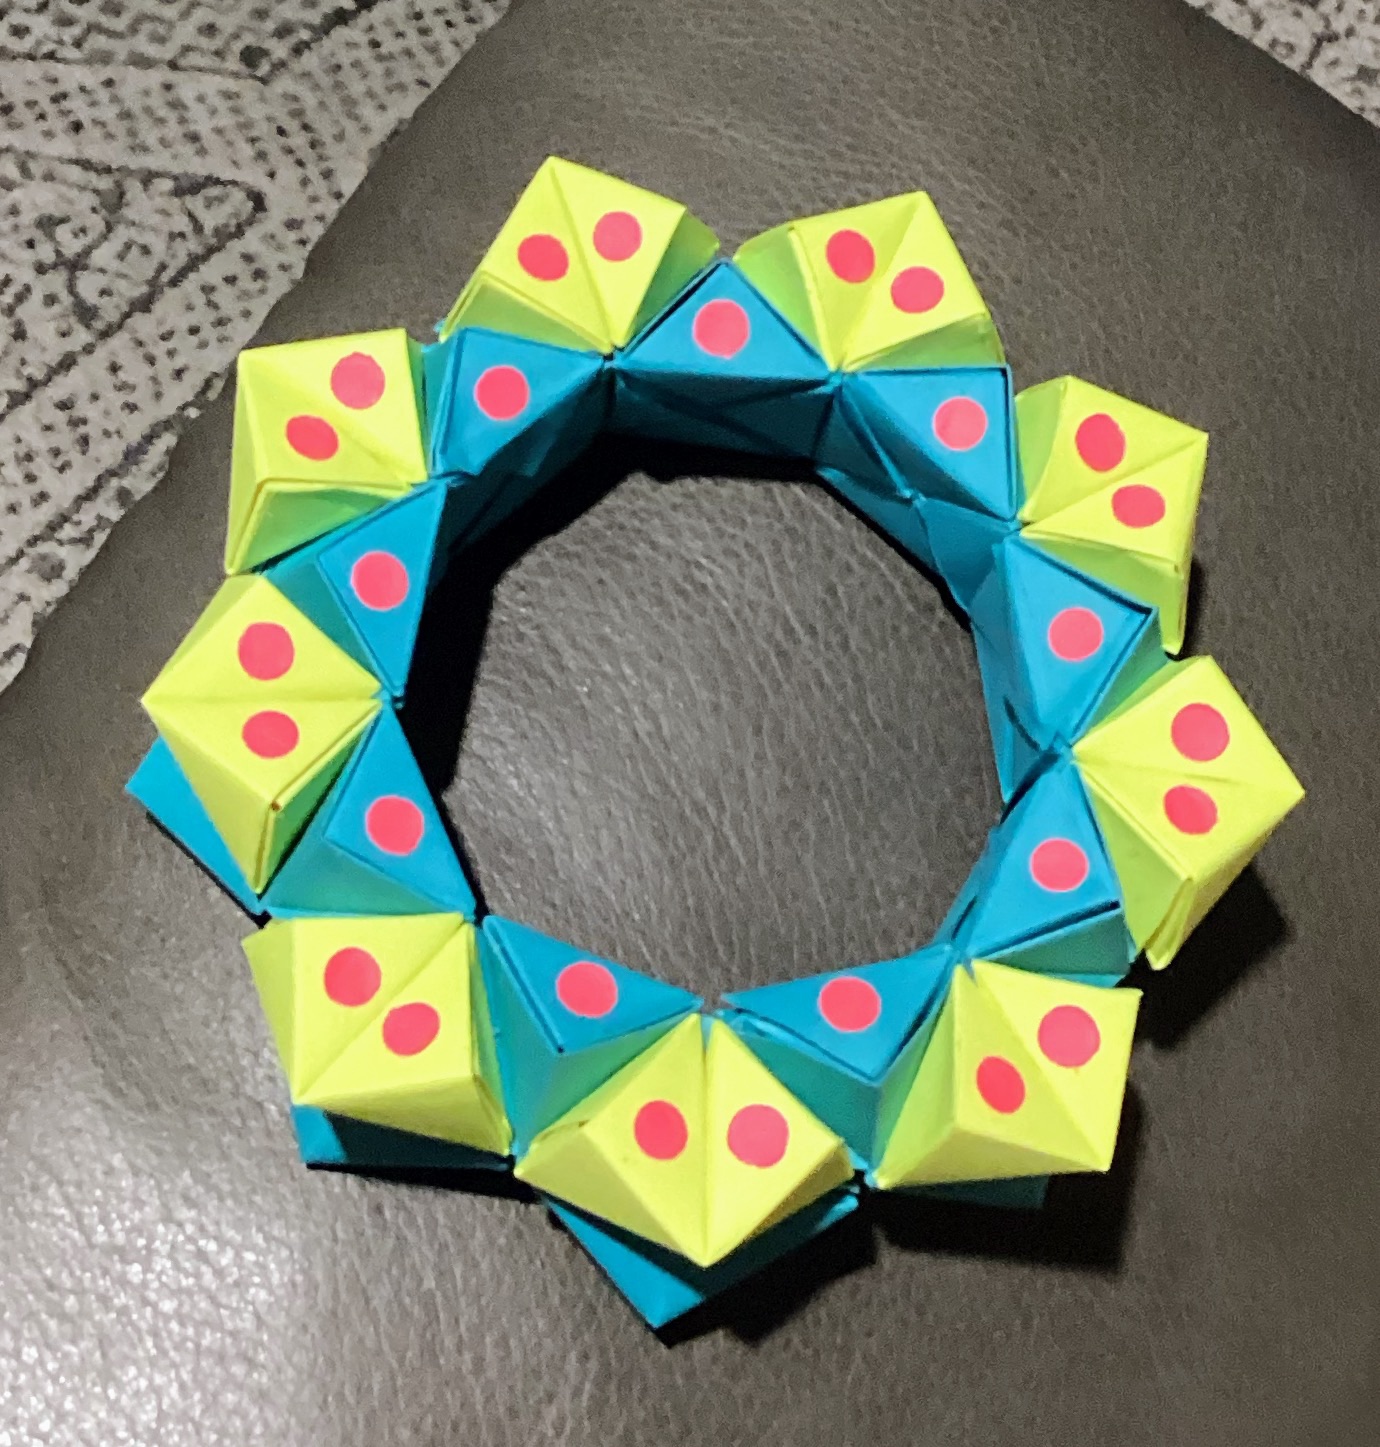
The Daisy Wheel
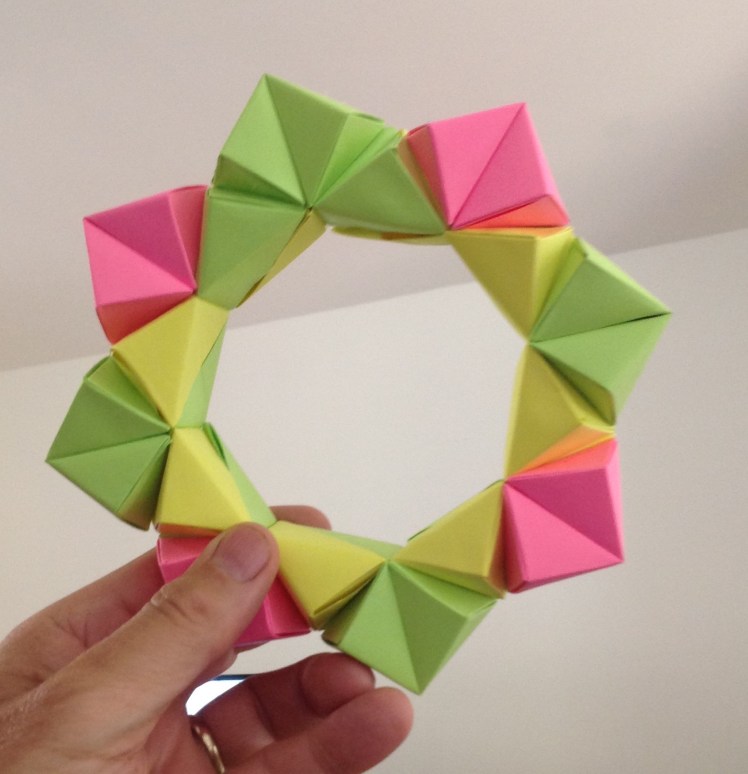
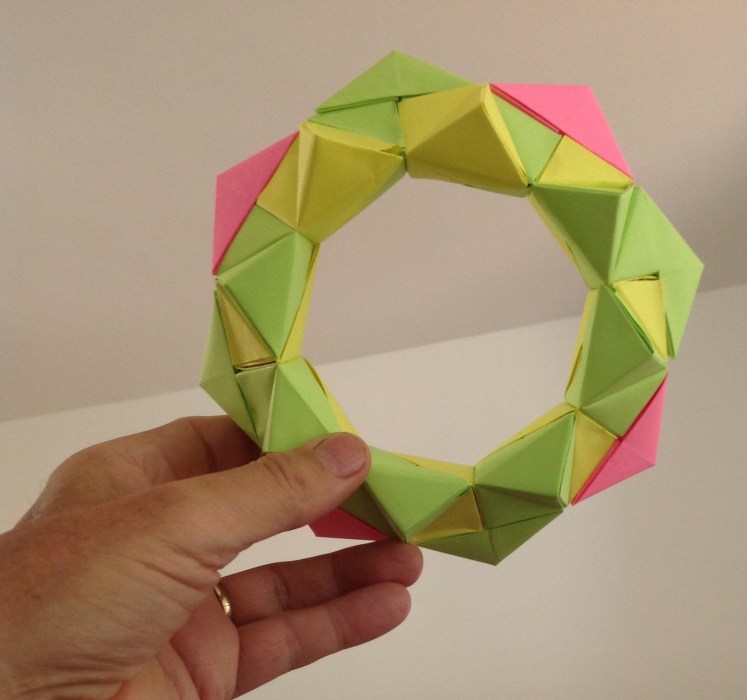
Above you can see one side of the project. Below I will show you the other side of the same form.
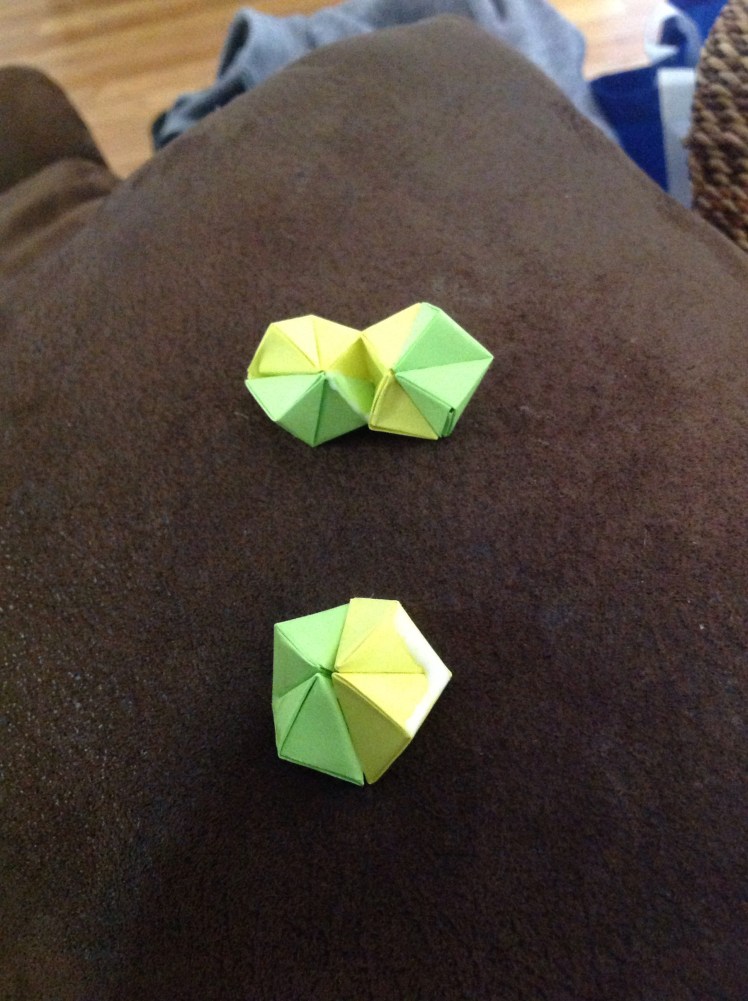
Below you can see the basic units used for this project.
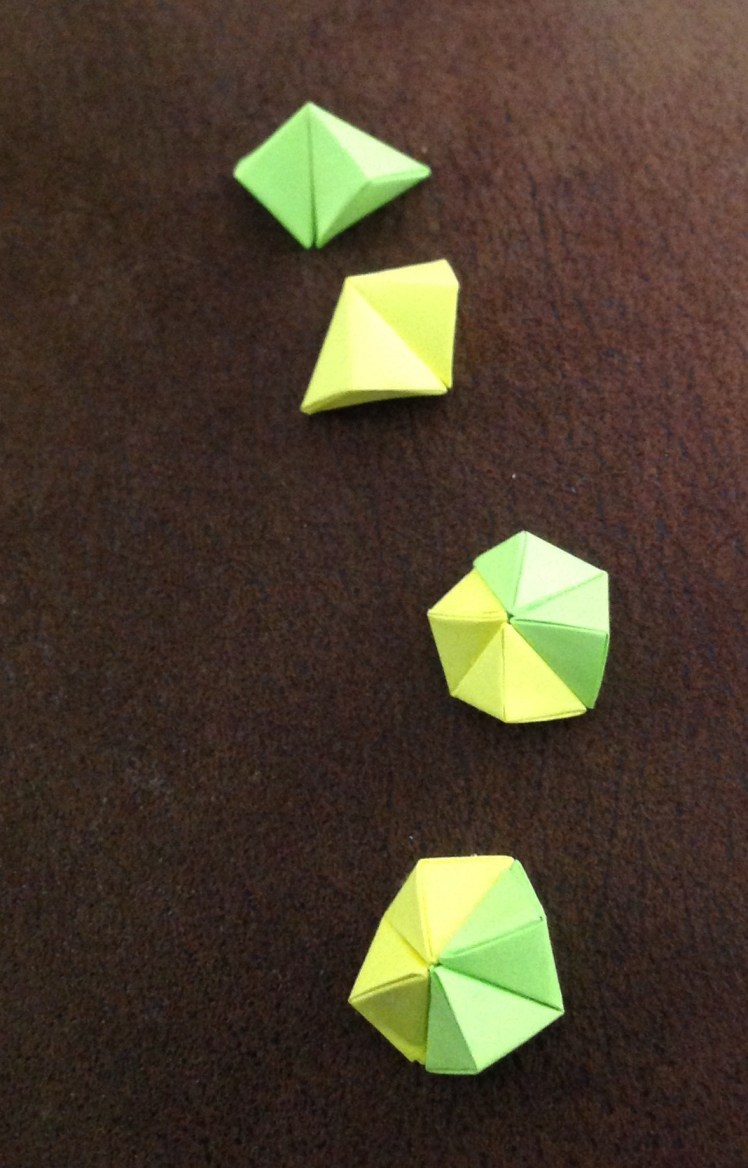
Use 16 of the units to create 8 of the double units pictured on the bottom of the picture above. Keep the rest of the units as singles to add to the perimeter of the wheel you will make first. By gluing the 8 double units together you will have a Wheel.
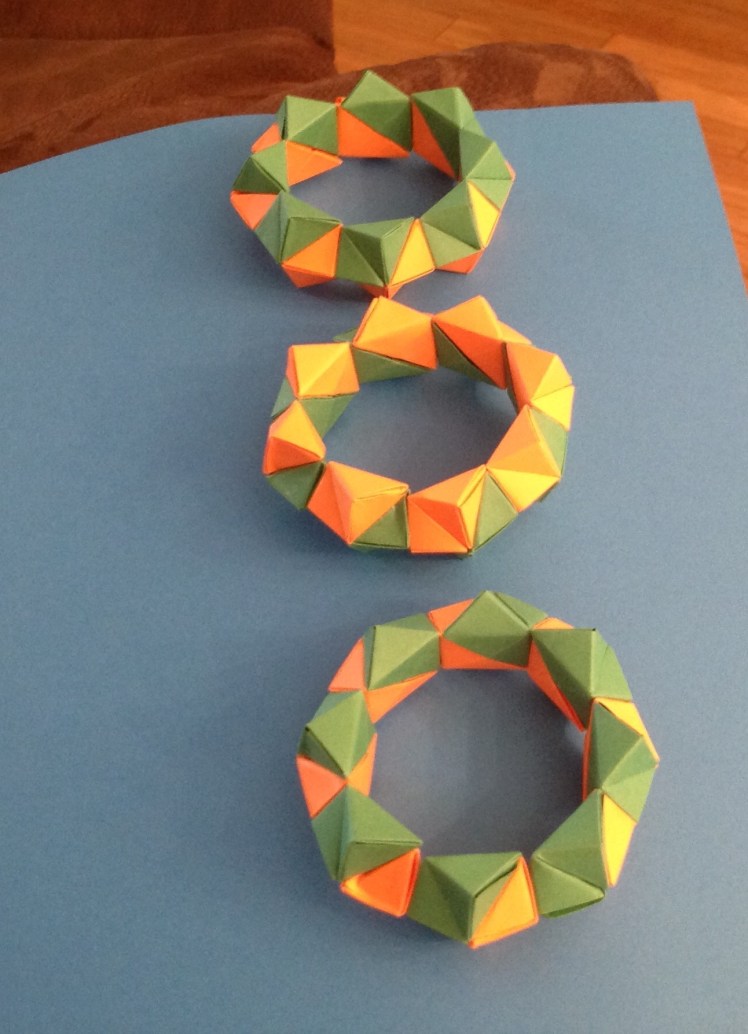
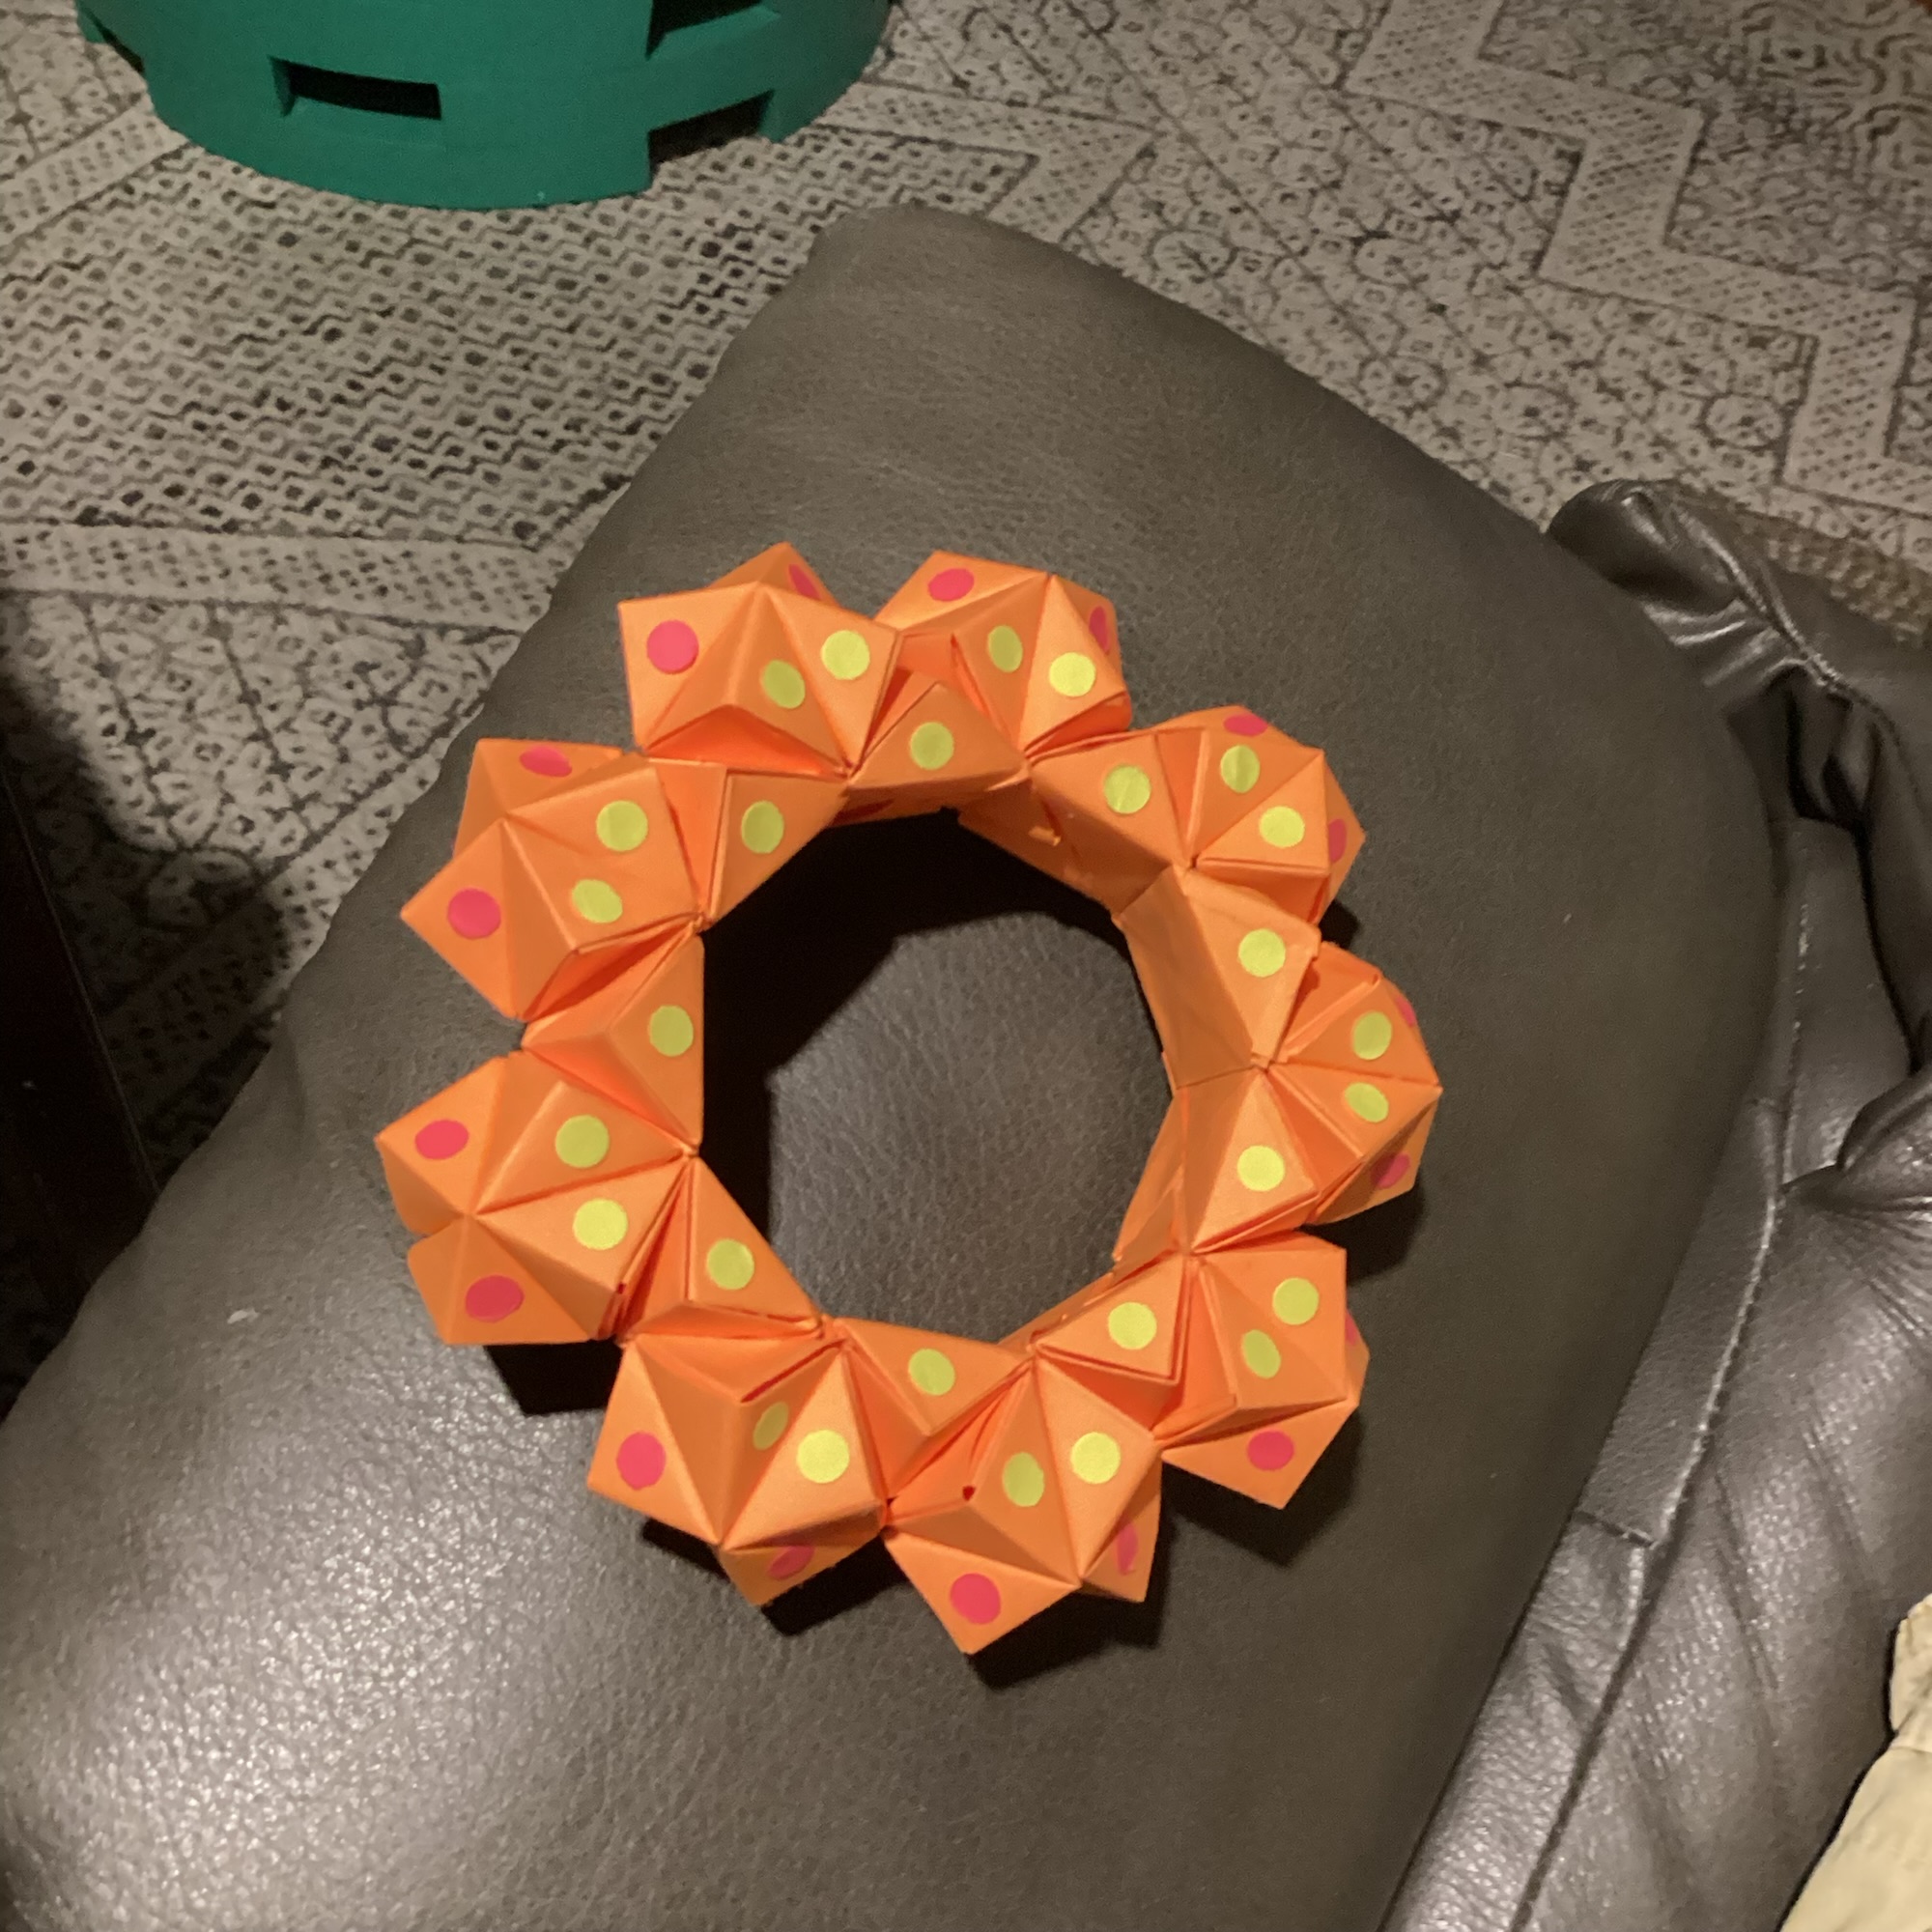
Though the picture above shows three wheels you only need one.
Next, add the remaining 8 units to the perimeter to finish the form.

Now Let’s Try A More Difficult Form:
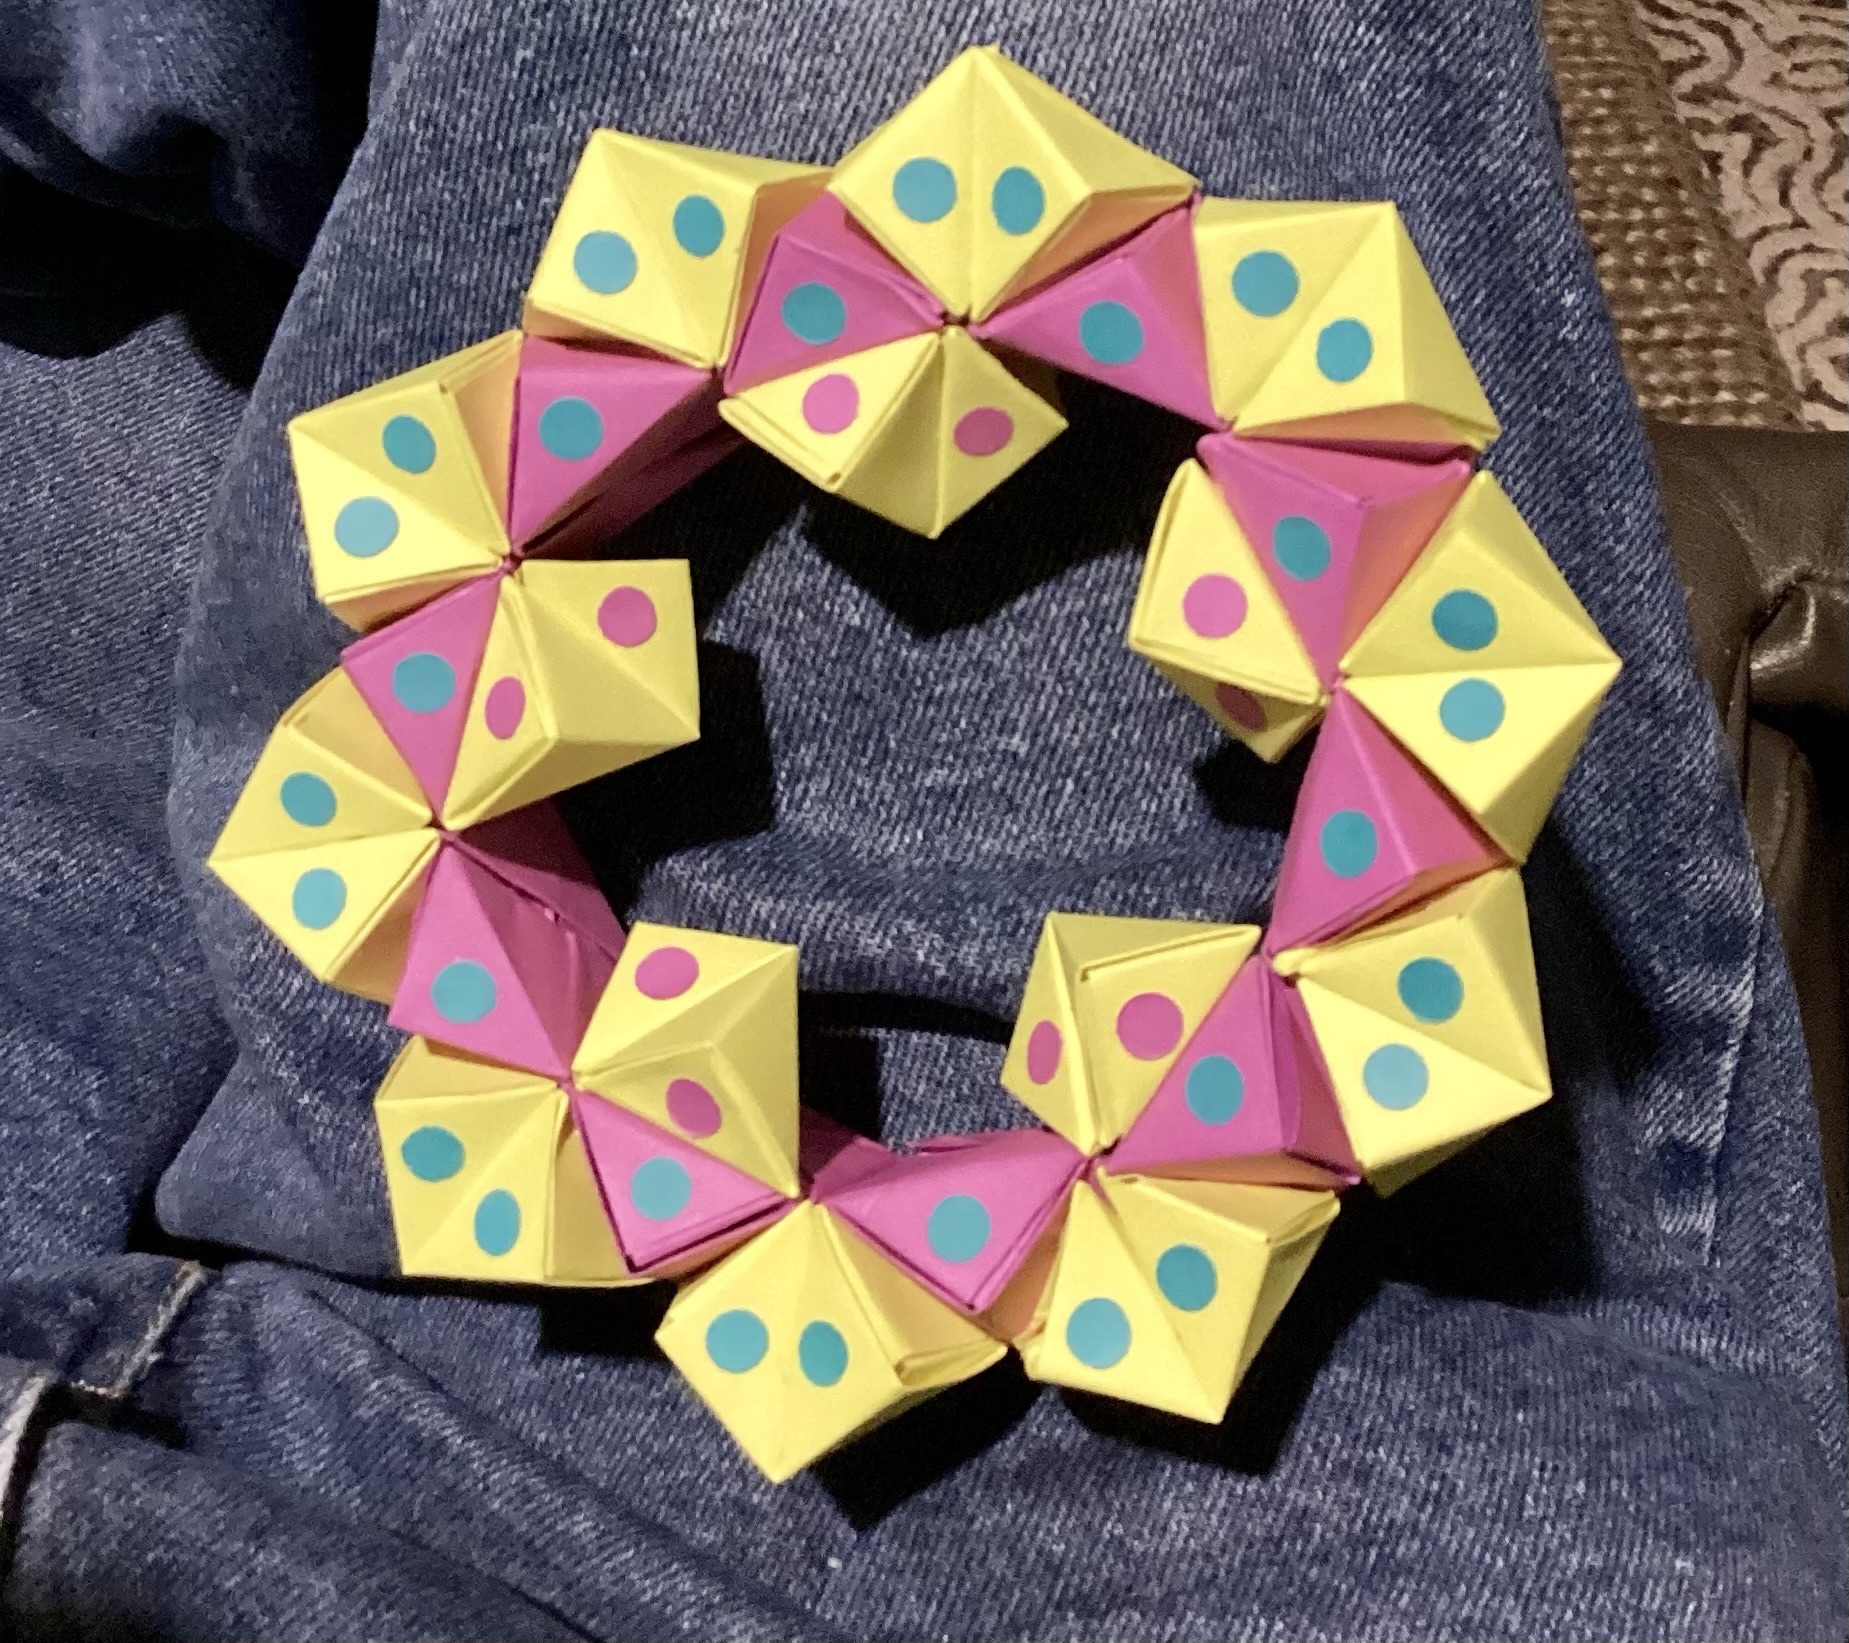
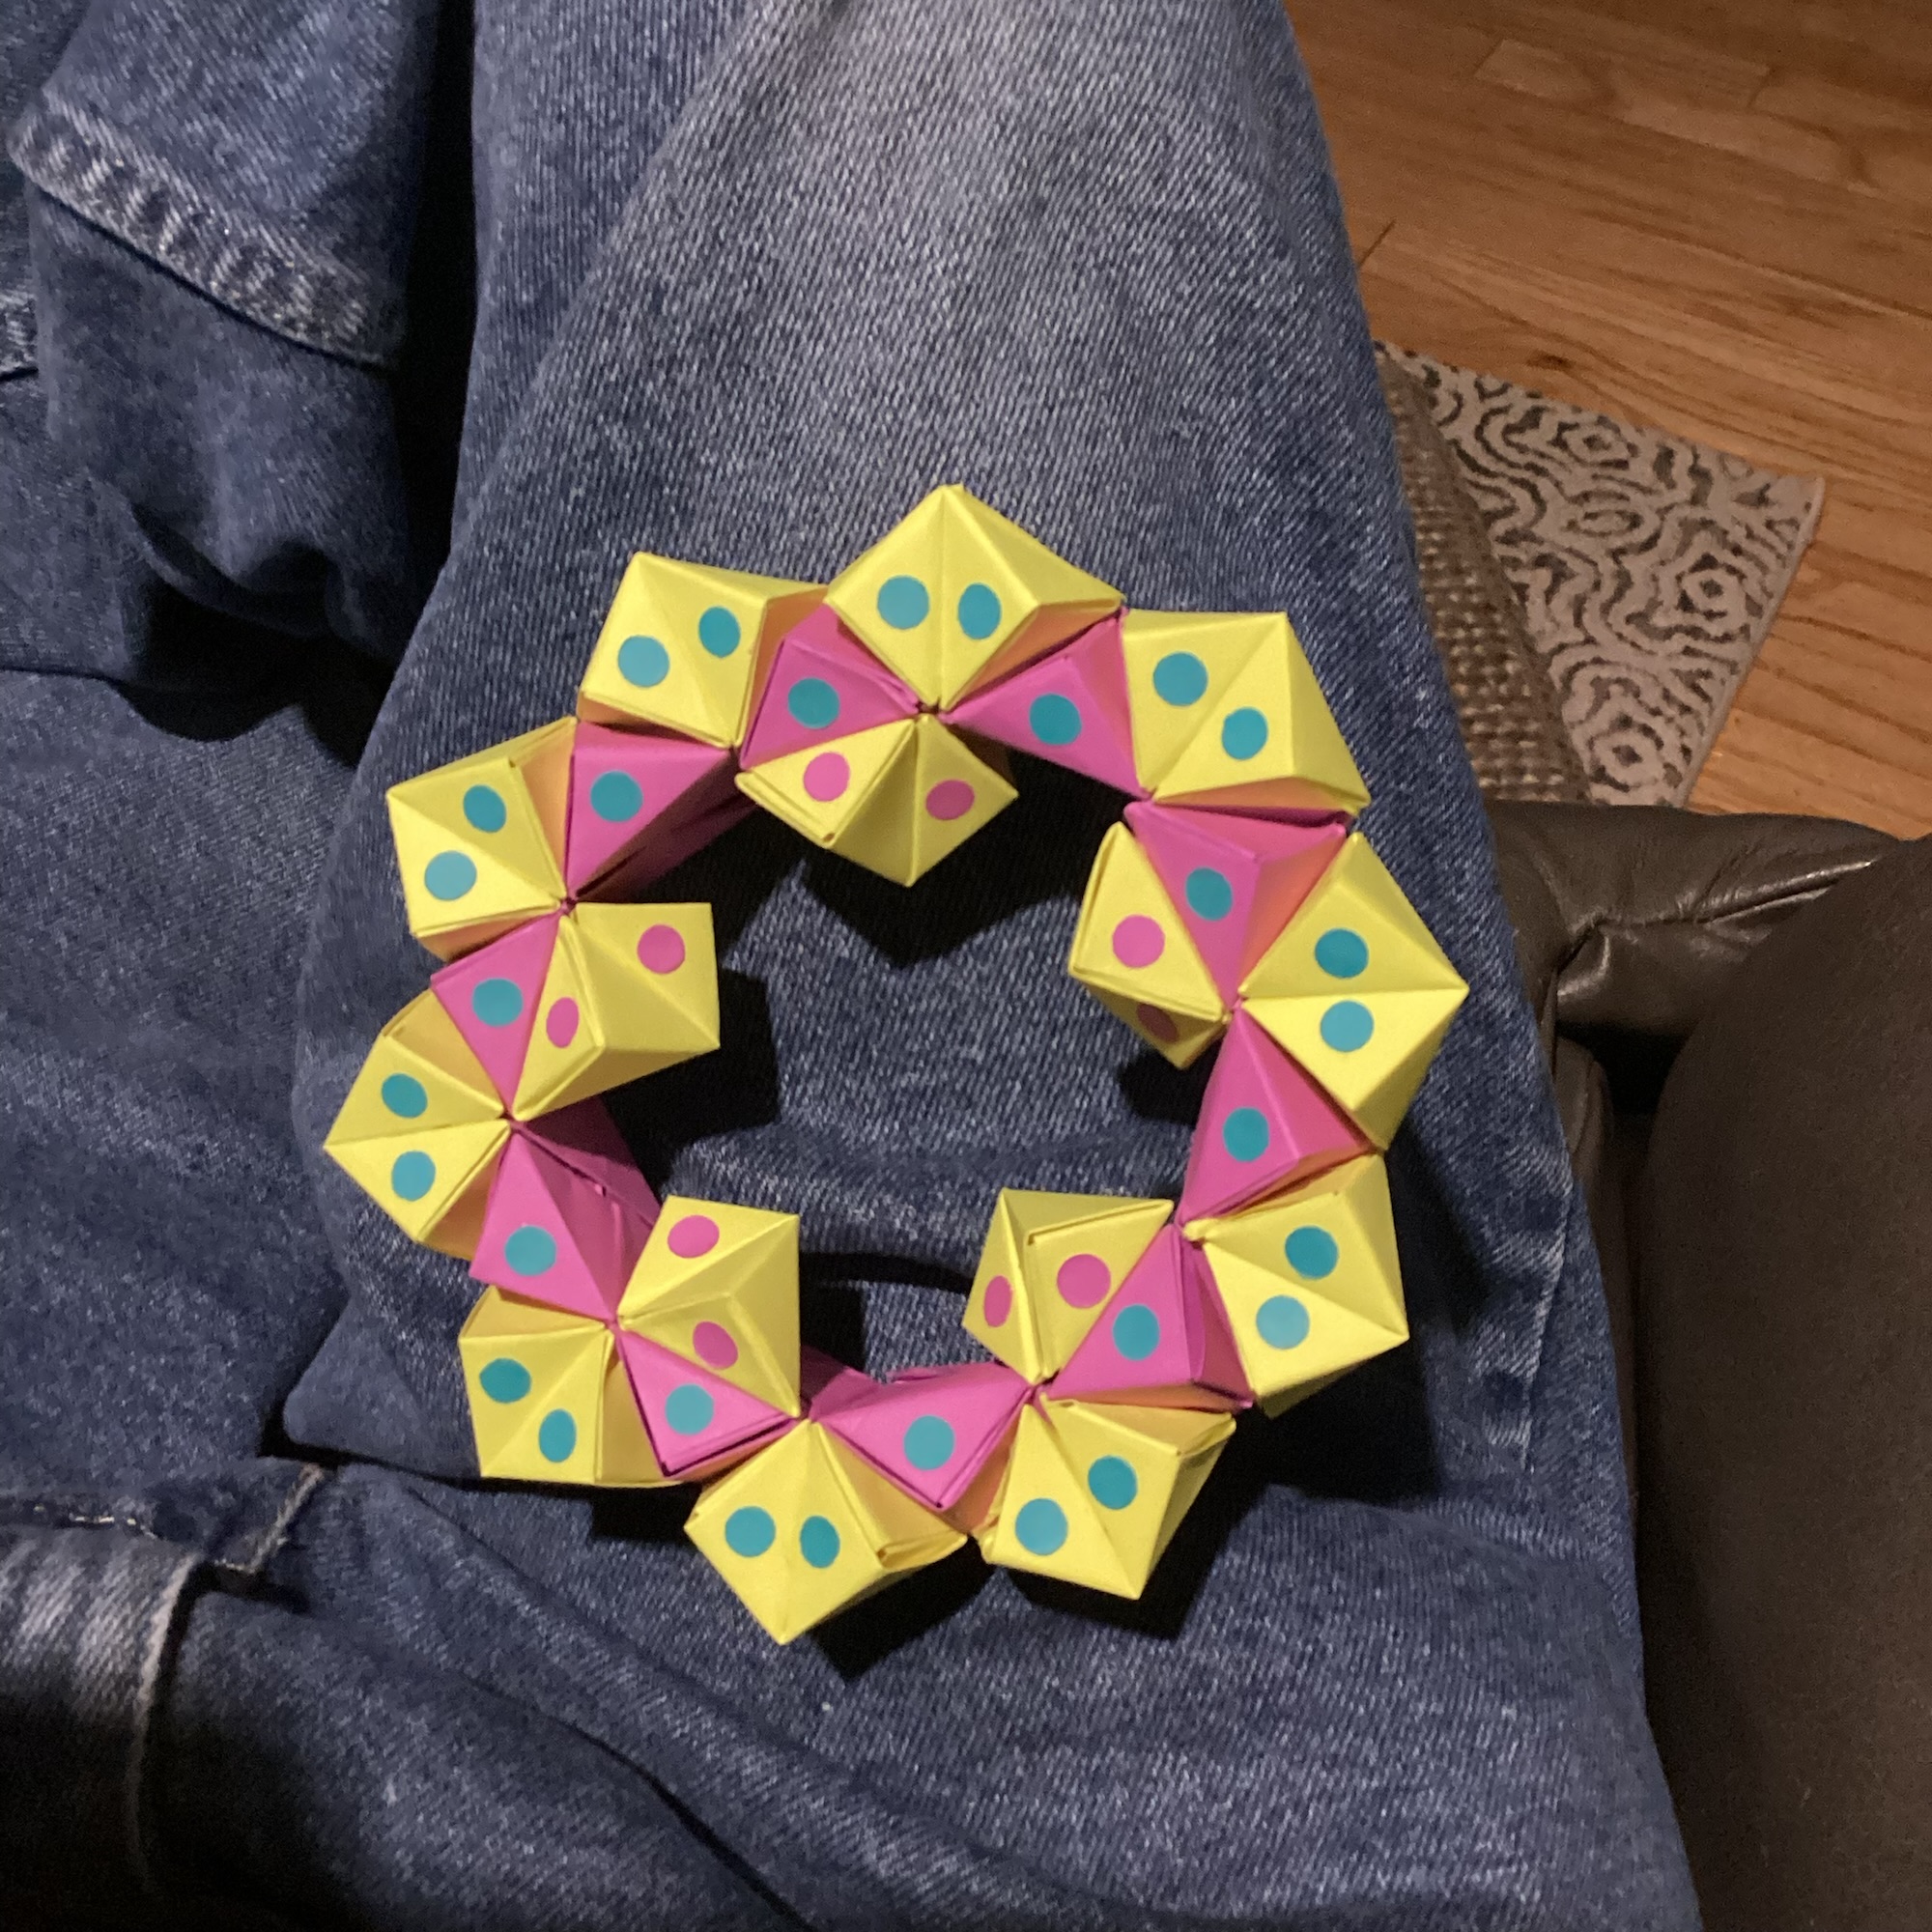
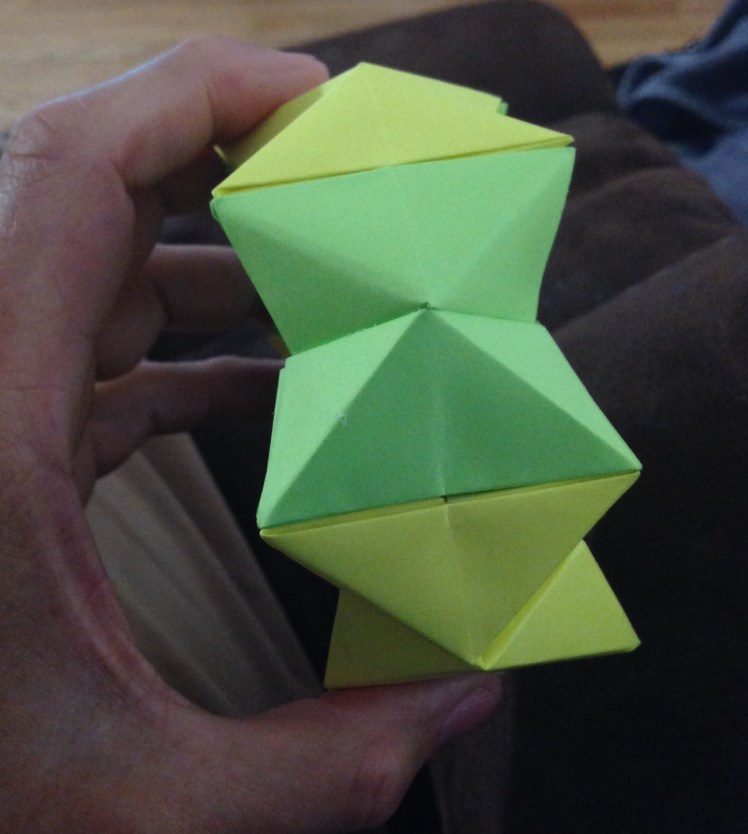
The Star Bracelet:
You need 12 units. Choose the colors you want in the finished form. I like to use two different colors to add interest, however, you can have all the same color for a monochromatic look or use more than two colors. It’s your choice.
Glue Together to Form Double Units:
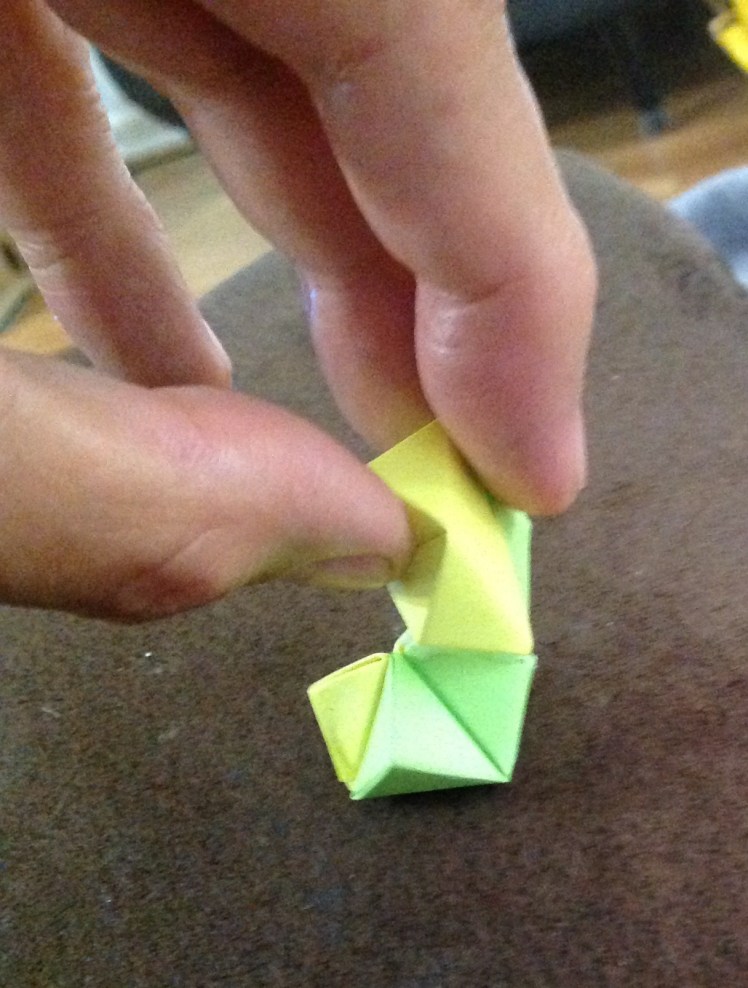
Take your 12 units and make them into 6 double units. This time you will glue them in another way. You will probably find this project more difficult than the previous one. It all has to do with the gluing since it uses fewer units than the Daisy Wheel. Because less surface area is covered in glue you need to hold them together firmly and longer than you did when gluing up the double units.
Notice where the glue needs to be placed on the edges that will make contact with the other units.
Notice that the glue forms a “V” shape in the picture below.
The next few pictures show how the units go together.

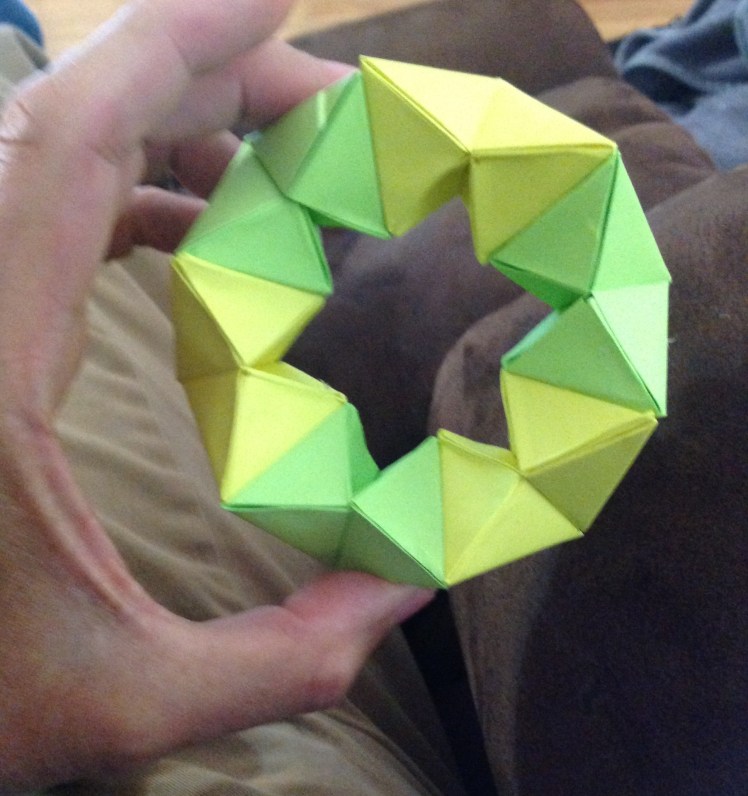
Flat Surfaces Outward:
Continue gluing the units together keeping the flat surfaces outward. You should see a Star if David appear in the center of the form if you are combining them properly. It should look like the photo below.
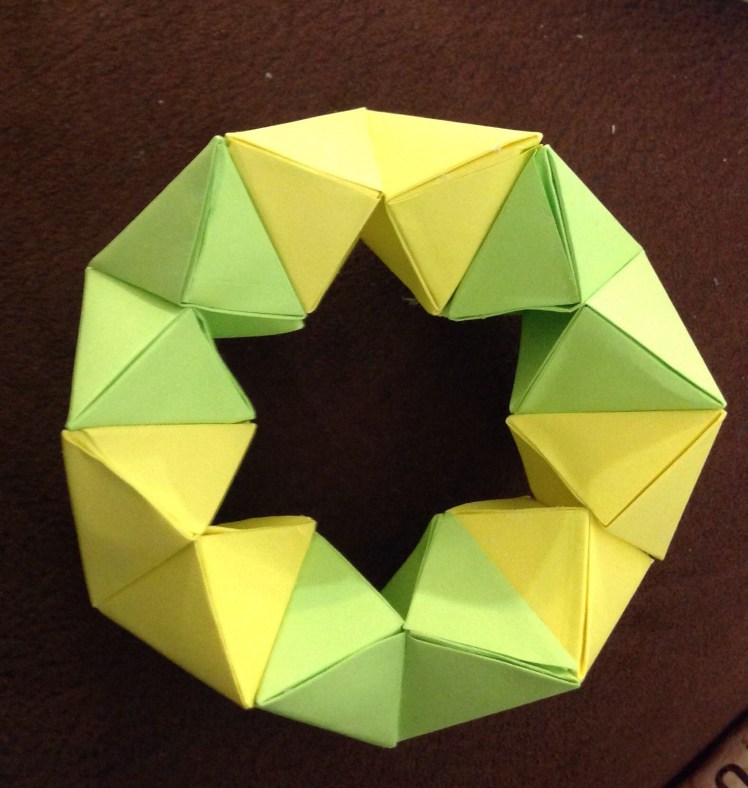
Notice how the outer surface looks compared to the inner star form.

Now You Are A Star:
I hope you are enjoying learning how to make these various projects. If you create some new models on your own, please send me pictures.
Join With Others for New Possibilities:
While gluing these units together I often think of how we join together with others to accomplish different tasks. God has given each of us various gifts that make us different and needed by others in the Body of Christ, the Church. Our differences add contrast and interest just like the colors do in the projects above. It takes a Master artist to combine the pieces to make a whole. God has a place for you to make a difference in the world if you will let Him place you where He wants to. Be willing to combine with others even when they are different. You will be surprised how He can take people of every sort to accomplish His will and benefit all involved.
I Peter 2:4-6
“As you come to him, the living Stone-rejected by humans but chosen by God and precious to him- you also, like living stones, are built into a spiritual house to be a holy priesthood, offering spiritual sacrifices acceptable to God through Jesus Christ. For the scripture says: ” See, I lay a stone in Zion, a chosen and precious cornerstone, and the one who trusts in him will never be put to shame.”