Let’s Make An Octagonal Box:
The Product of Much Experimentation:
While exploring origami it is fun to create your own original models. These Octagonal boxes are one of my favorite creations. The most difficult part was to figure out how to lock the edges in the final folds.
Here Is How To Do It:
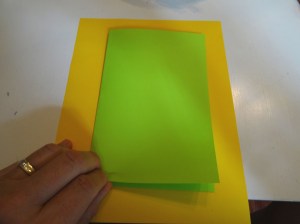
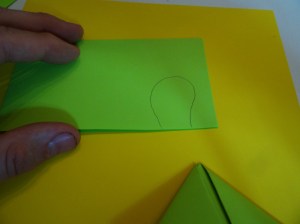
You will need two pieces of paper. 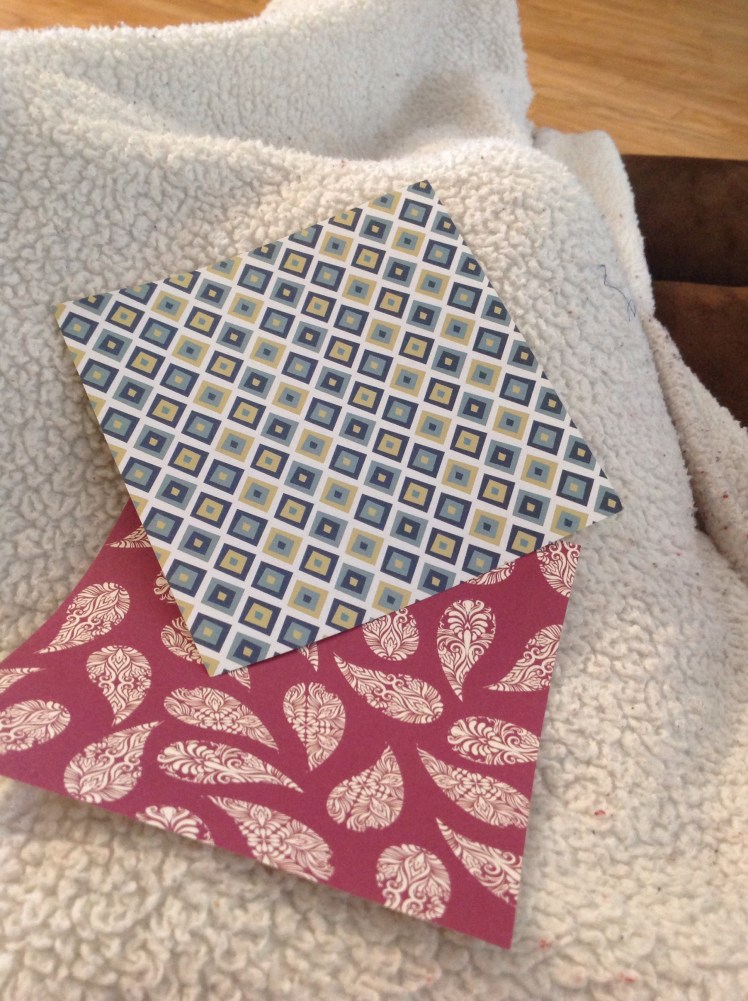 If you are using two sided paper, start with the colored side down.

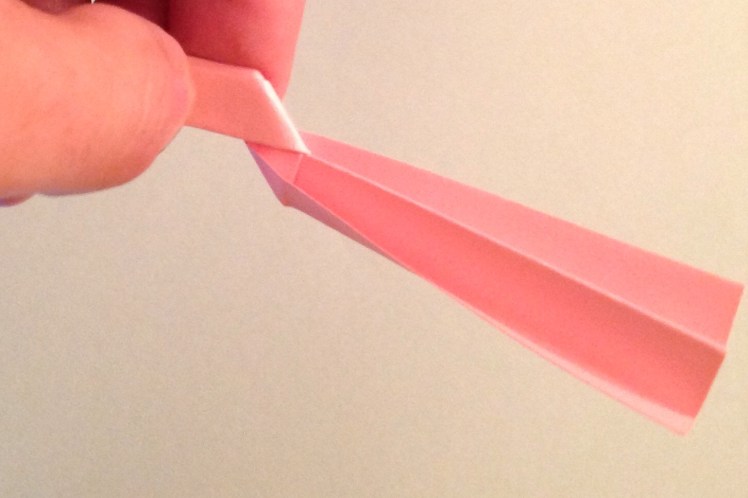
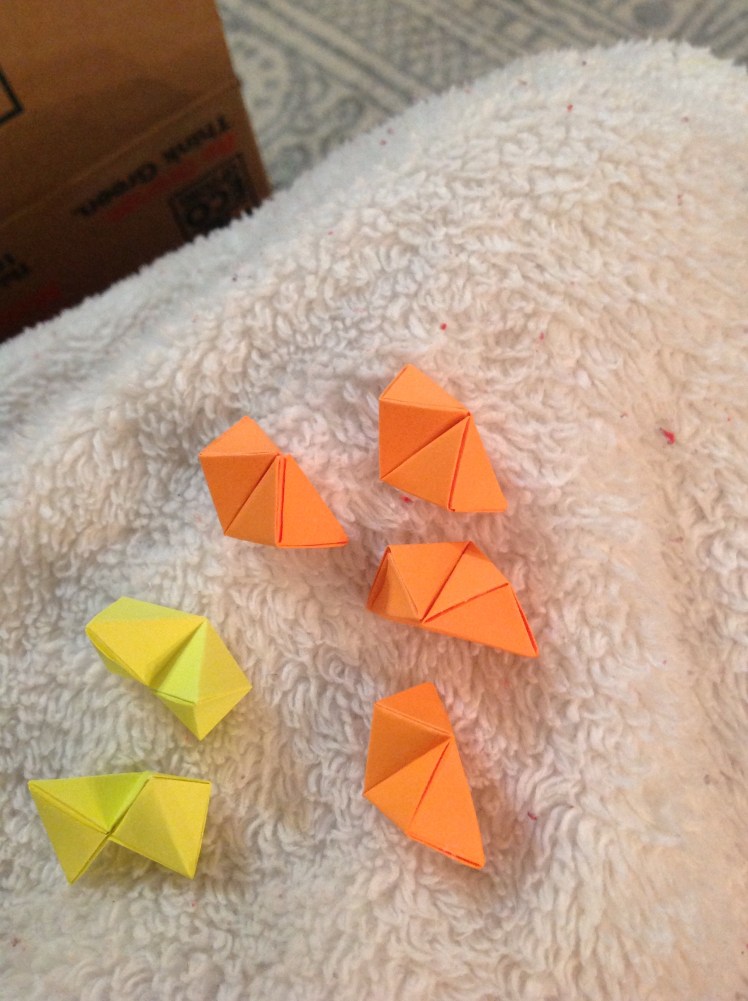
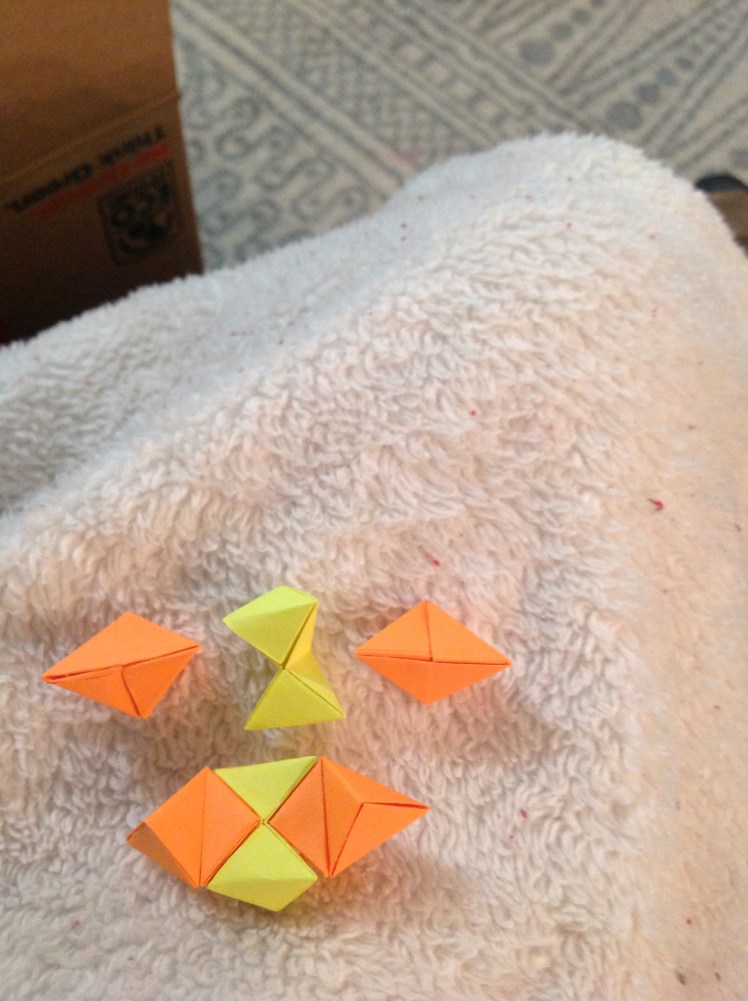
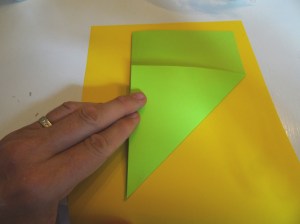
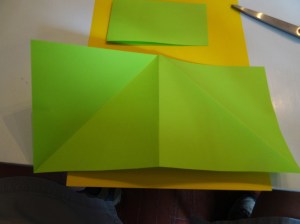
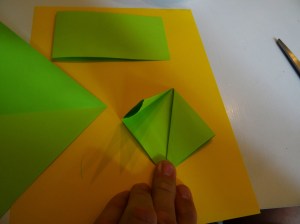
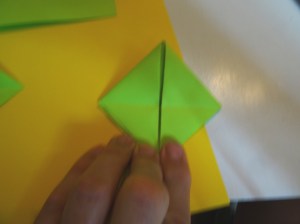
Use the water balloon base. Fold an X on one side of the paper and a cross on the other side.
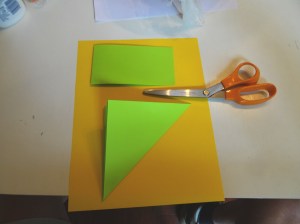
Pinch in two opposite sides to collapse the paper into the above base. Do this with both sheets of paper.
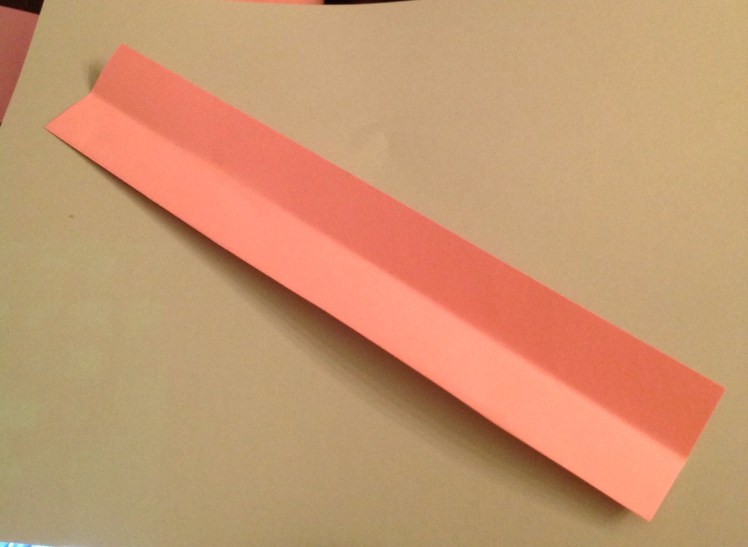
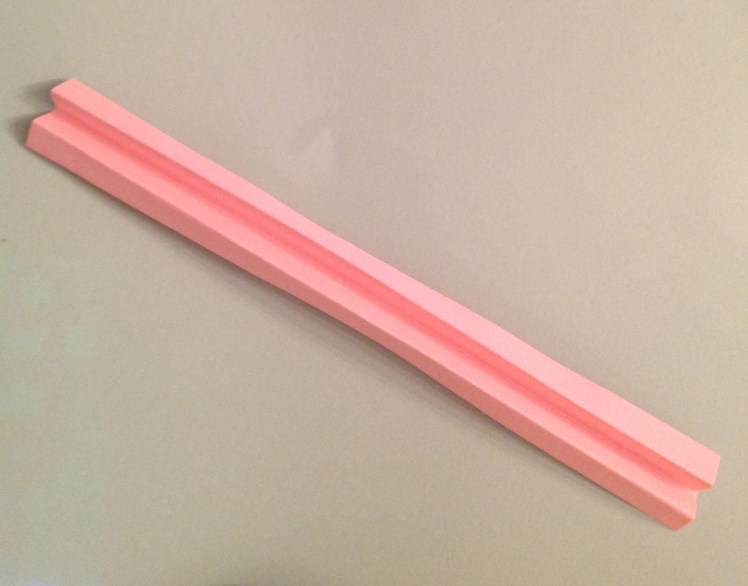
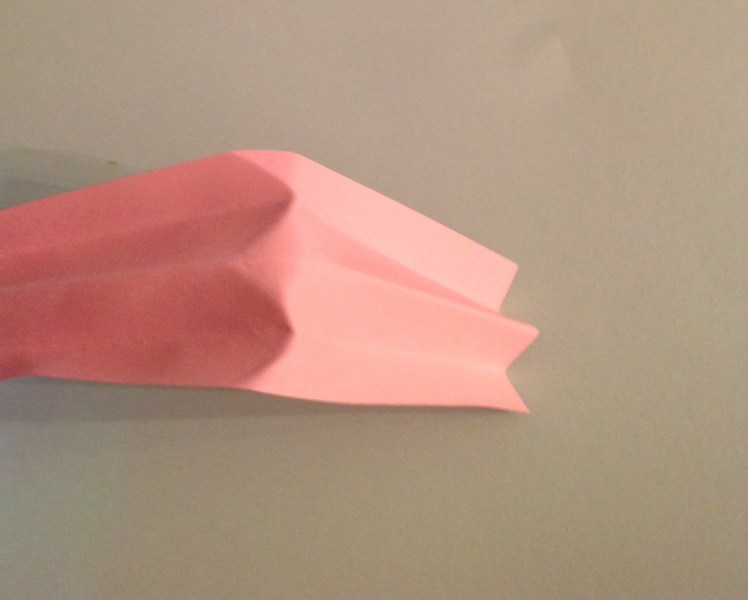
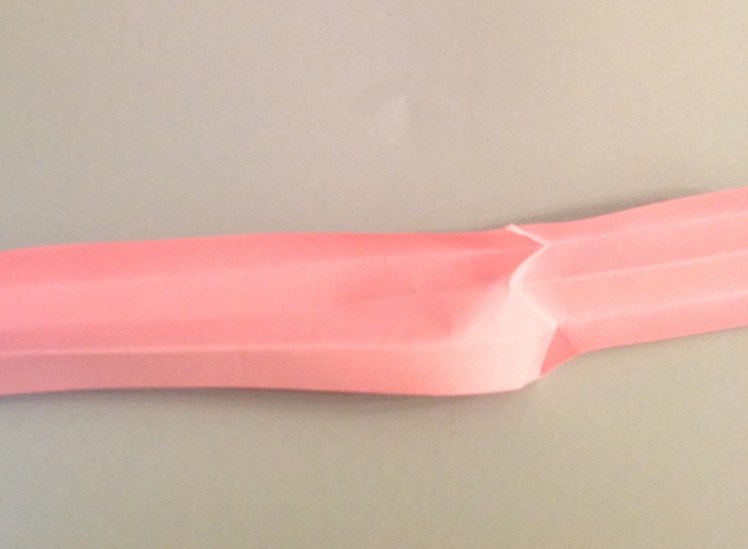
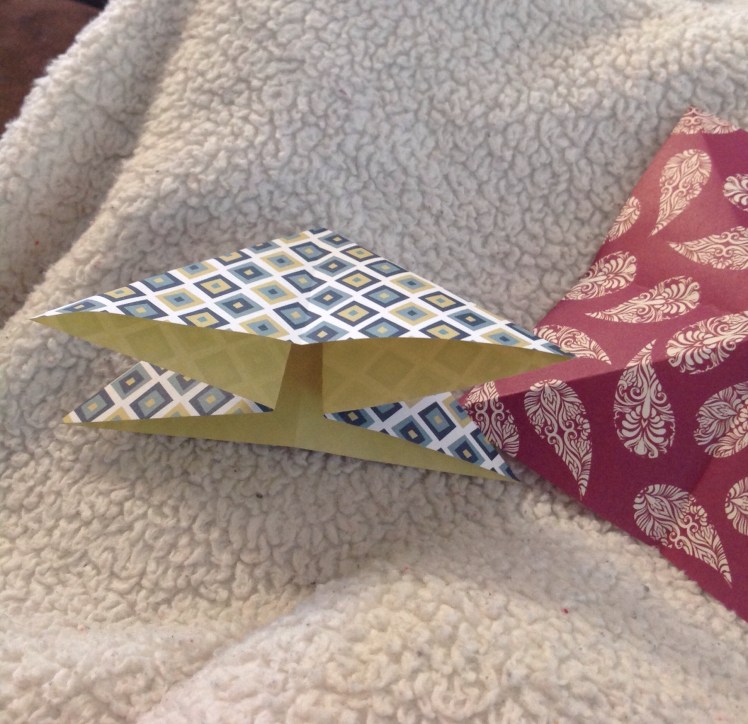
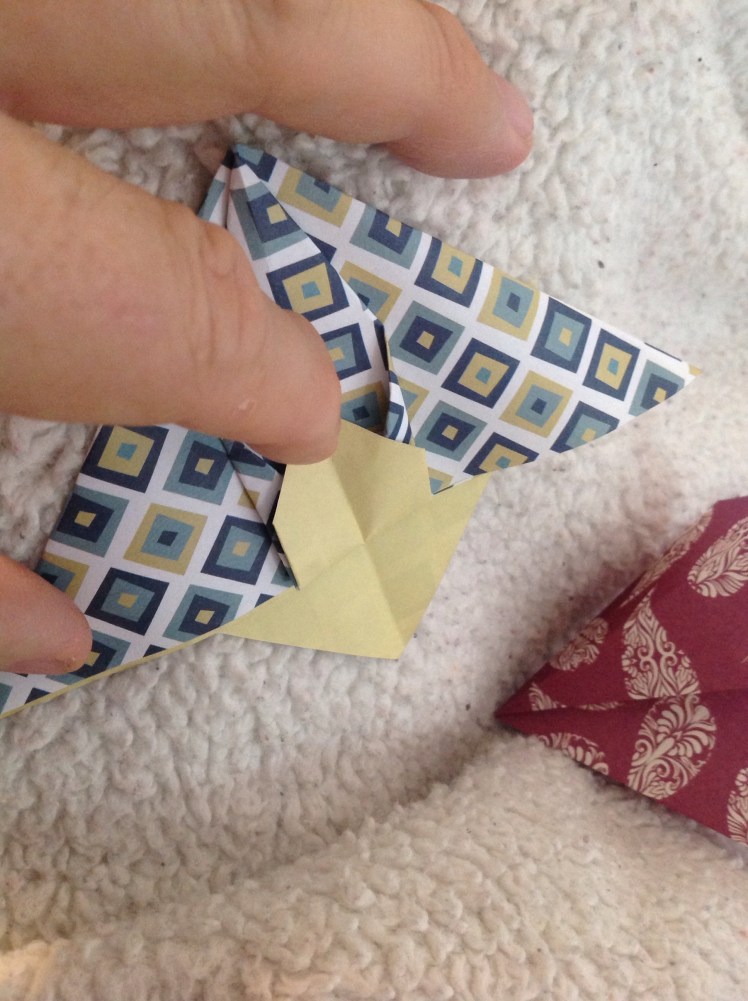
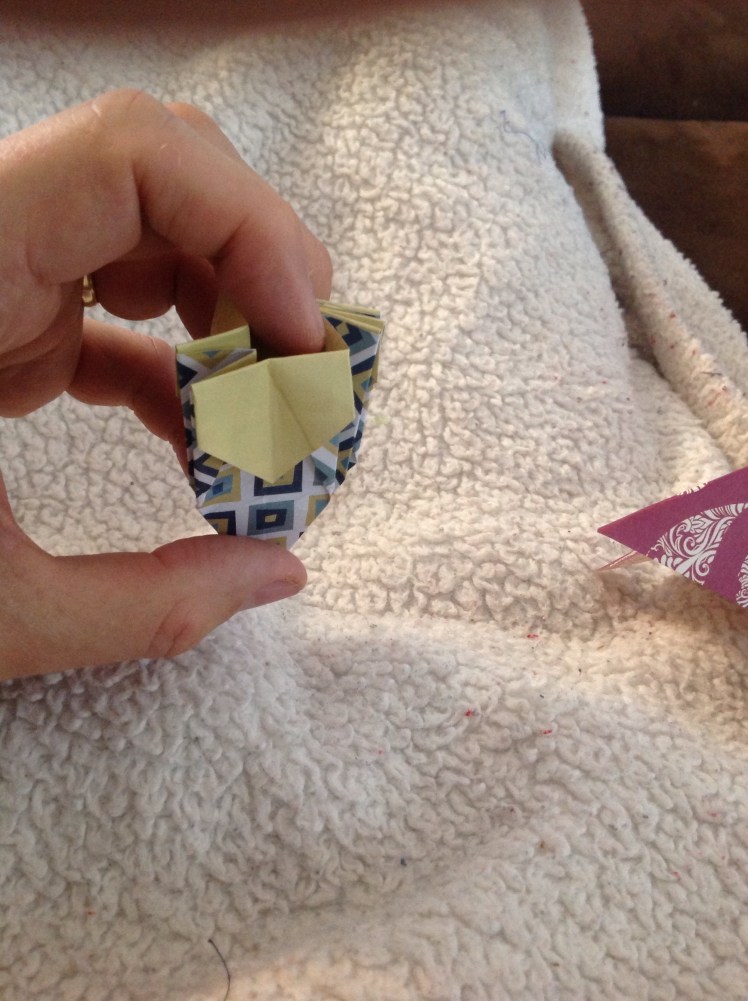
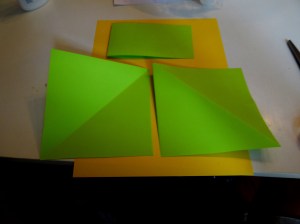
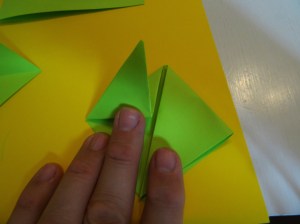
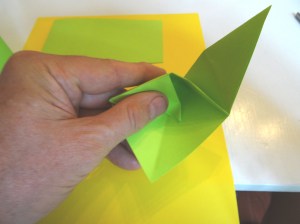
Take one of the four wings and fold the outside edge to the center vertical crease. Bend this same crease back and forth like a door hinge to prepare the paper for the next move. Pull up this section like a shark fin. Put your finger inside the fin and push down. It should look like the form above on the right side of the picture.
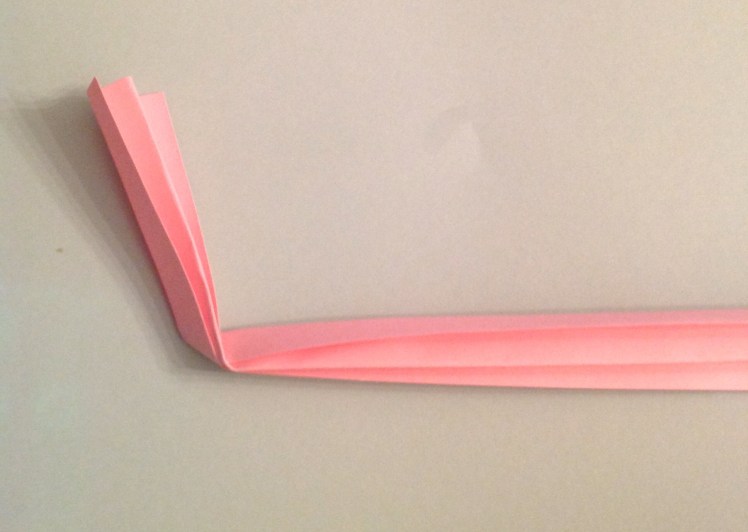
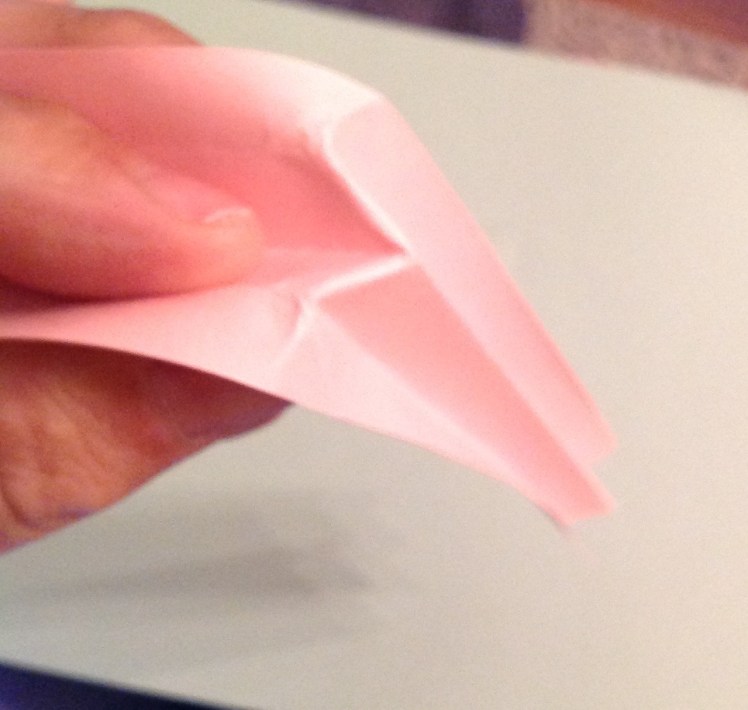
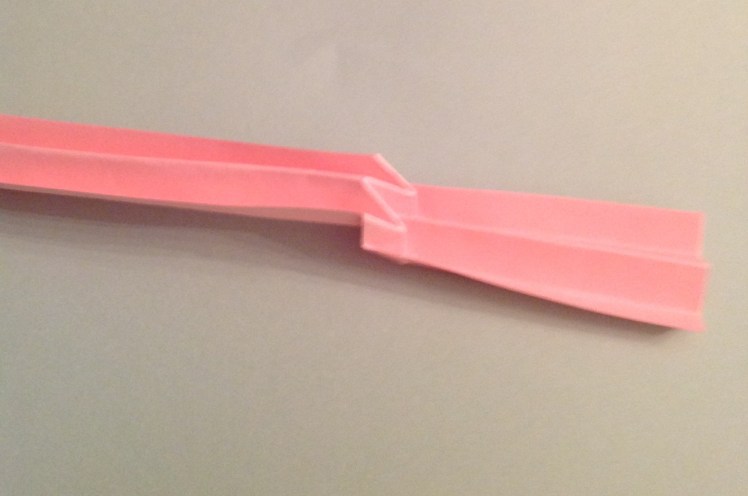
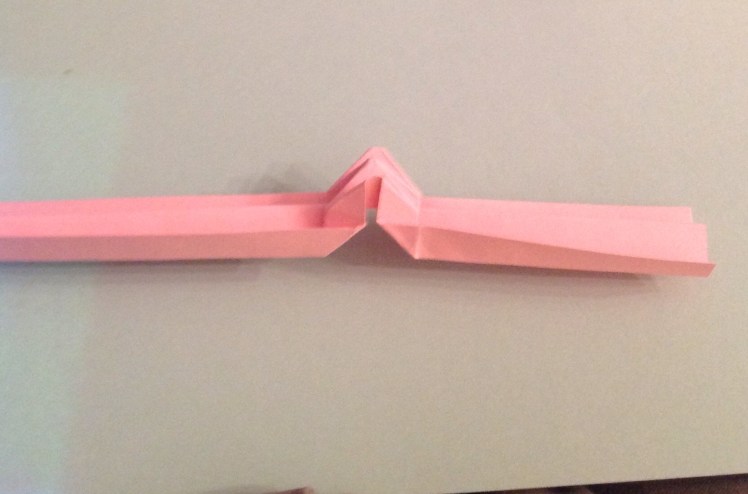
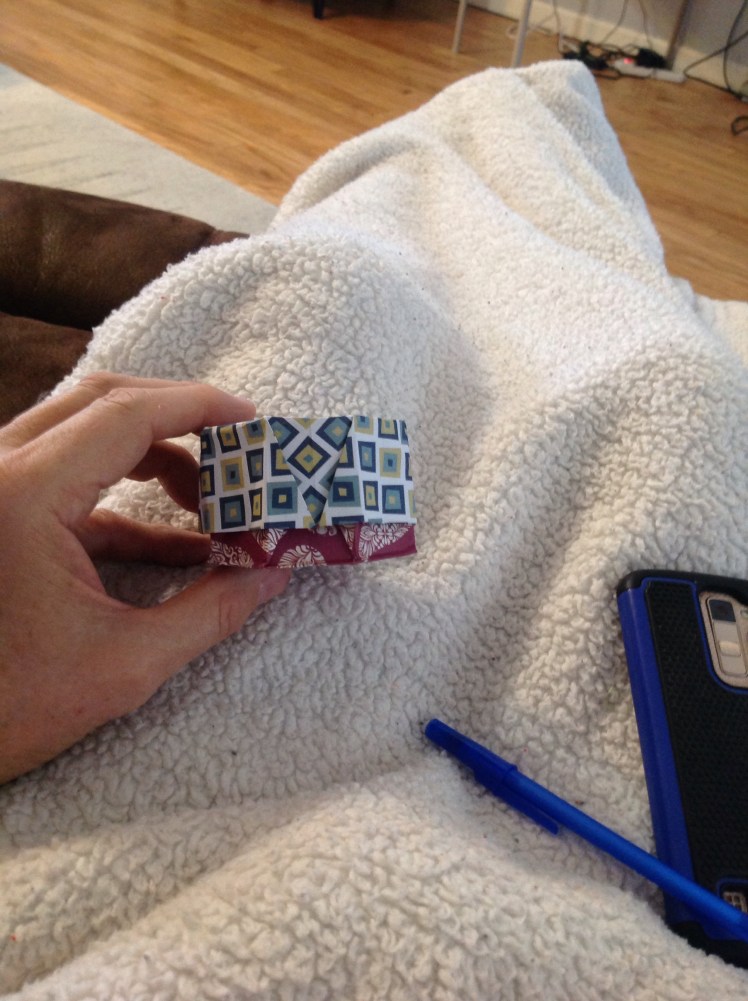
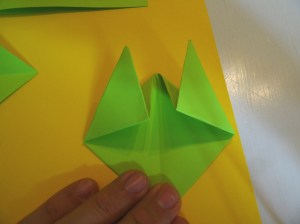
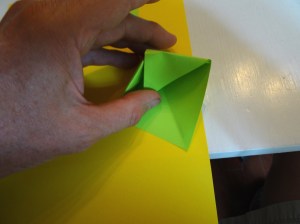
Now you need to fold the outside edges of the tail section so they meet in the middle as shown in the picture above. You can do this on each of the four sections as you fold them or after you have all four formed. It seems to be easier to align the folds when you have the outer wings in place so you can see the horizontal alignment. Crease these folds well so shaping the box later will be easier.
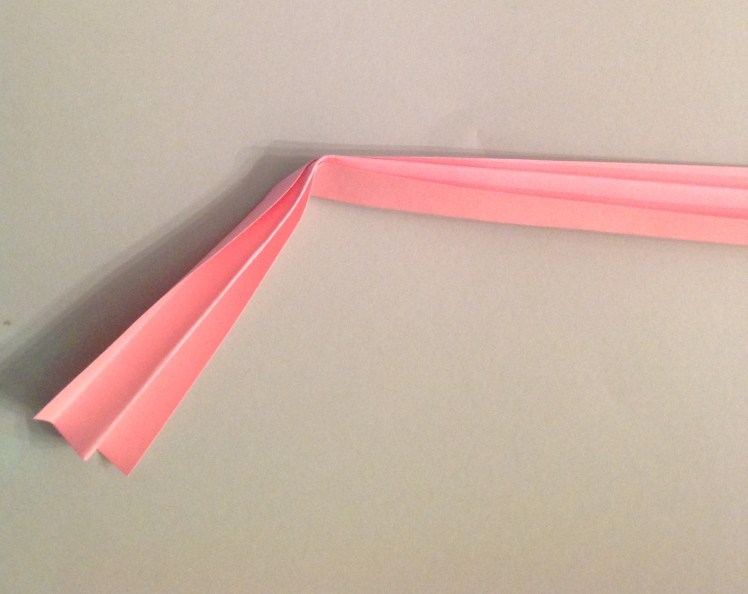
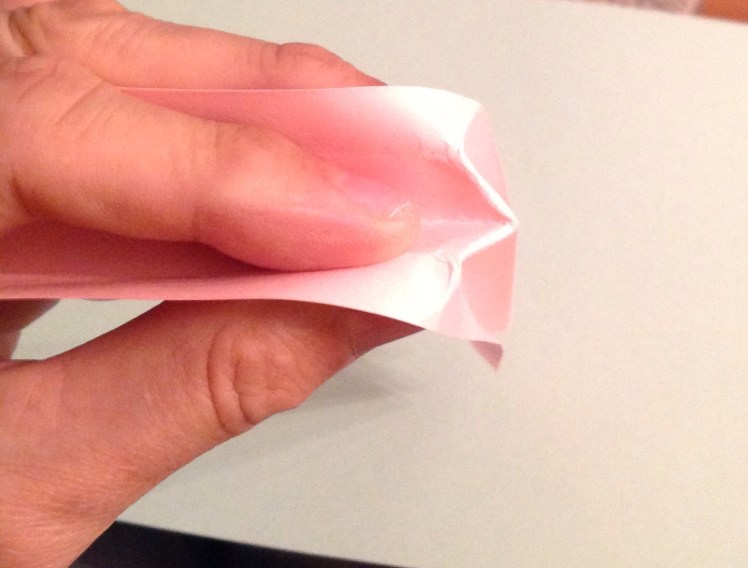
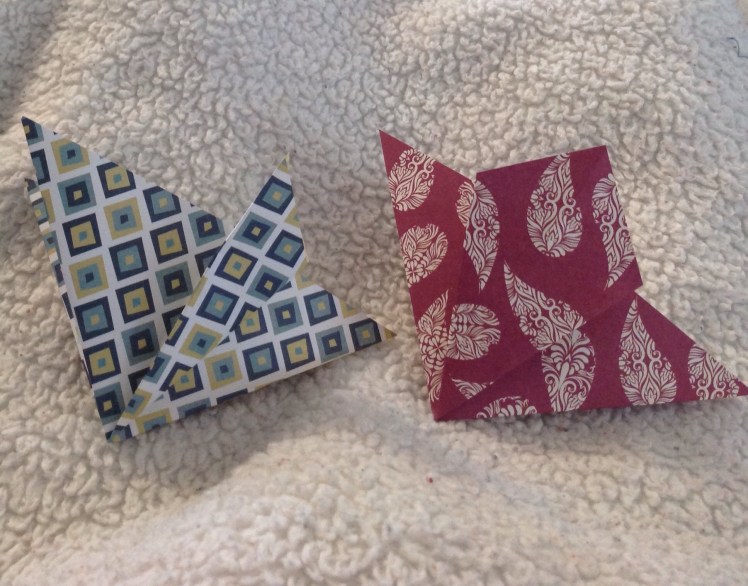
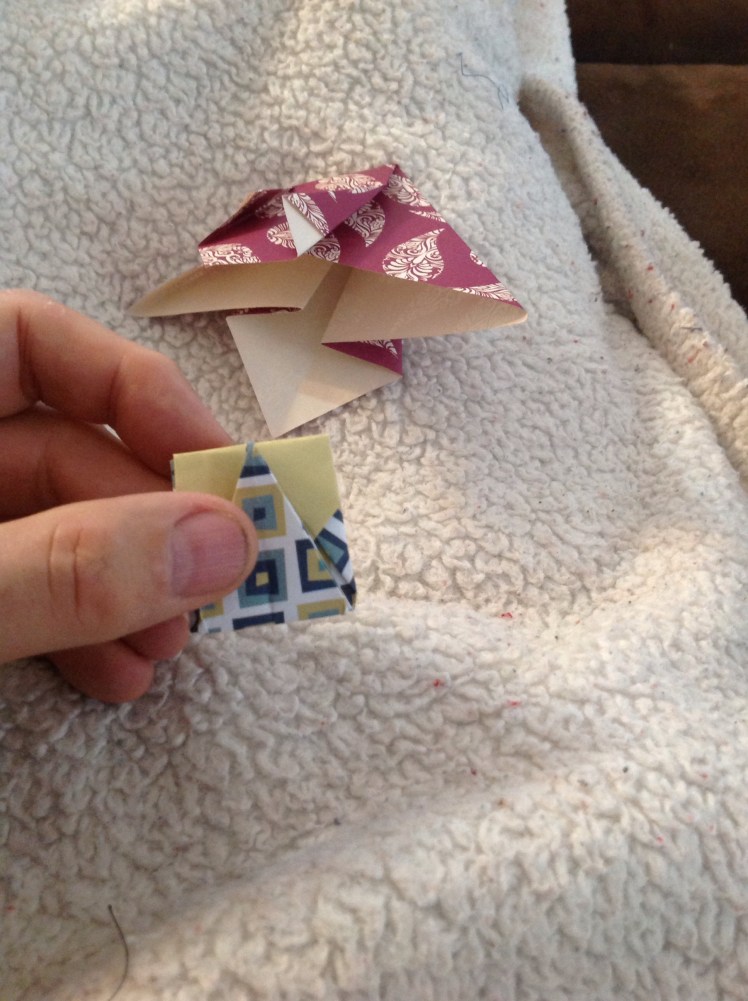
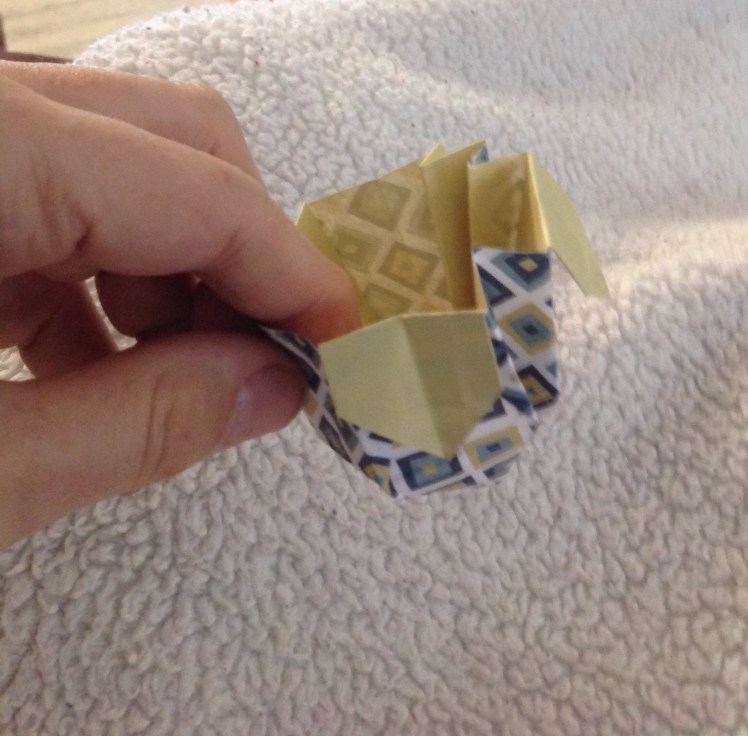
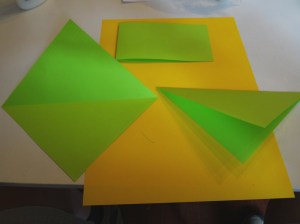
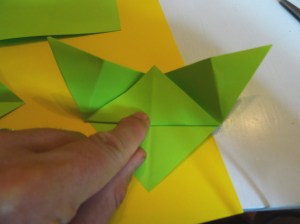
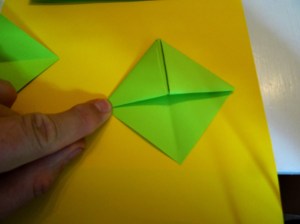
Fold the paper to lock the previous folds. Repeat this on all four wings.
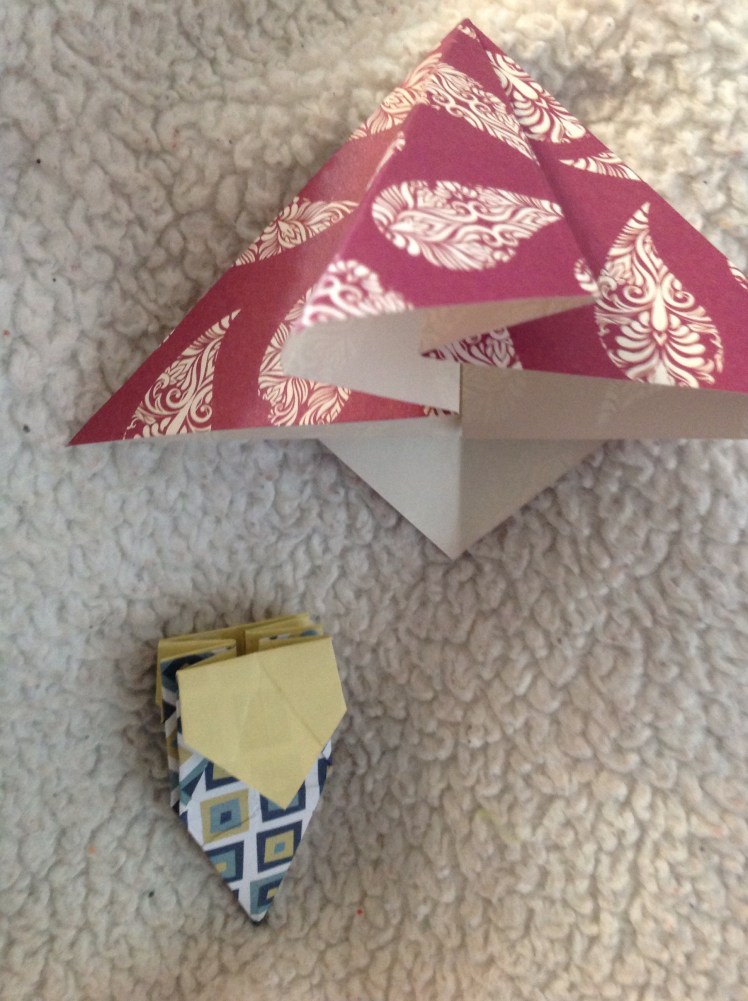
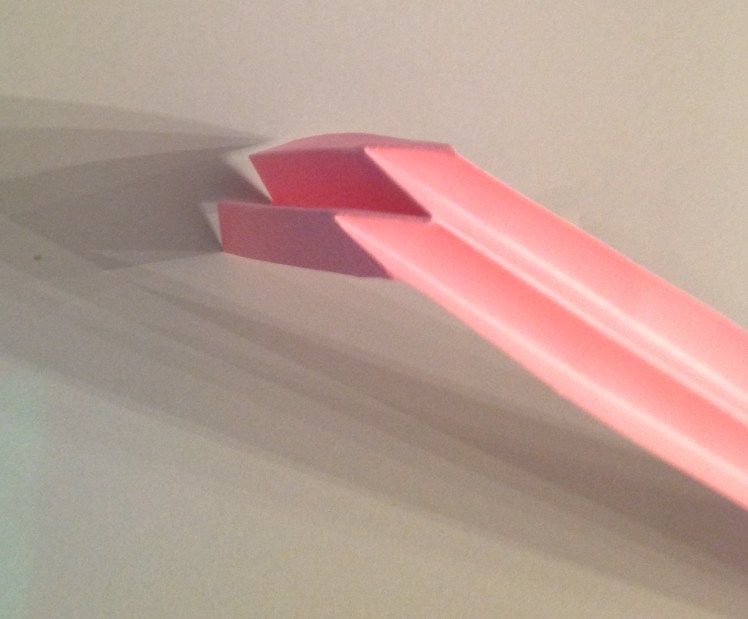
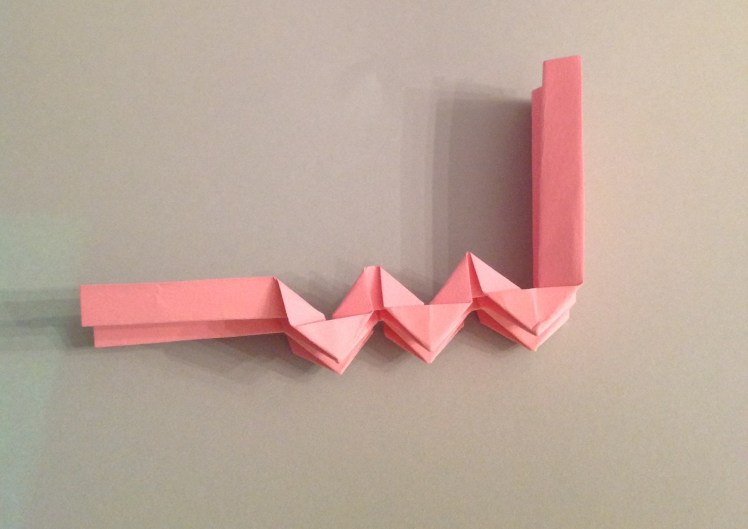
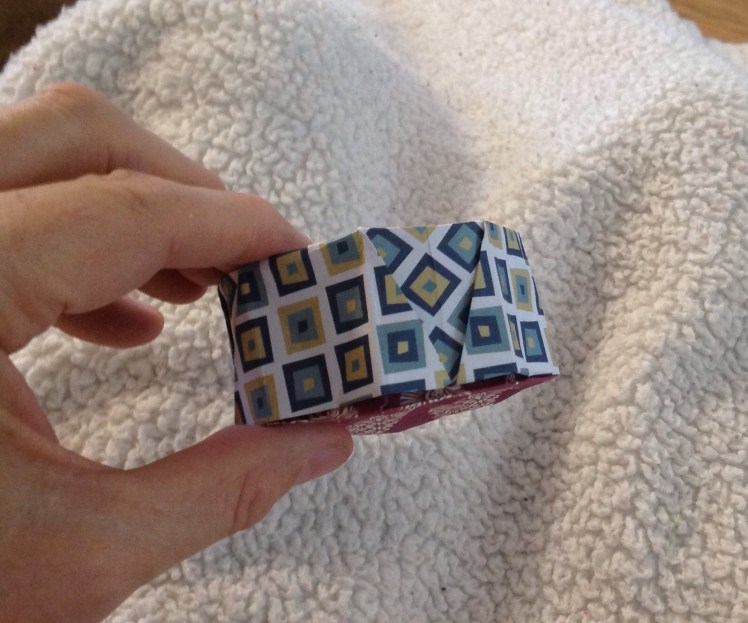
Now your project should look like the one above.
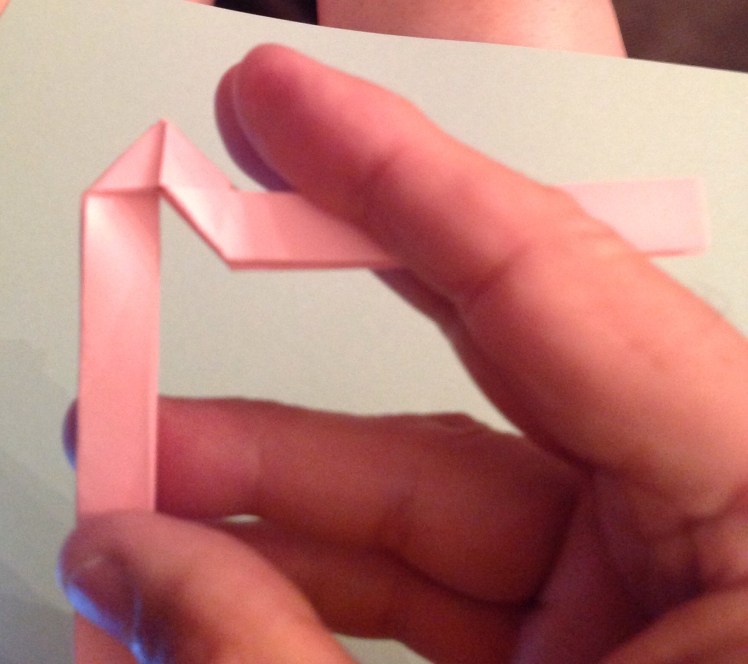
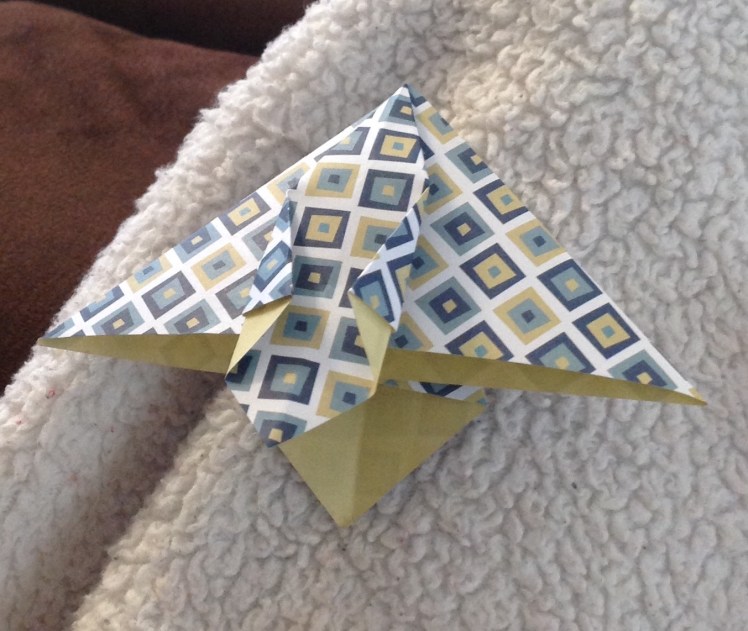
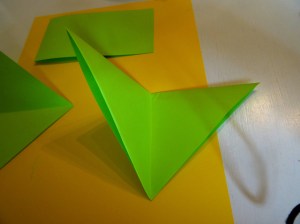
Bend up the bottom point to the center of the top horizontal edge. Again, hinge this fold back and forth several times so it will open correctly in the following folds.
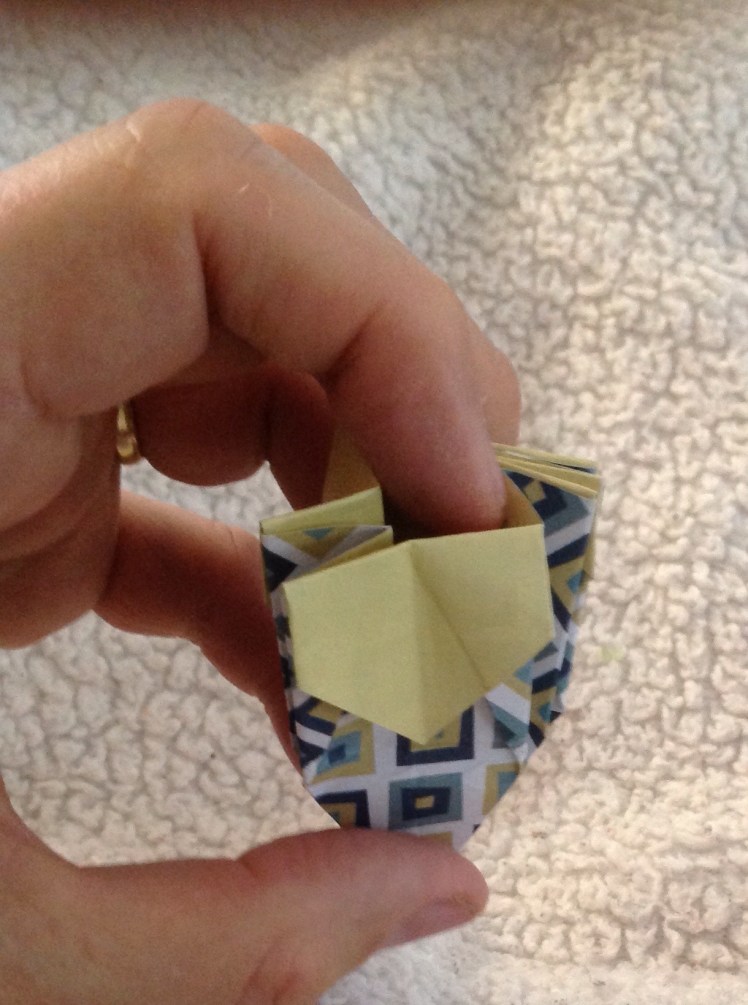
Insert your finger into the top of the fold and push outward on the inside panels to open the box. Be sure to push out where the crease lines are already in place. This part seems strange until you see the box shape pop out.

Now Let’s Lock The Edges :
Lift up one of the folded down points. Fold out the side flaps like door hinges. Be sure to keep the creases on top of each other when you swing the hinged sections into place. To lock this section, fold the point inside at the horizontal crease. 

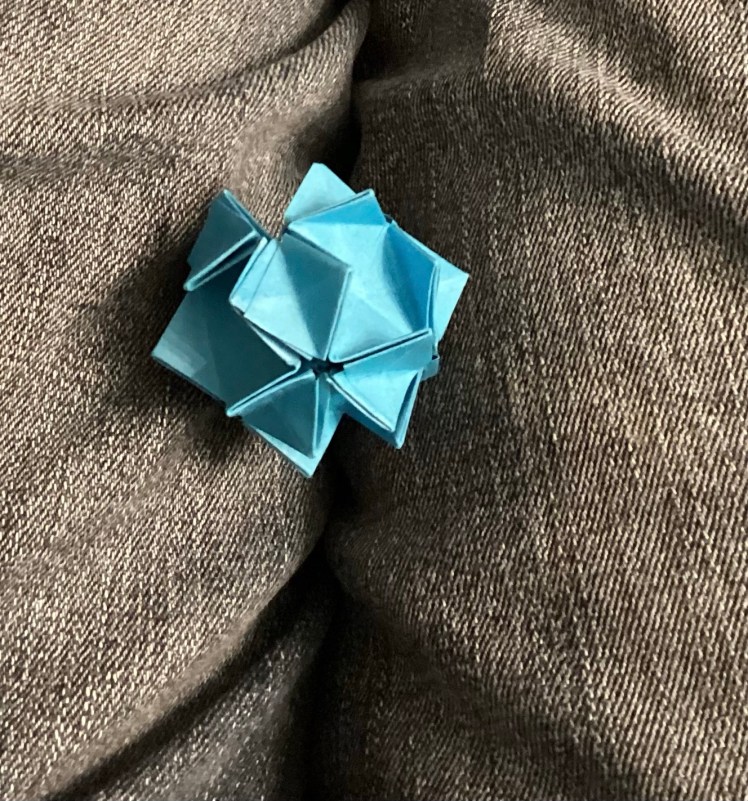
Repeat on all four sides. Check that all of your creases are the original ones you folded in the previous steps.It’s Time To Collapse The Form:
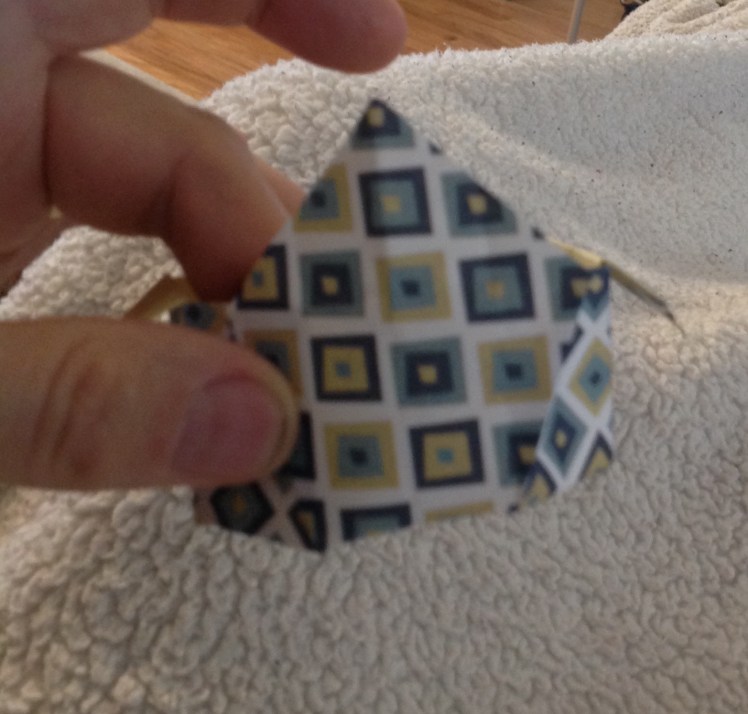
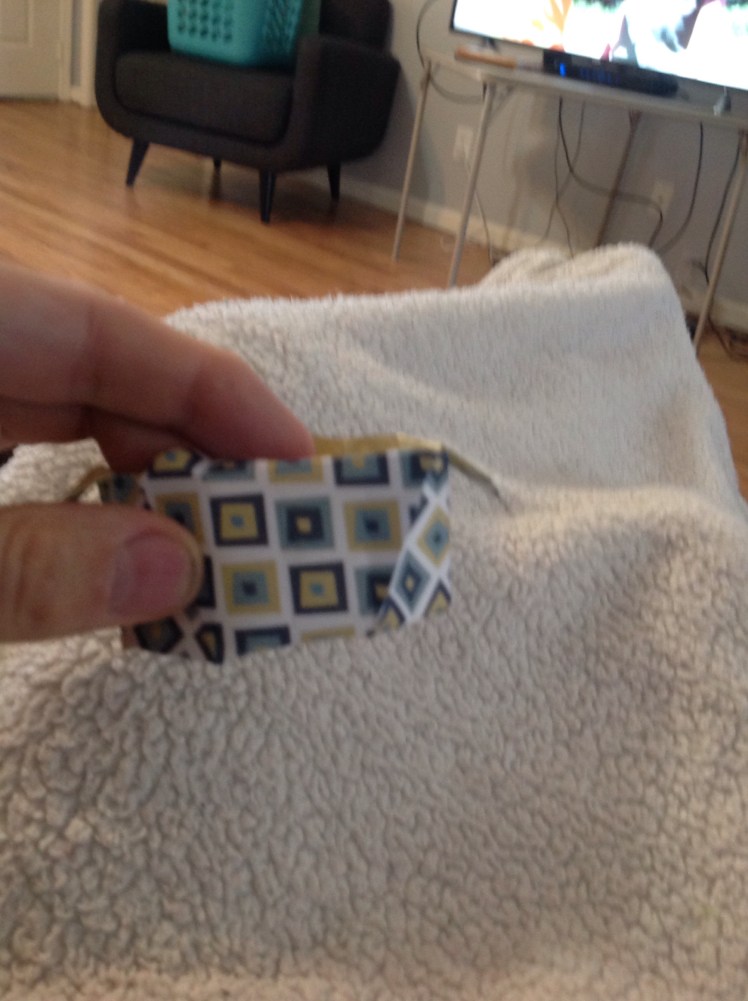
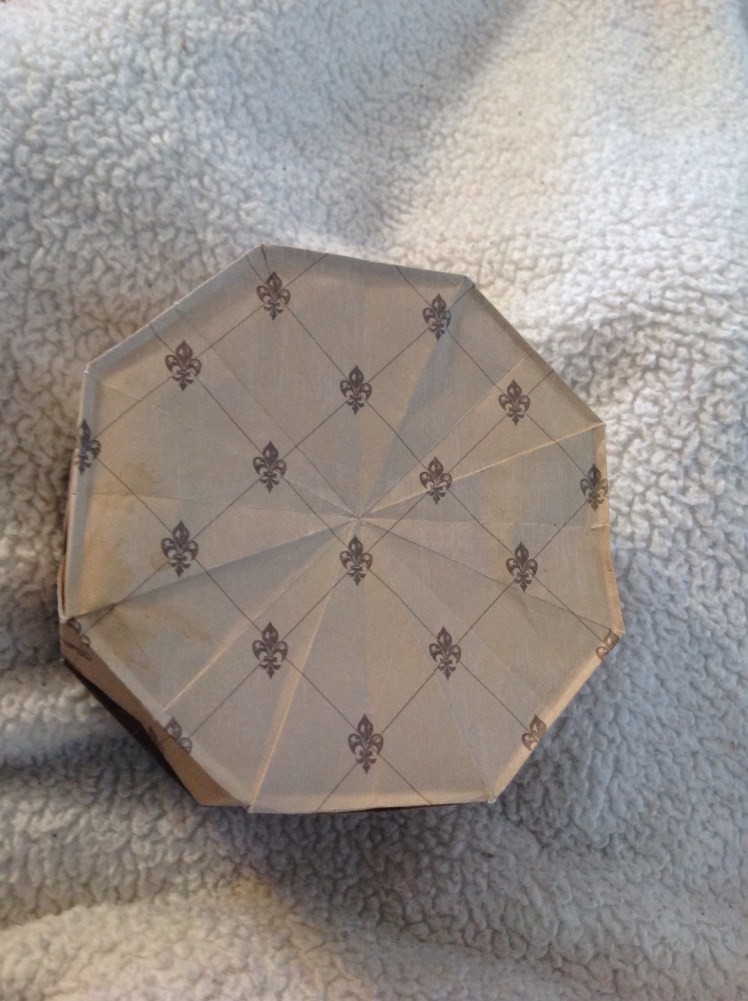
In this next step you will be straightening all the creases to form a symmetrical octagon. Some people use these collapsed forms as containers to store stamps and other flat objects. These are sometimes called origami tattoos.

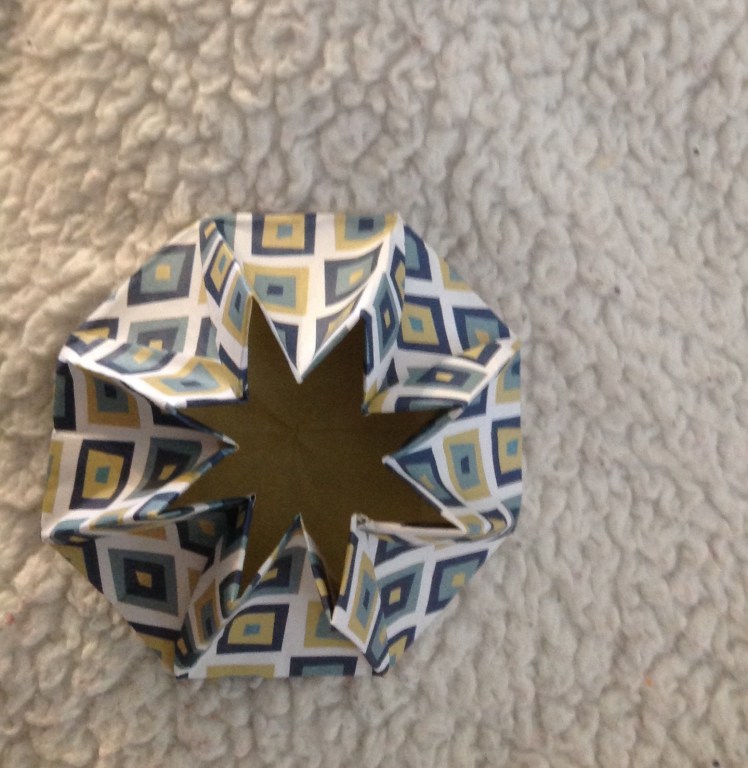
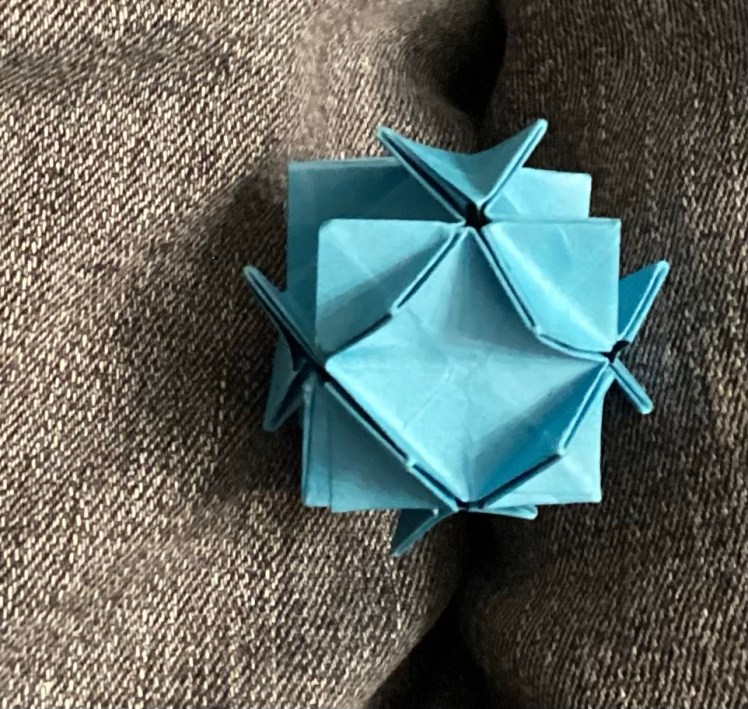
Observe the process in the above pictures. By pushing in the center of any two opposite sides you will collapse the form. This can be a tricky step since you have to bring in all the sides to the center at the same time. Fold each of the little shark fins to the right so they overlap and the form is flat. Run your fingers over and push down on the outside edges to straighten all the folds. Use your fingernail to indent the outer edges of the octagon all the way around the circle. This will start to create the crimping you will do with the edge of an ink pen. 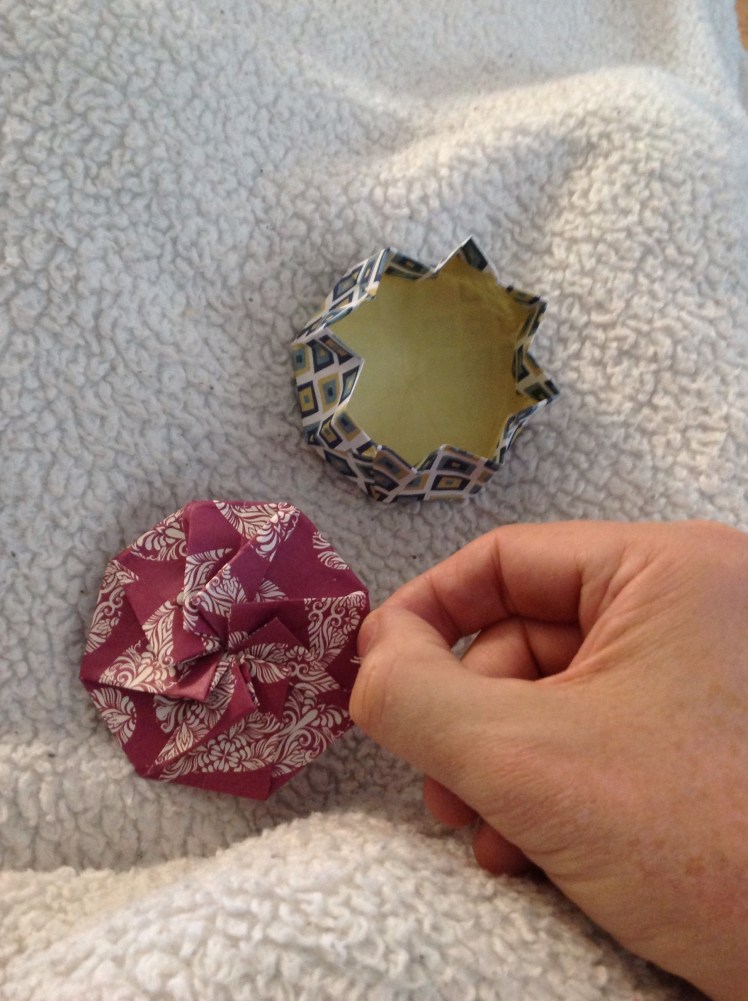
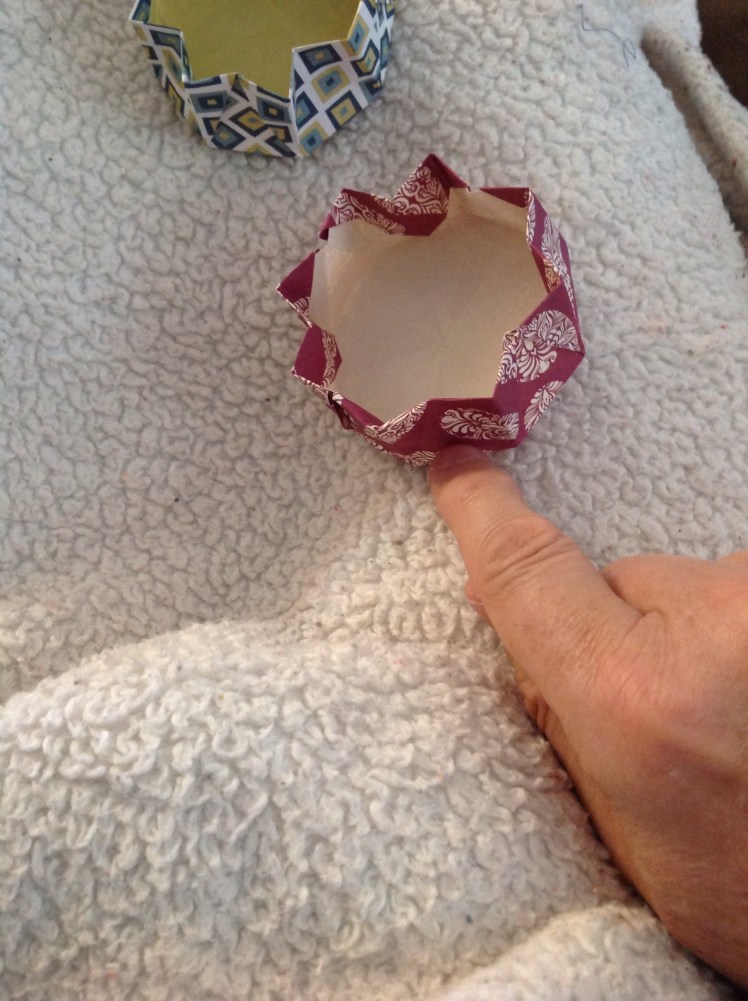
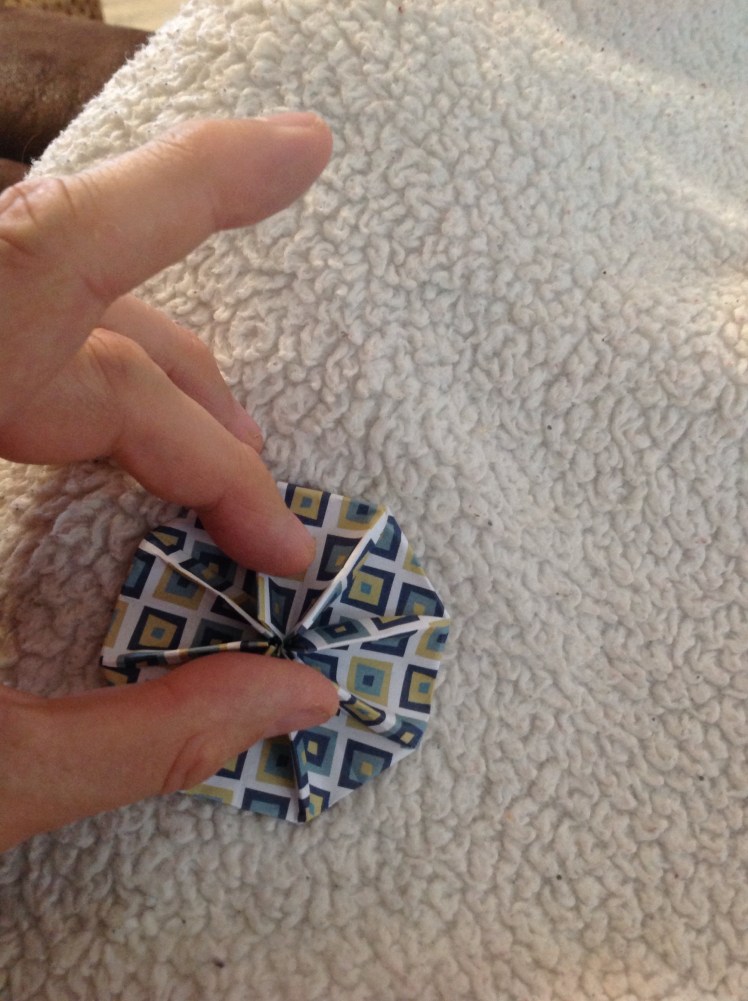
Reopen The Boxes:
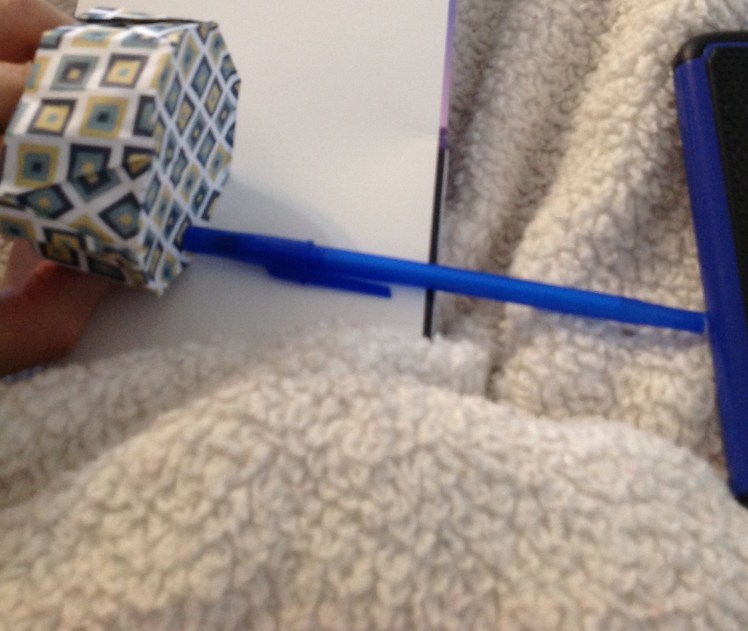
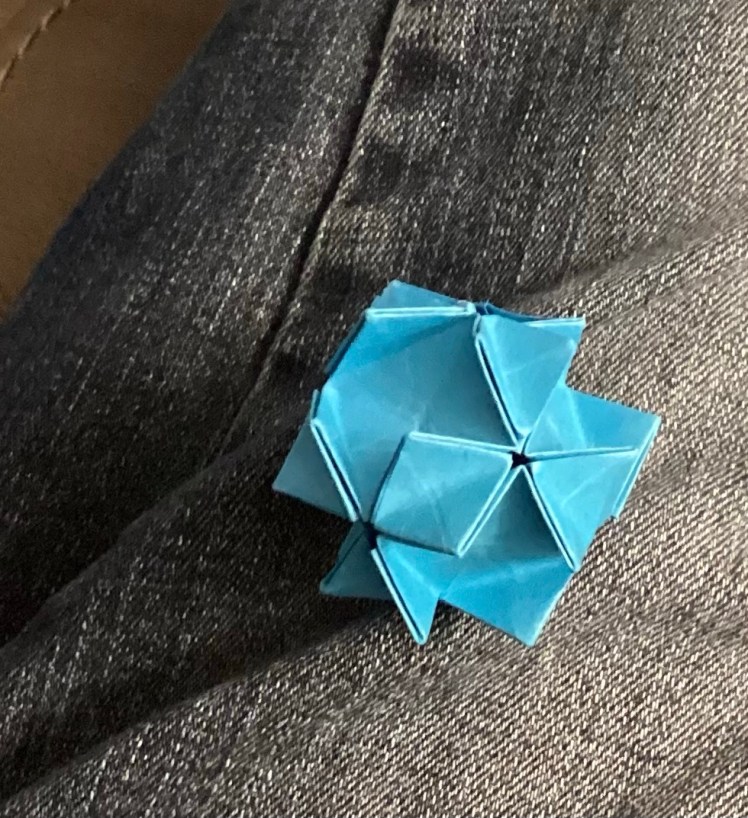
Now that all the creases have been set you can reopen the box by placing your fingers inside and pressing out on each of the V joints. They will still slightly bend in like the pictures above. Use the end of a pen cap to carefully crimp down the bottom outer edges. Be careful not to tear through the paper. Slide the pen cap left and right on each of the 8 sides to create a lip on the bottom to receive the lid. This forms the bottom half of the box.
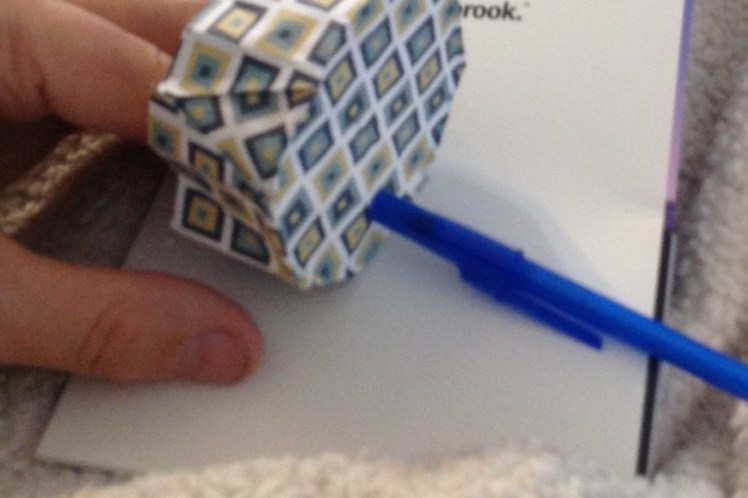
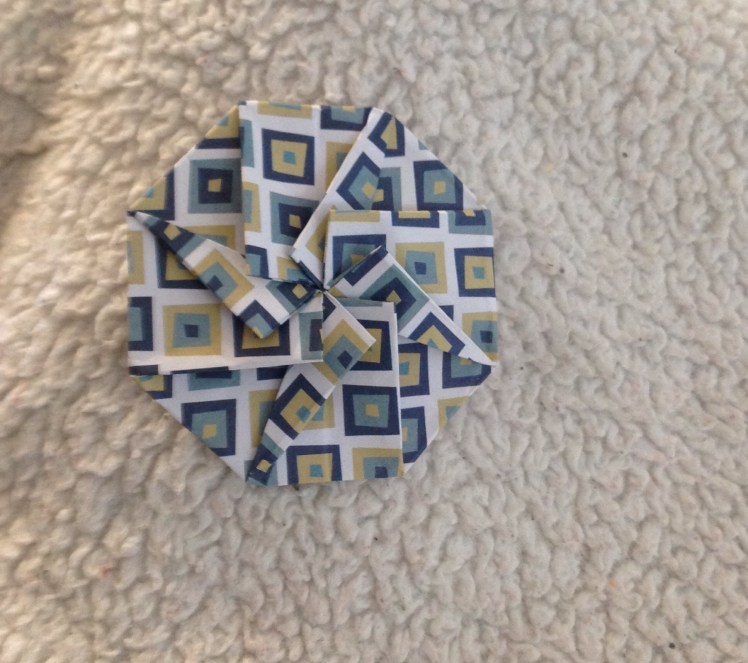
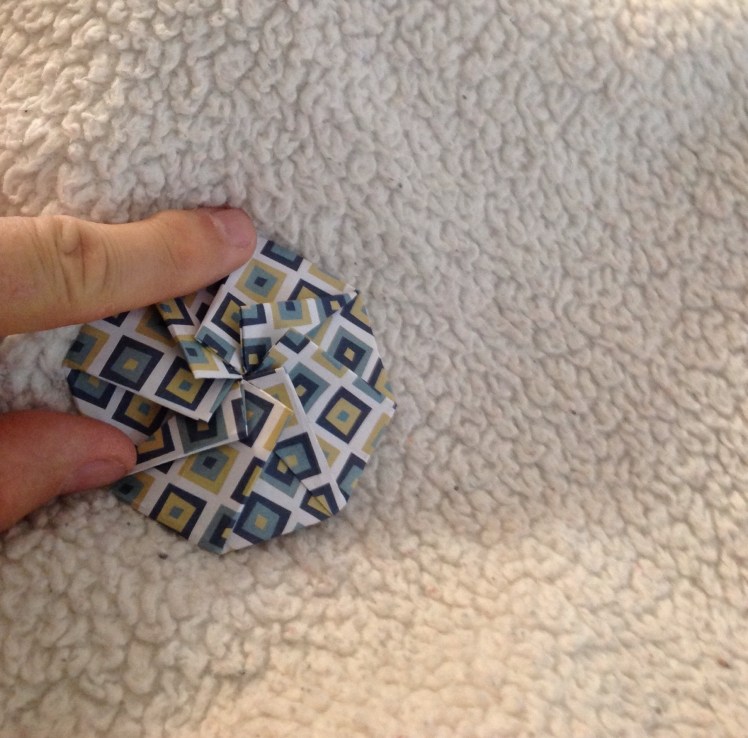
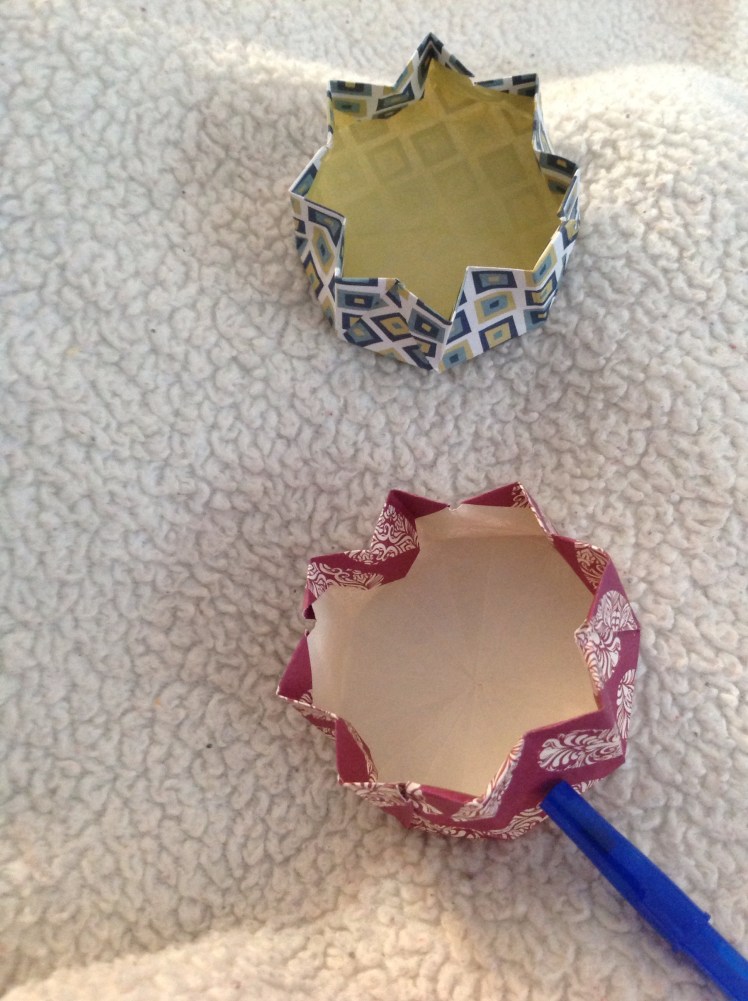
Forming The Top:
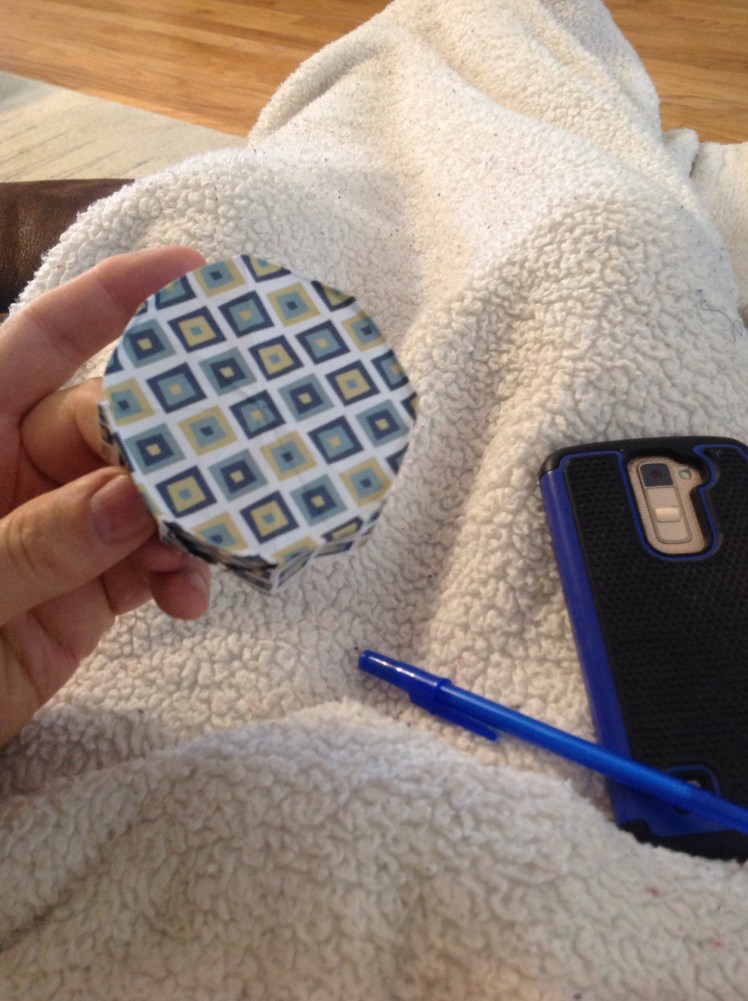
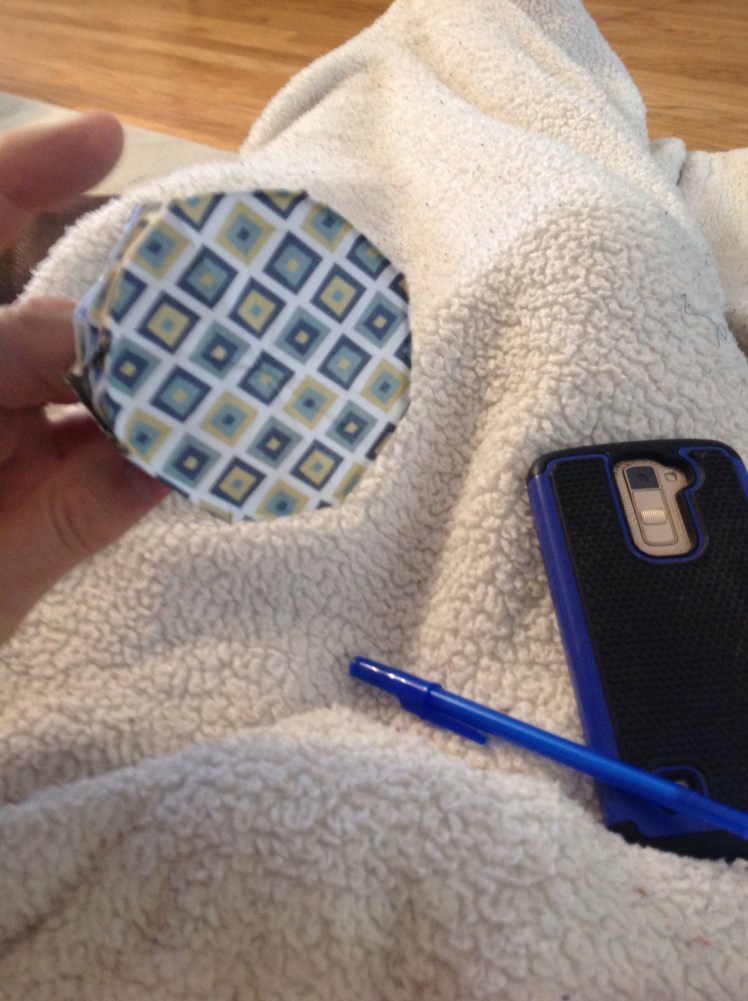
Now let’s crimp the top section. Place the box on its side and use the pen cap to crimp the edges as shown in the pictures above. If done properly your lid will rest on the bottom crimped edge. Adding these crimps gives the fold strength as well as form.
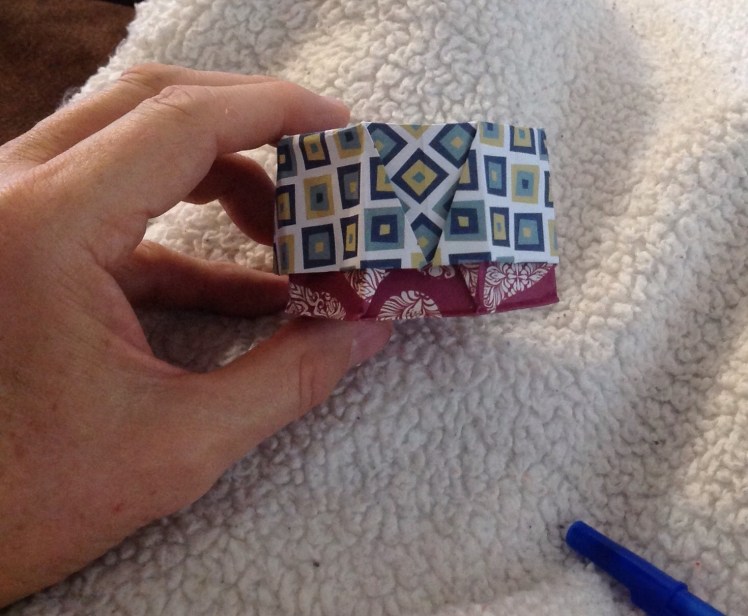

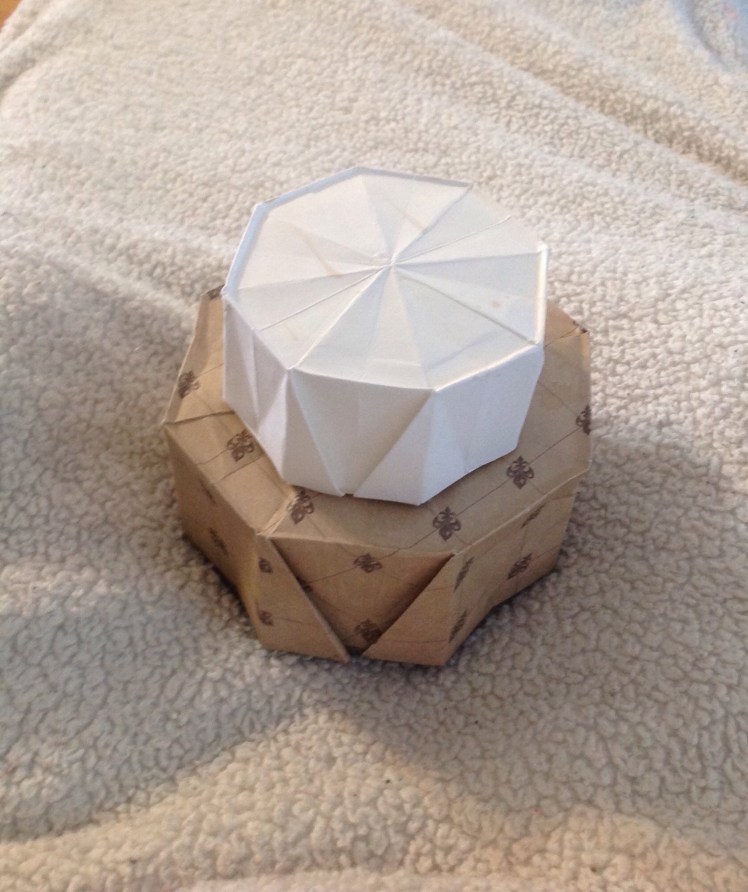
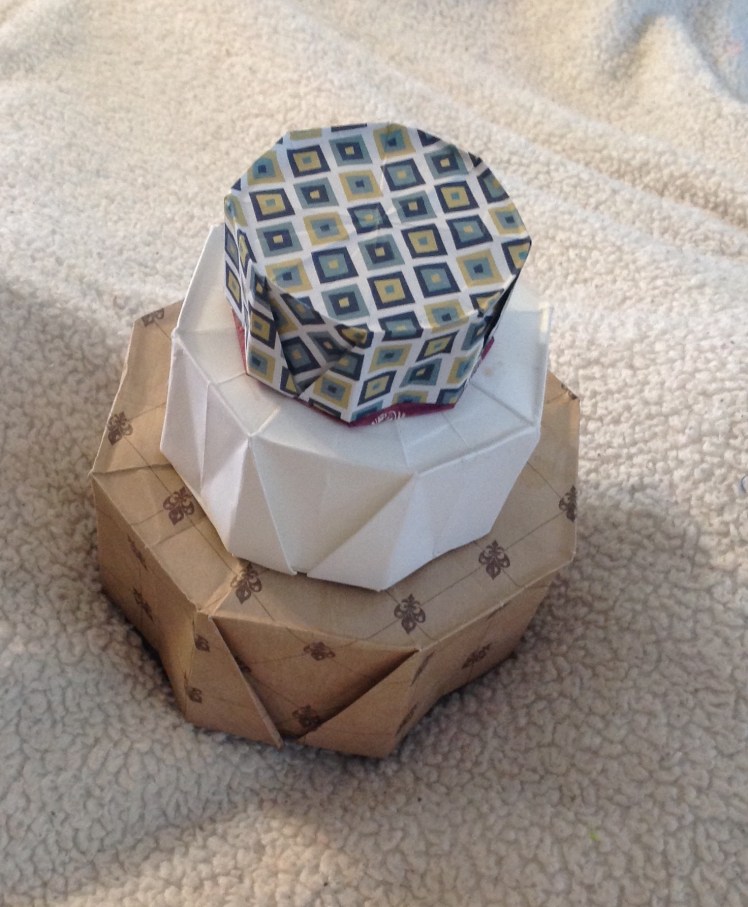
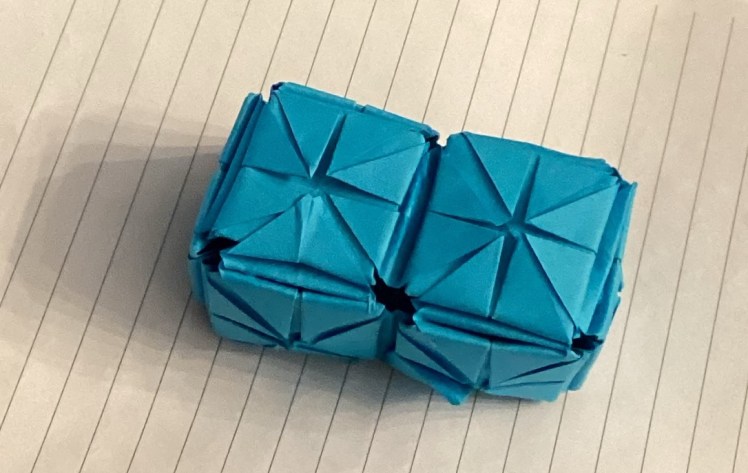
You Can Stack Them Up:

Use Them For A Gift Box Or Storage Container:
Depending on the size of paper you start with you can make boxes of various sizes. Using a standard 8 1/2″ X 11″ piece of paper your box will hold four standard size chocolate truffles. If using the boxes to hold food items, line them with cellophane or tin foil so the oils don’t soak through and ruin your fold. You can use them to wrap up presents, jewelry boxes, and more. You can stack several of decreasing sizes to form a Christmas tree. What other ways can you think of to use them?
Where Did Form And Design Originate?
As I look around me at all of the designs I see in creation I’m reminded that there has to be a Designer of these wonderful forms. Just like I have designed this box, each designed shape has function as well as beauty. If you see similar patterns in many things you can assume there is a common Designer. It’s like being able to tell which cars are Chevys and which are Fords by seeing similarities in each model. We see the same things in God’s creation. Some animals have four legs while others have two. Many animals are bilateral having two eyes and two ears. Having two of each of these gives us depth perception. No matter which creature you observe you will see that each design has function. How each creature functions has a greater purpose in its survival as well as its place in the whole of creation. I hope you, like I, have come to know this Creator. He is the giver and sustainer of life.
Psalm 36: 9 “For You are the one who gives and sustains life.”
Colossians 1:16a “For by Him all things were created…”


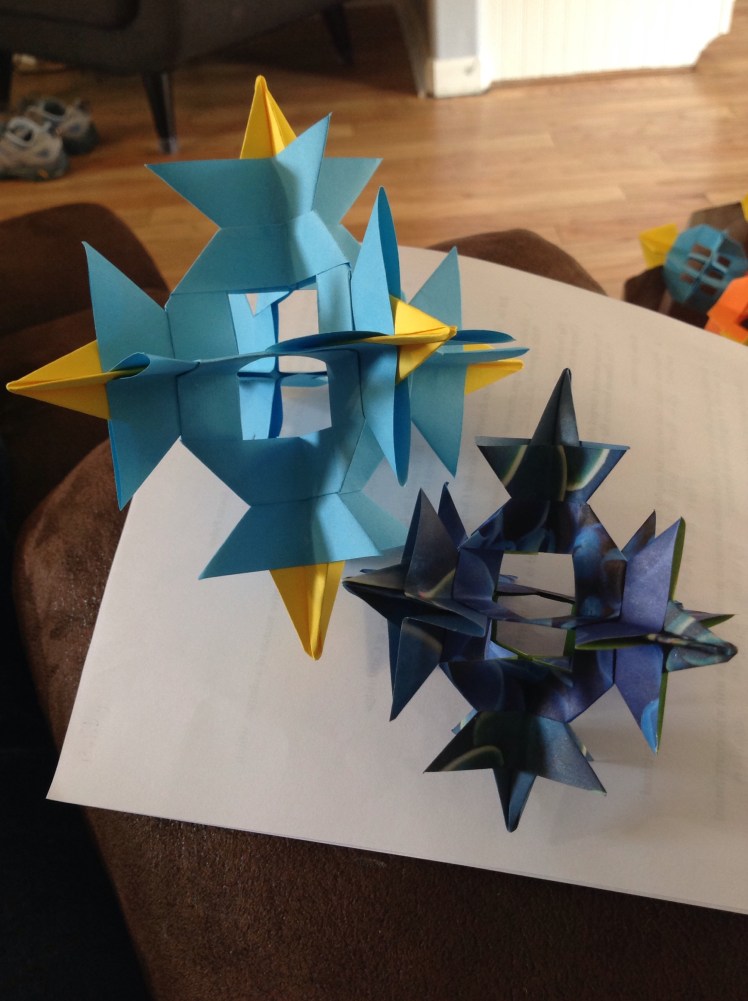


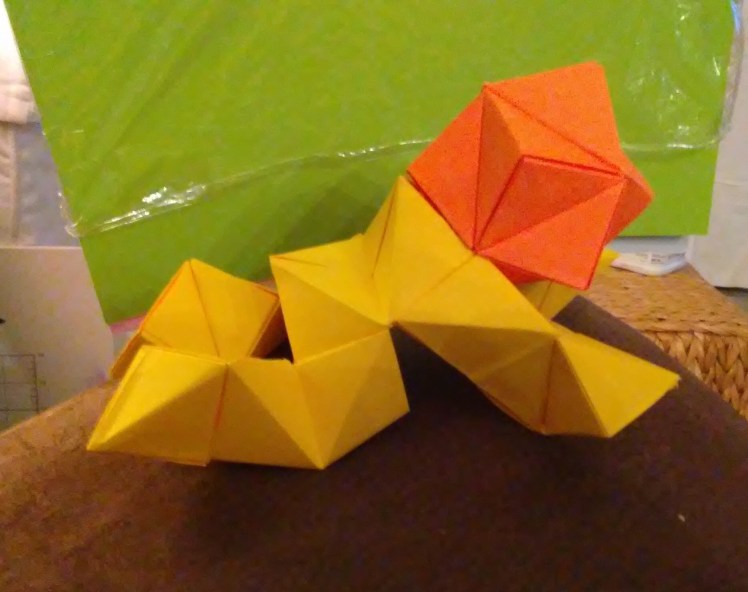
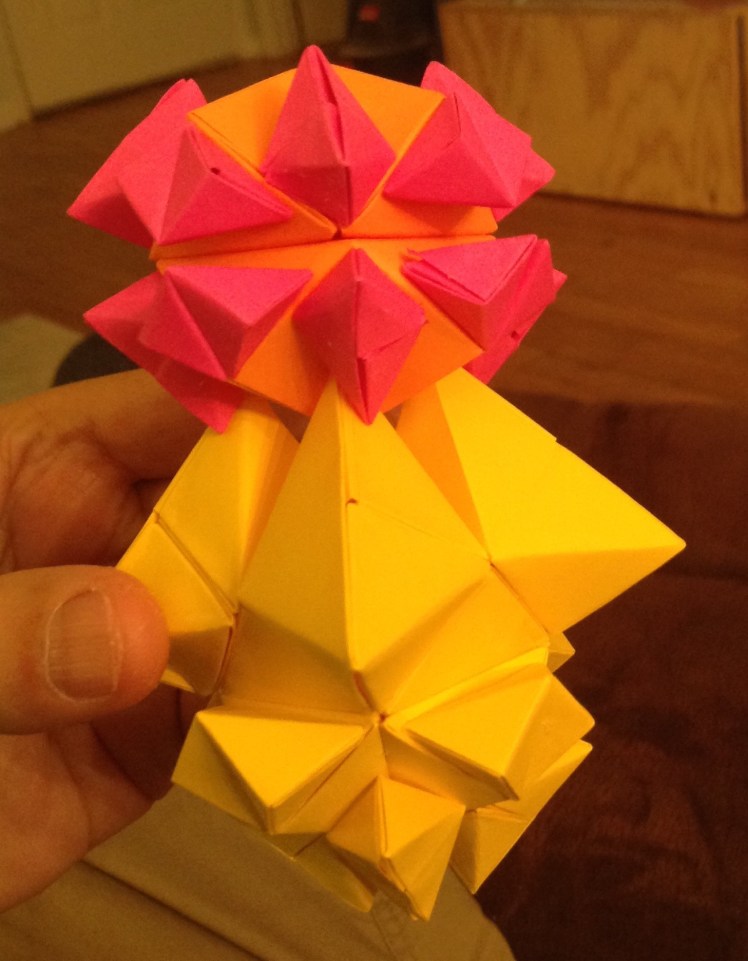
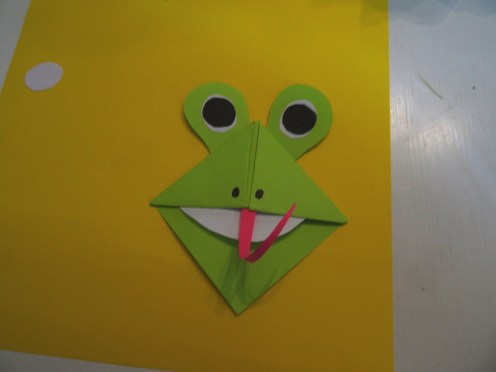


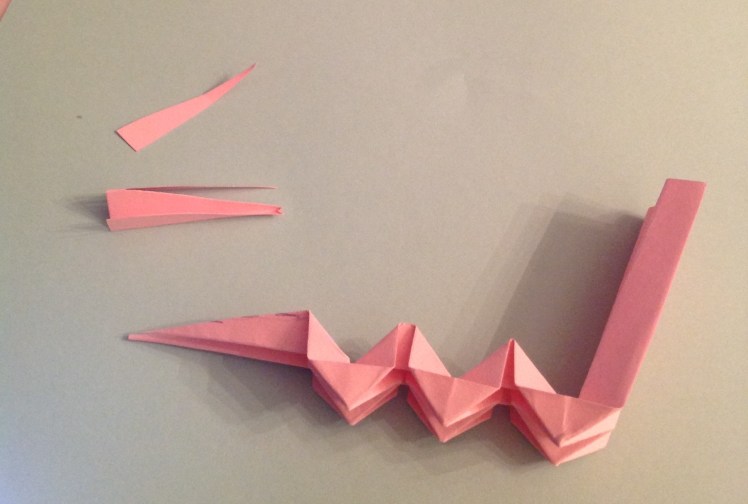
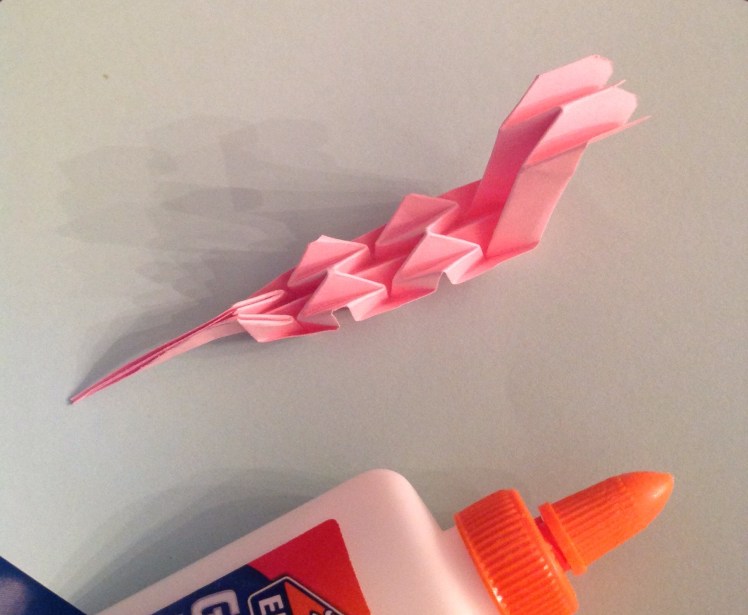
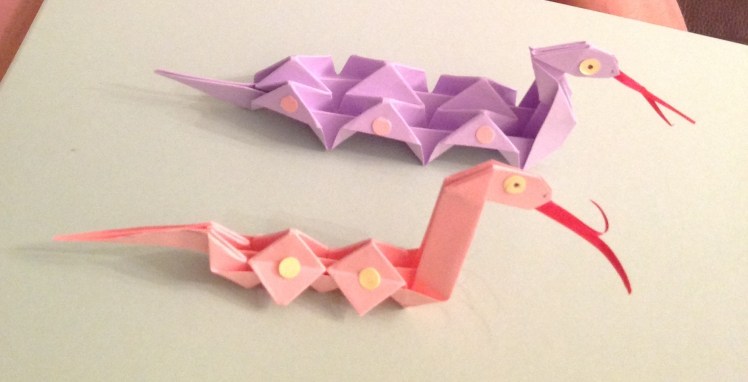
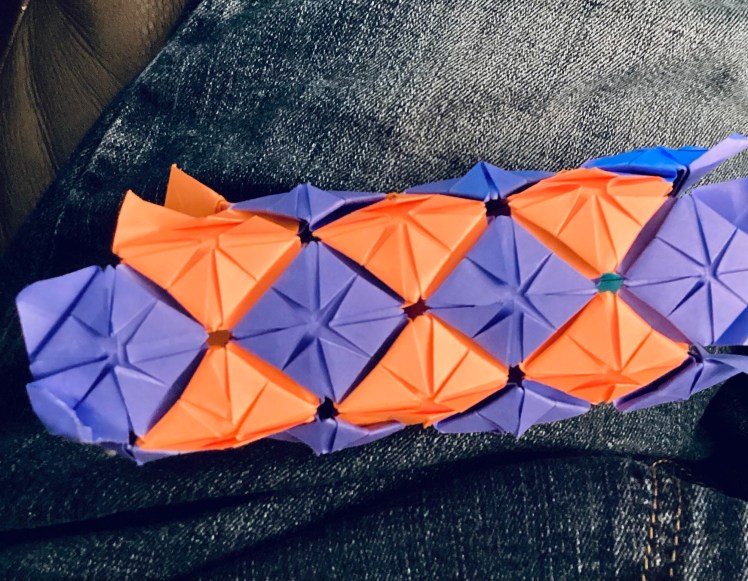
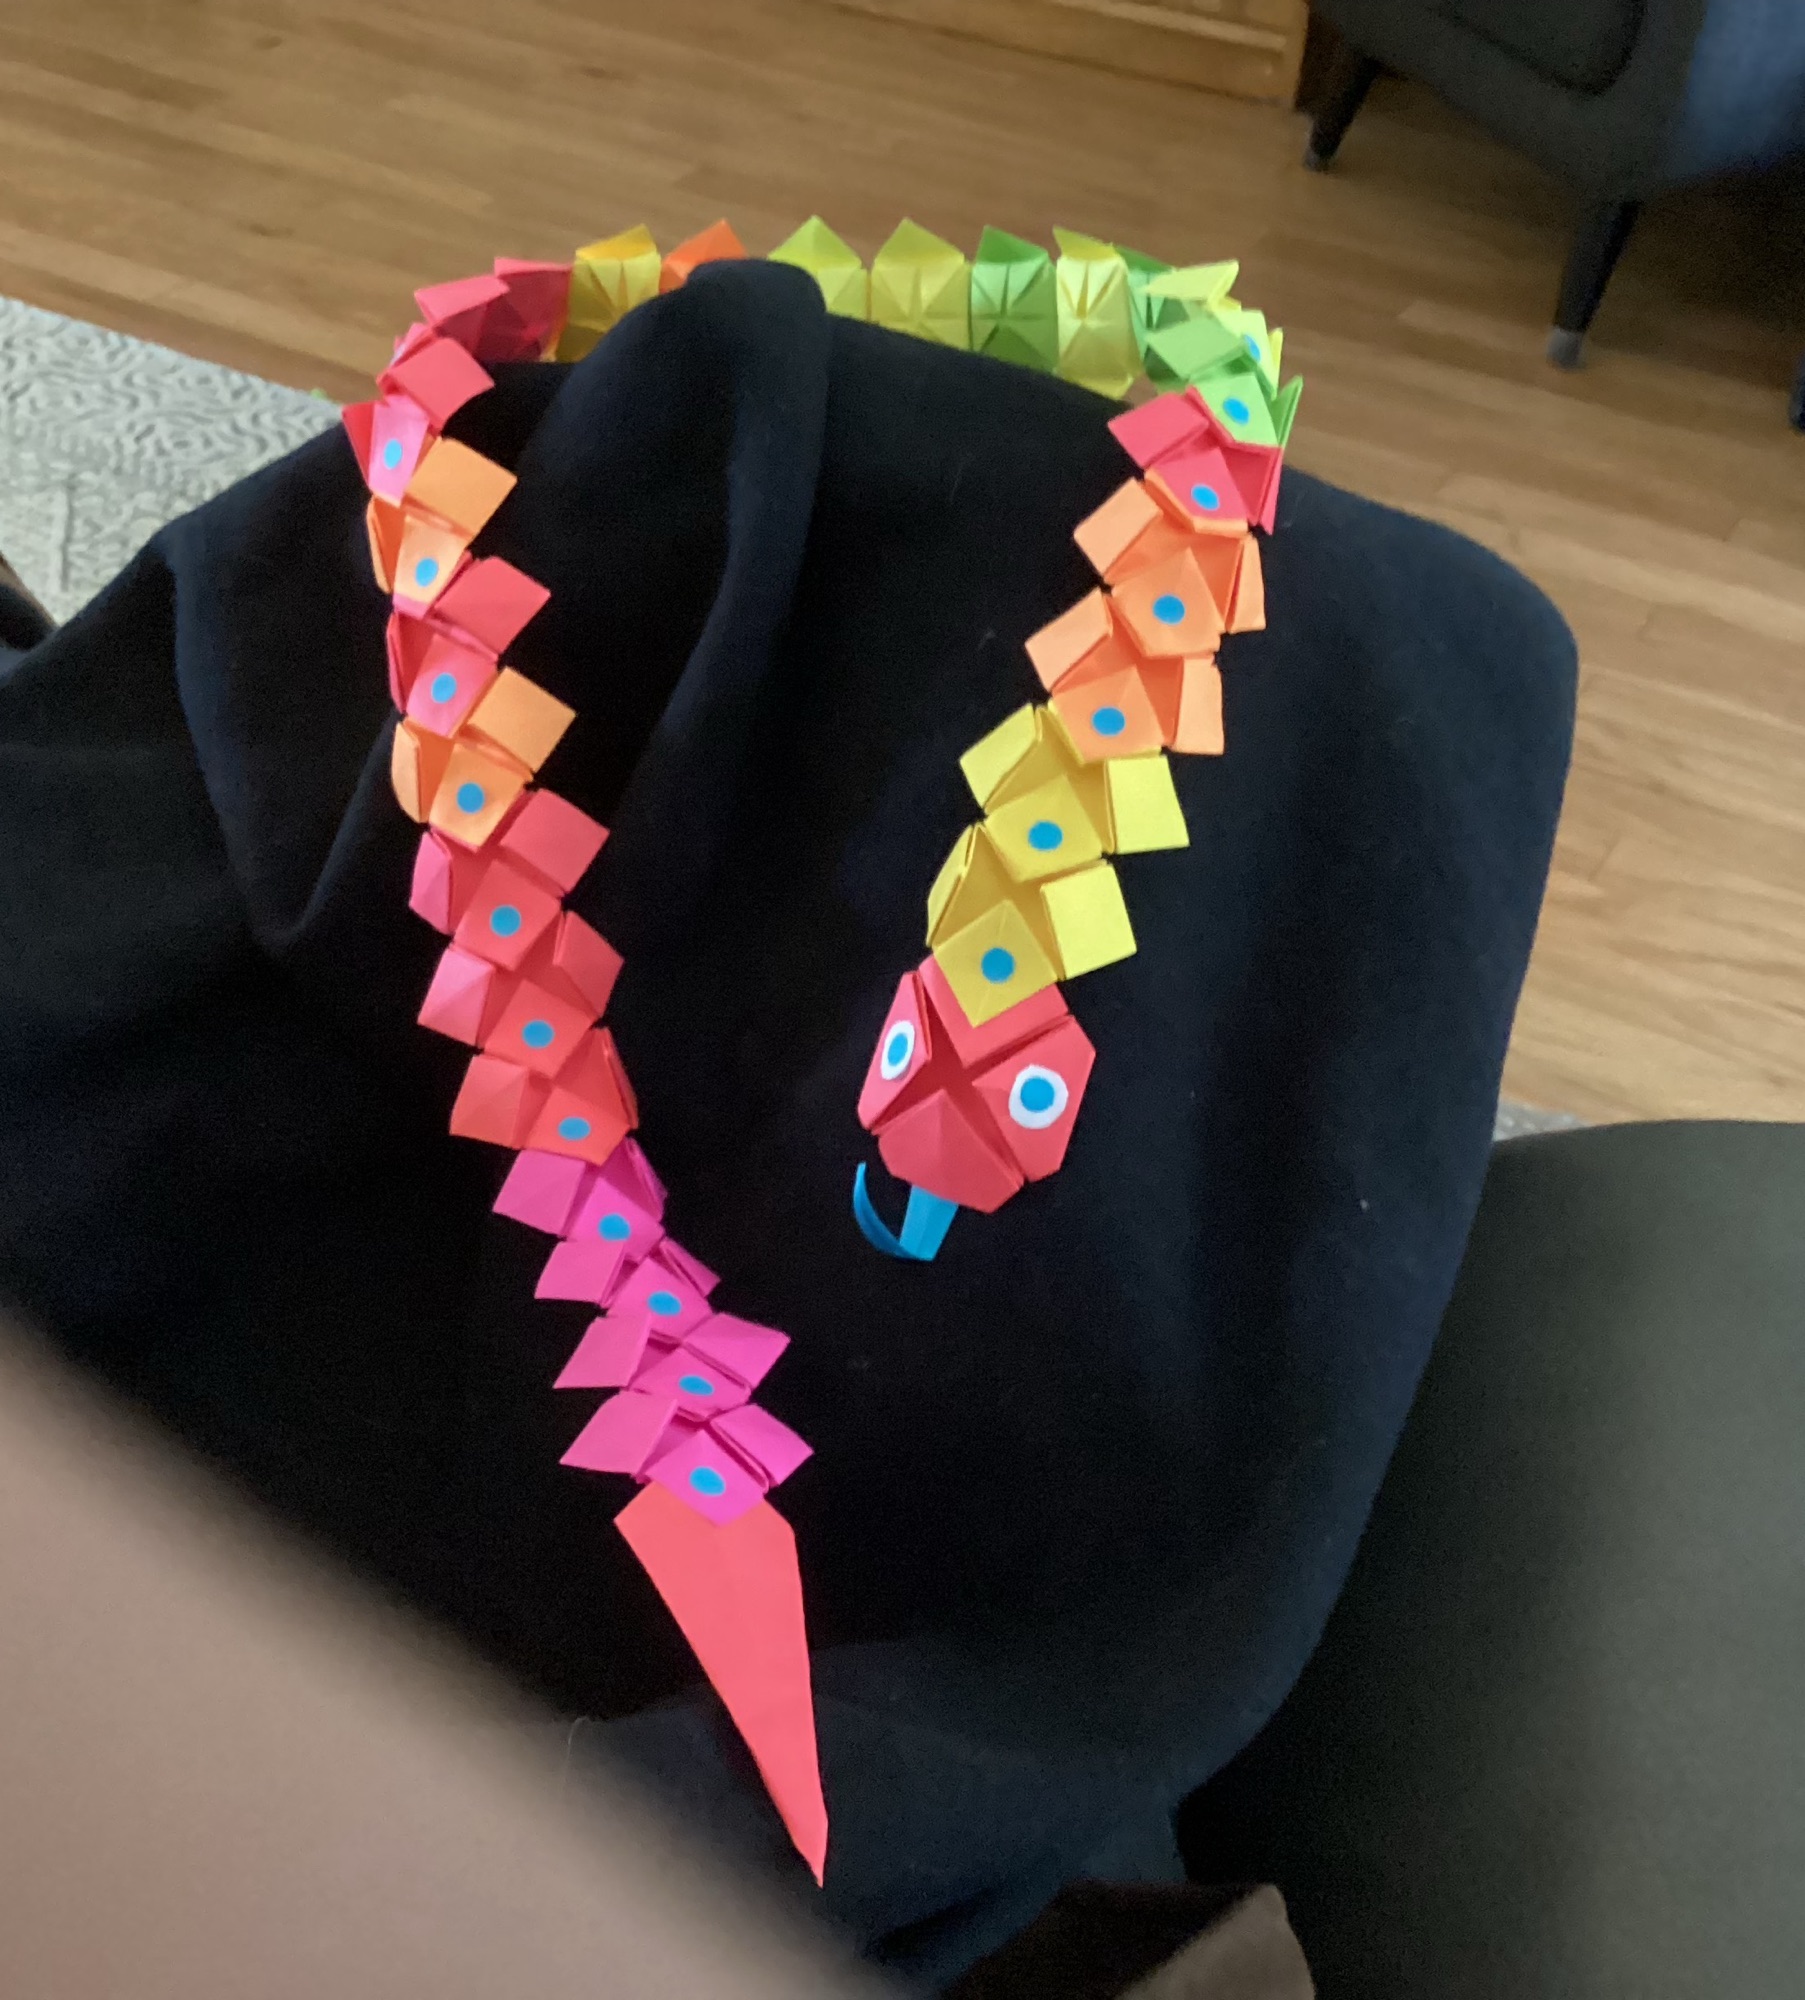 Scales and All:


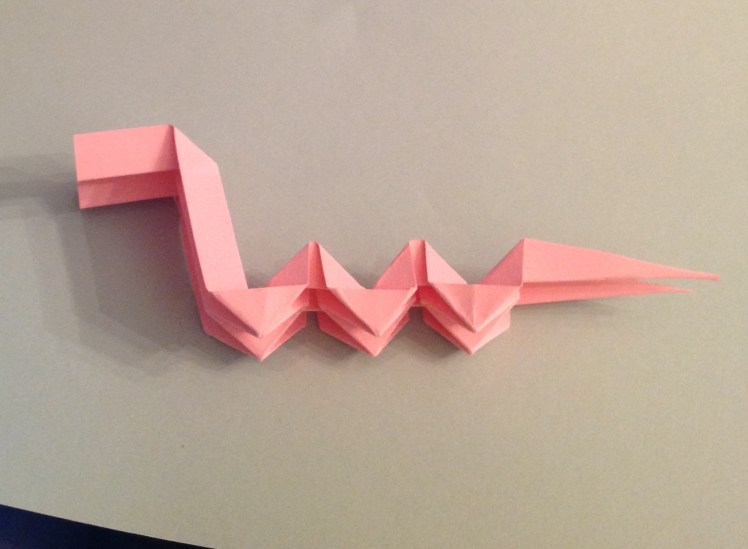
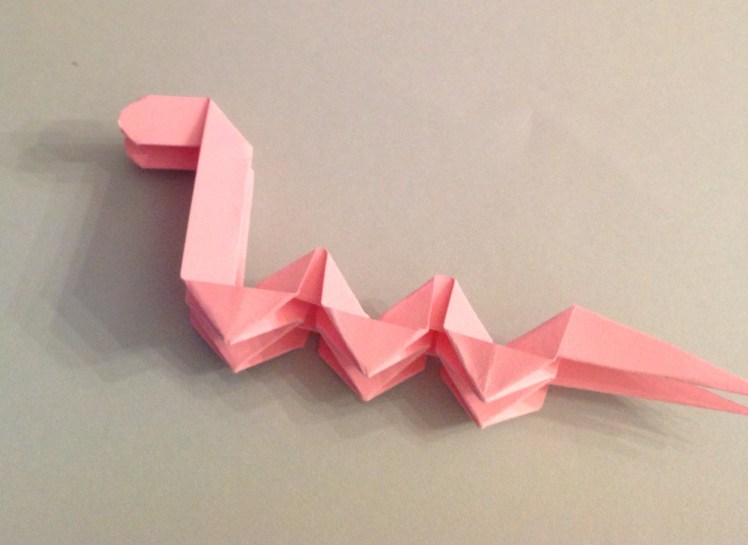
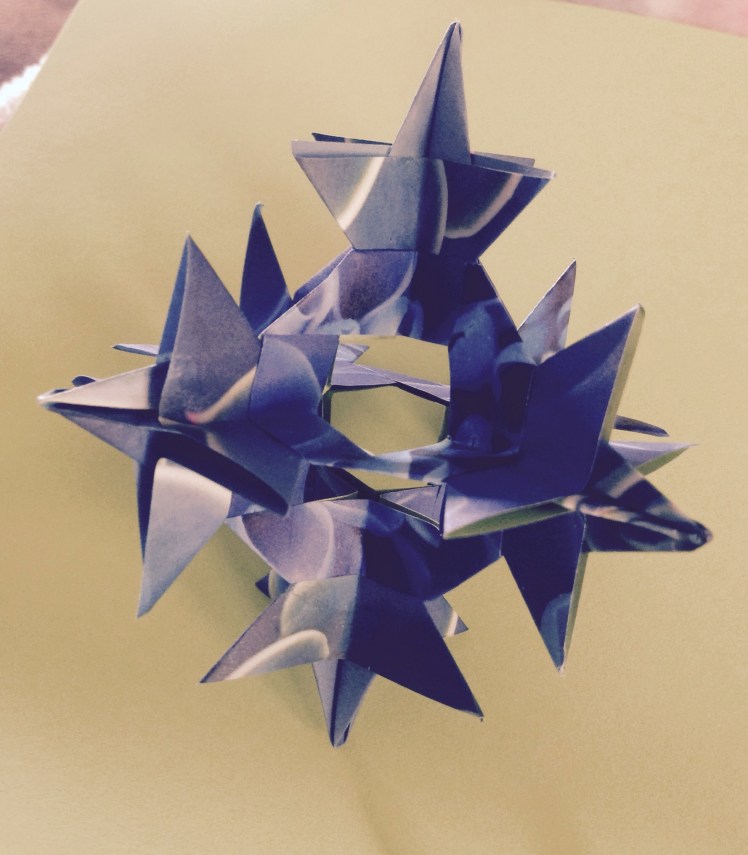
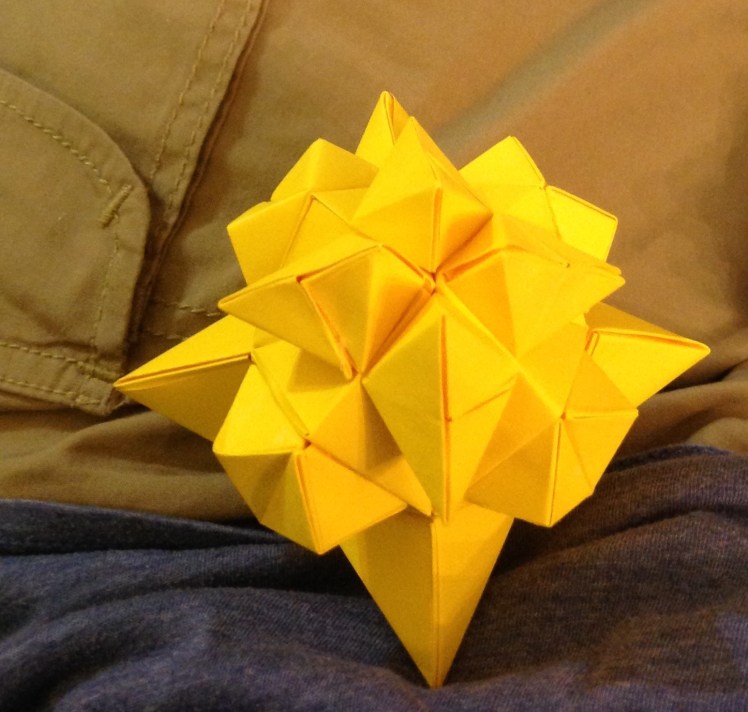
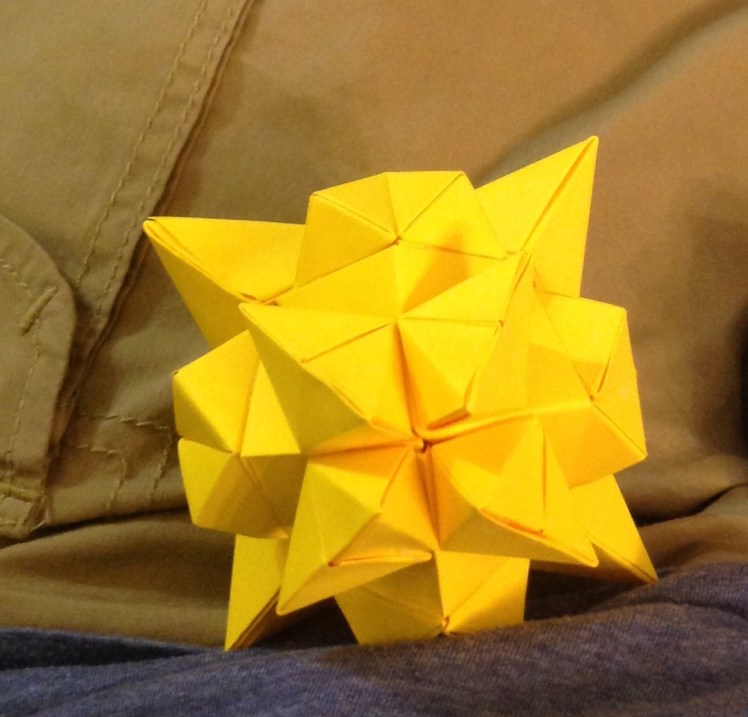
 The original model.
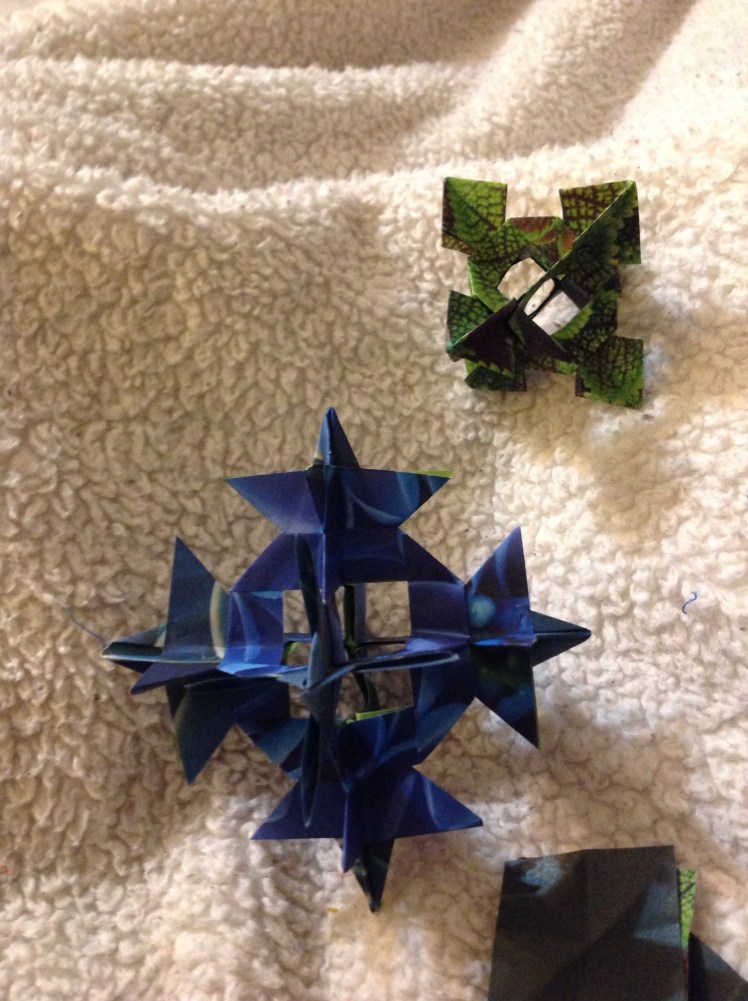
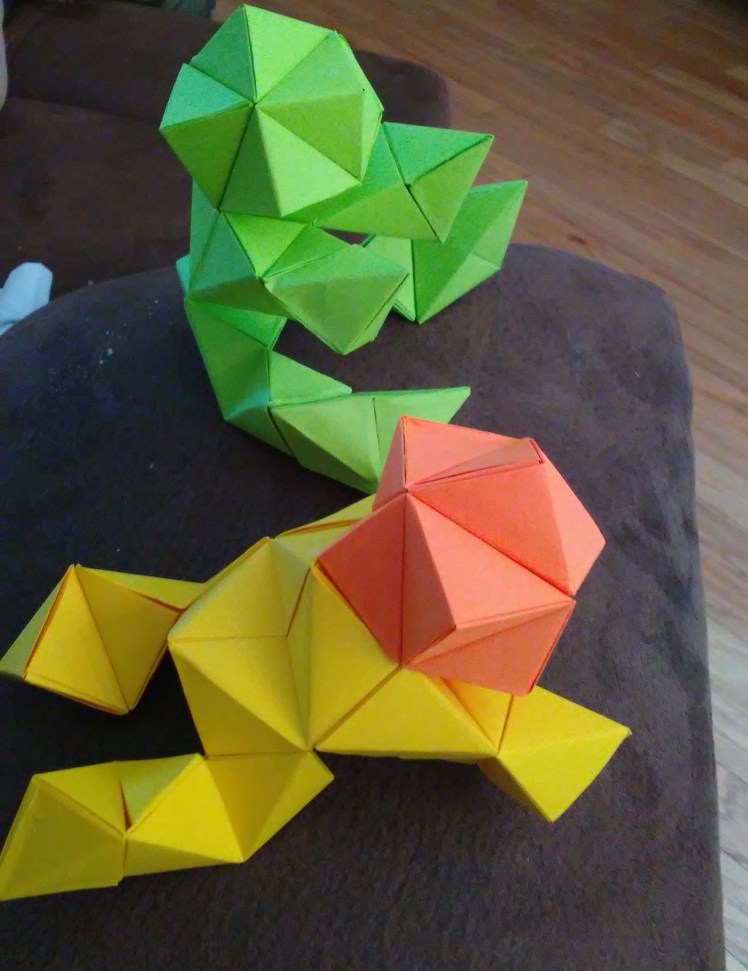
 Here was one of my first attempts. I made a smaller one and inserted it into the larger one to imitate an adult caring for its young.
 Here was another model.
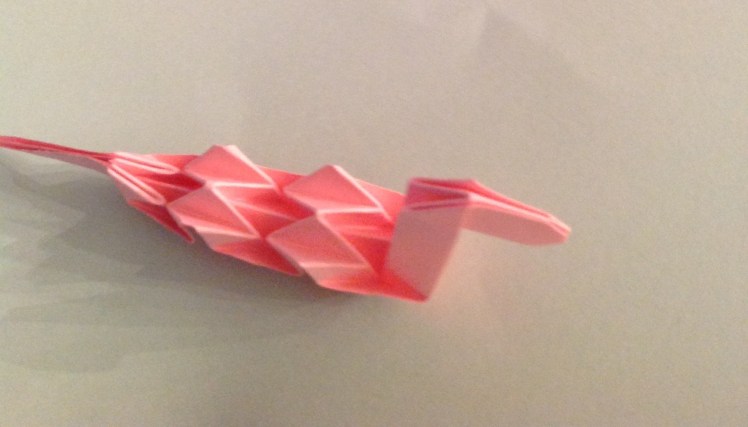
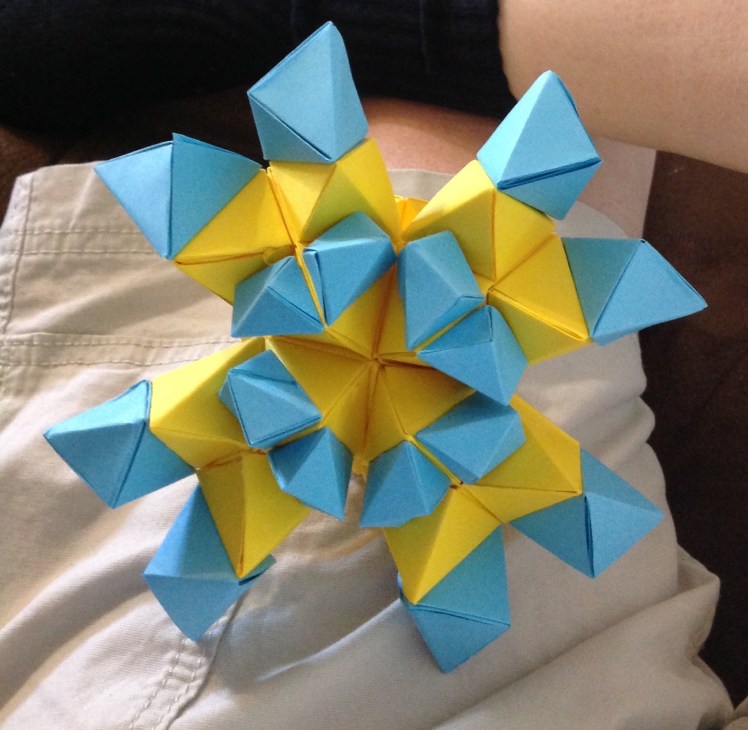
 This model has a rounded belly.


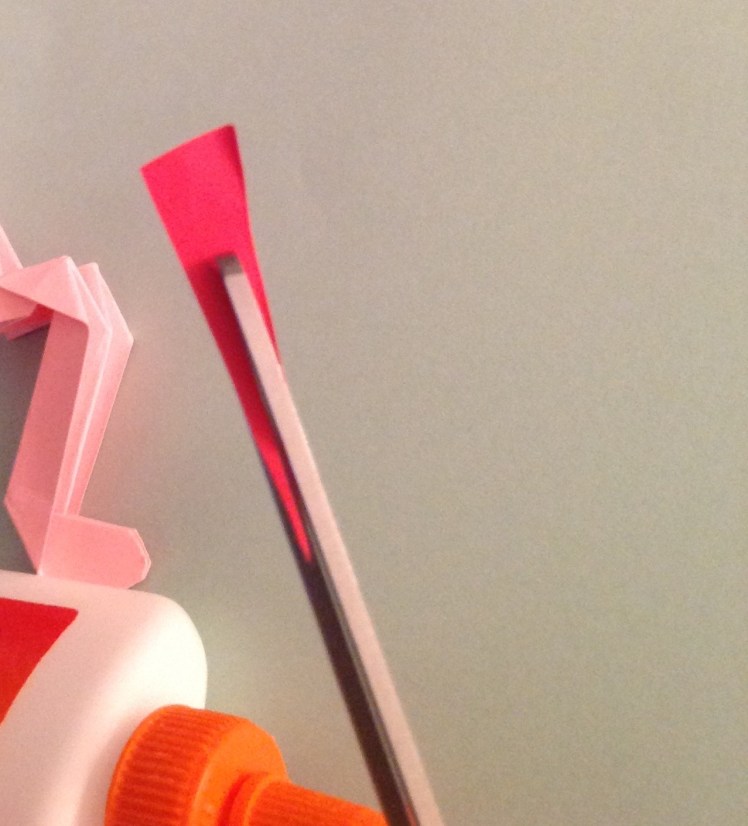
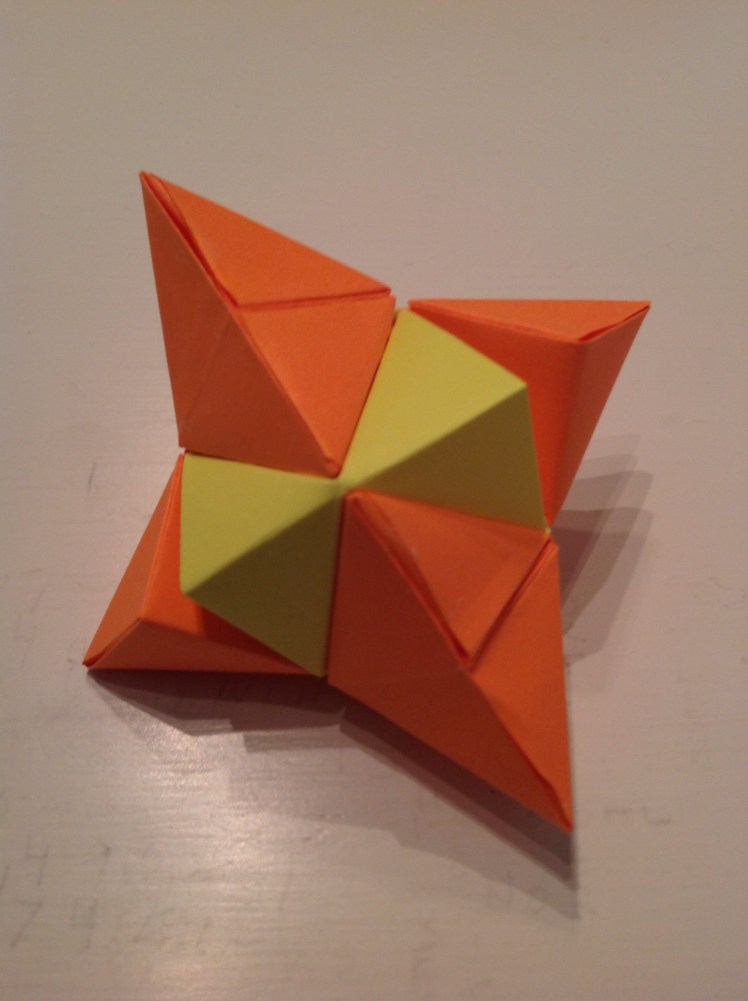
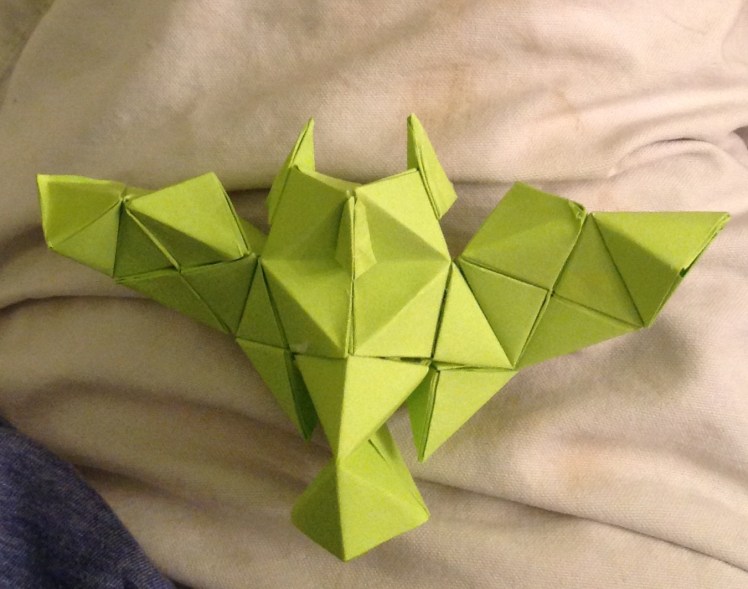
 Repeat on the other side wing.


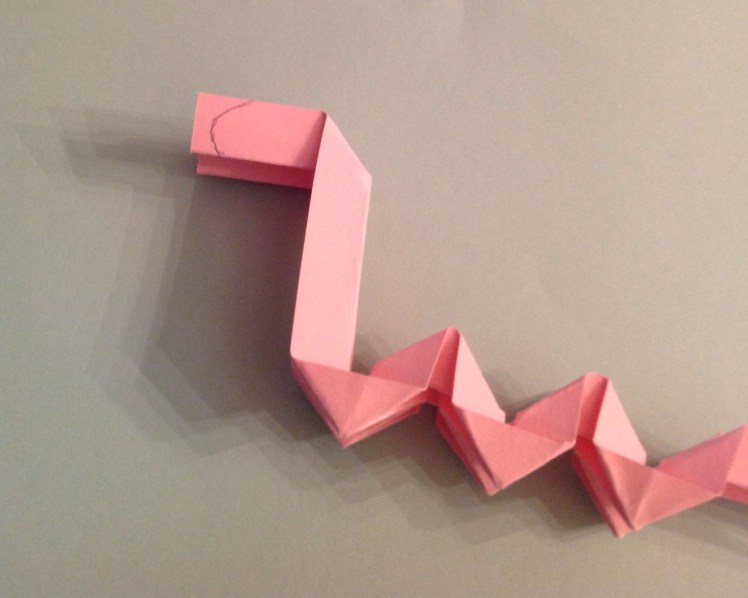
 Pop fold it in:


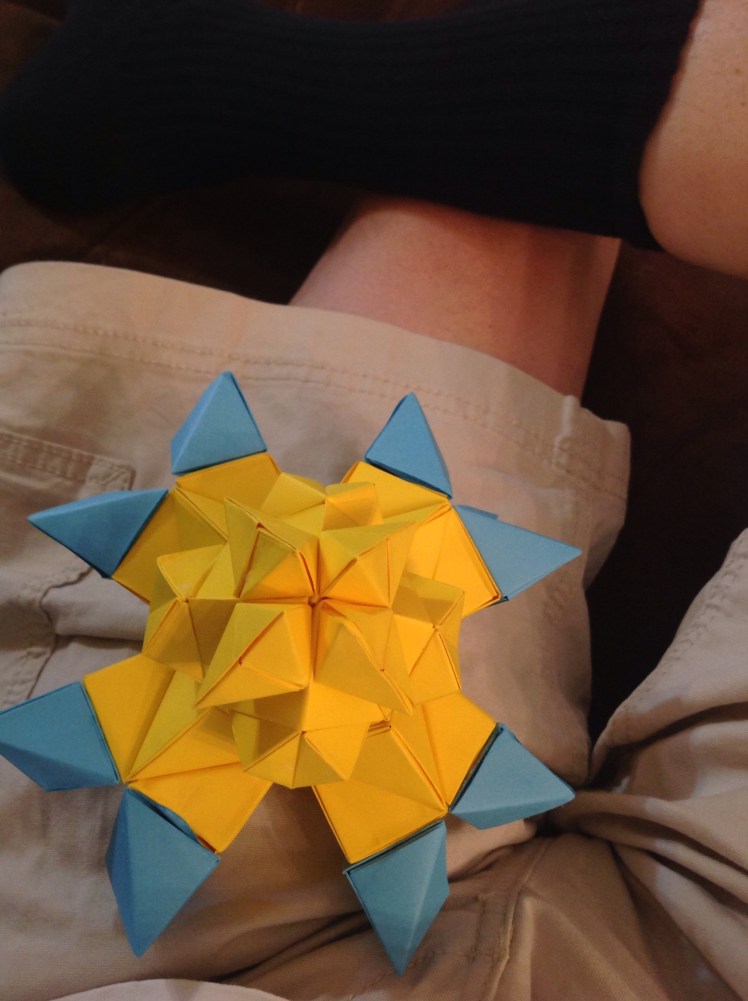
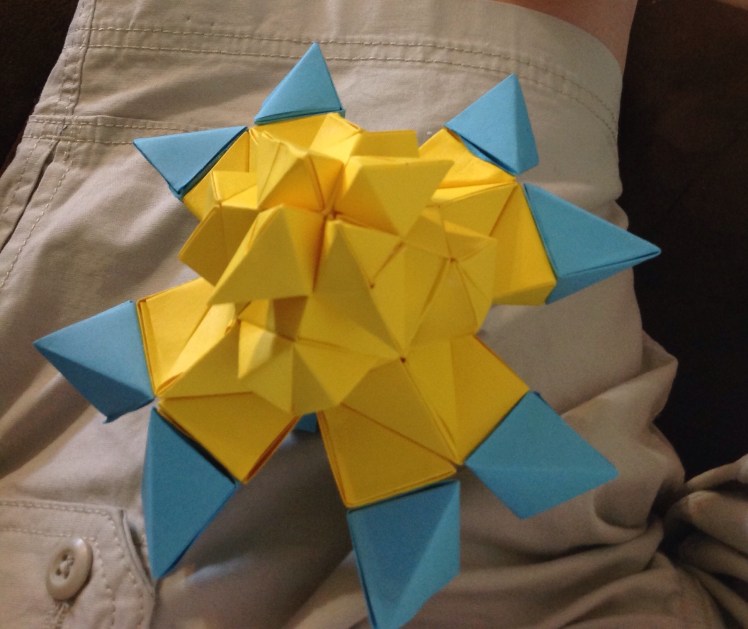
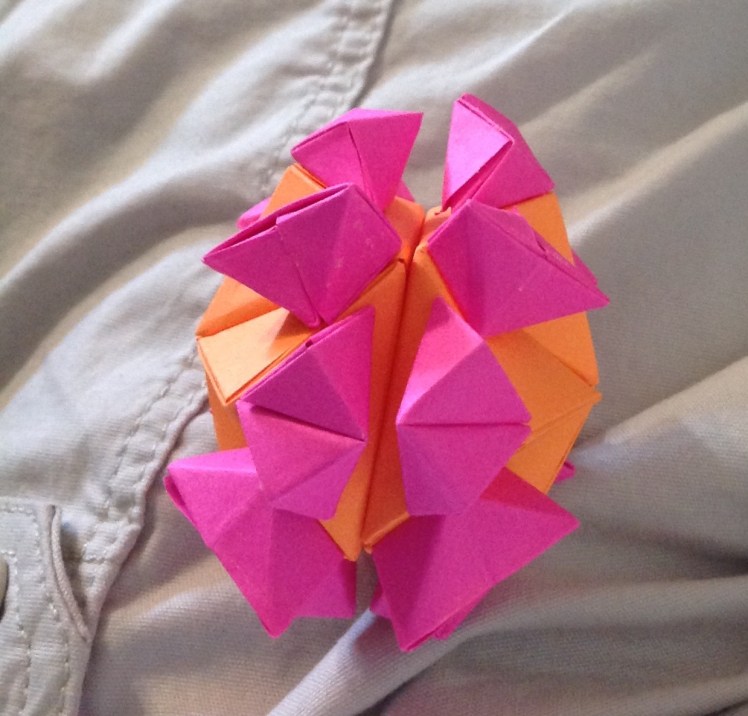
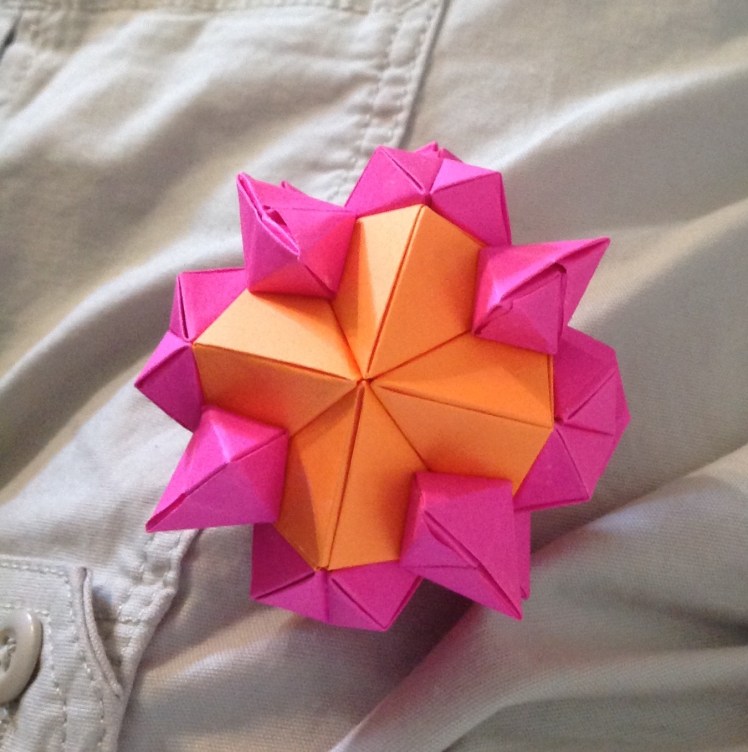
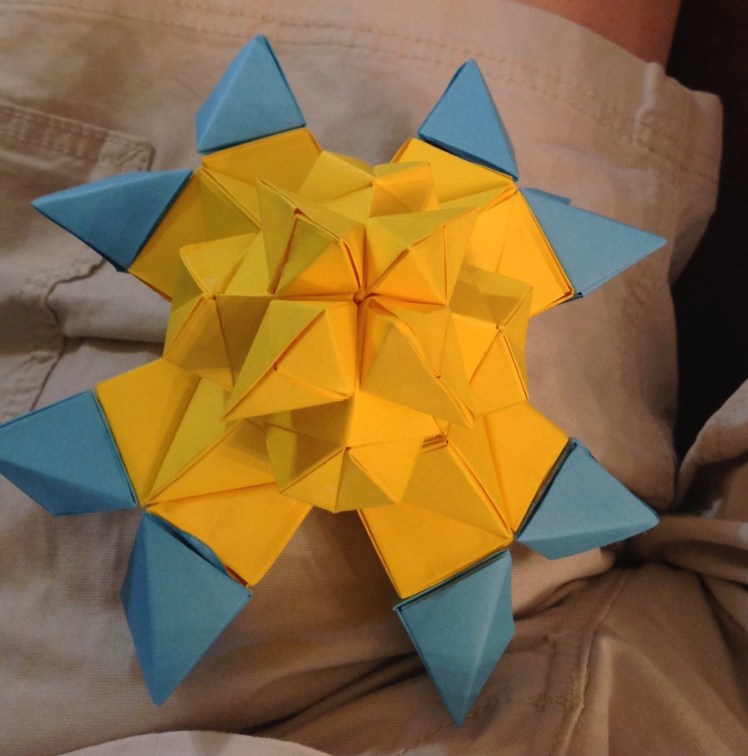
 The Sonobe Cube