The Lovely Luna Moth:

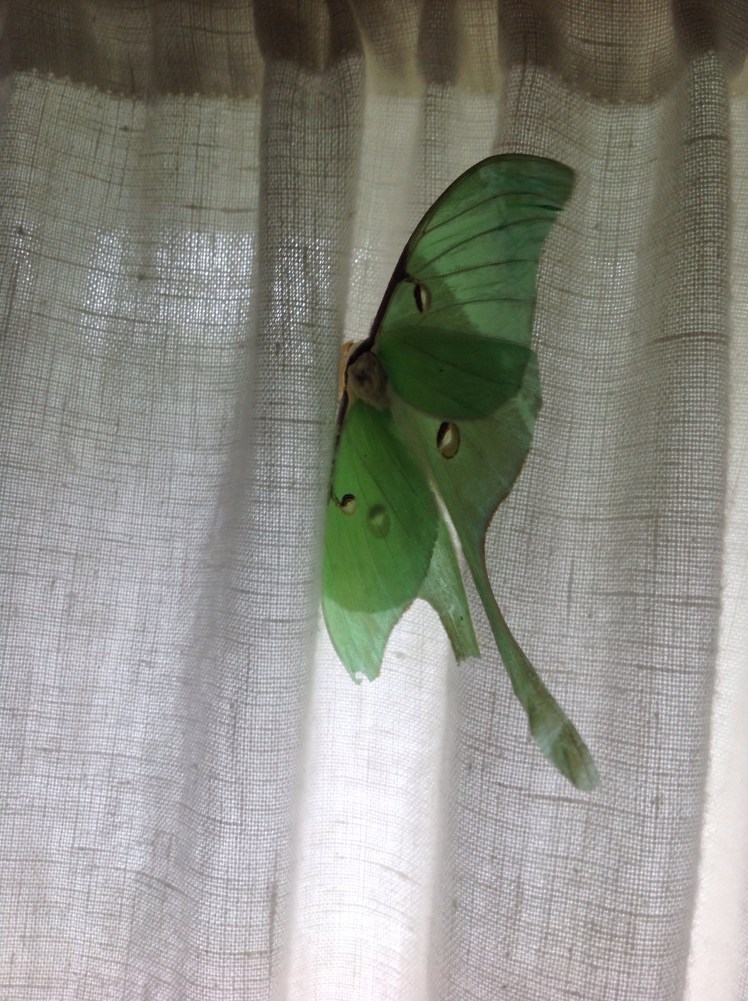
A Wake Up Call:
Who is knocking on the window at midnight? I had to investigate. I slowly opened the front door and went out to see a large green moth banging up against the window. It was attracted to the light coming through the window shades.
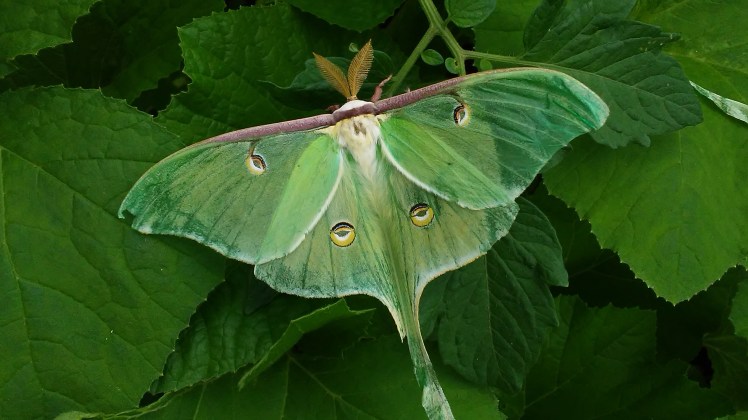
What a Beauty!
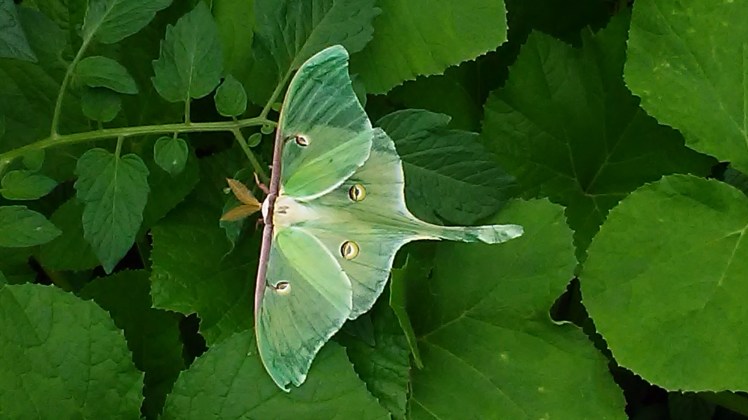
As you can see in the photos this is a large moth. It has semi-transparent lime green wings with eyespots of yellow and magenta. Scientists believe these eyespots confuse predators that think they are the eyes of larger animals. Each wing is covered in tiny scales that reflect the light and give the sings a shimmering effect.

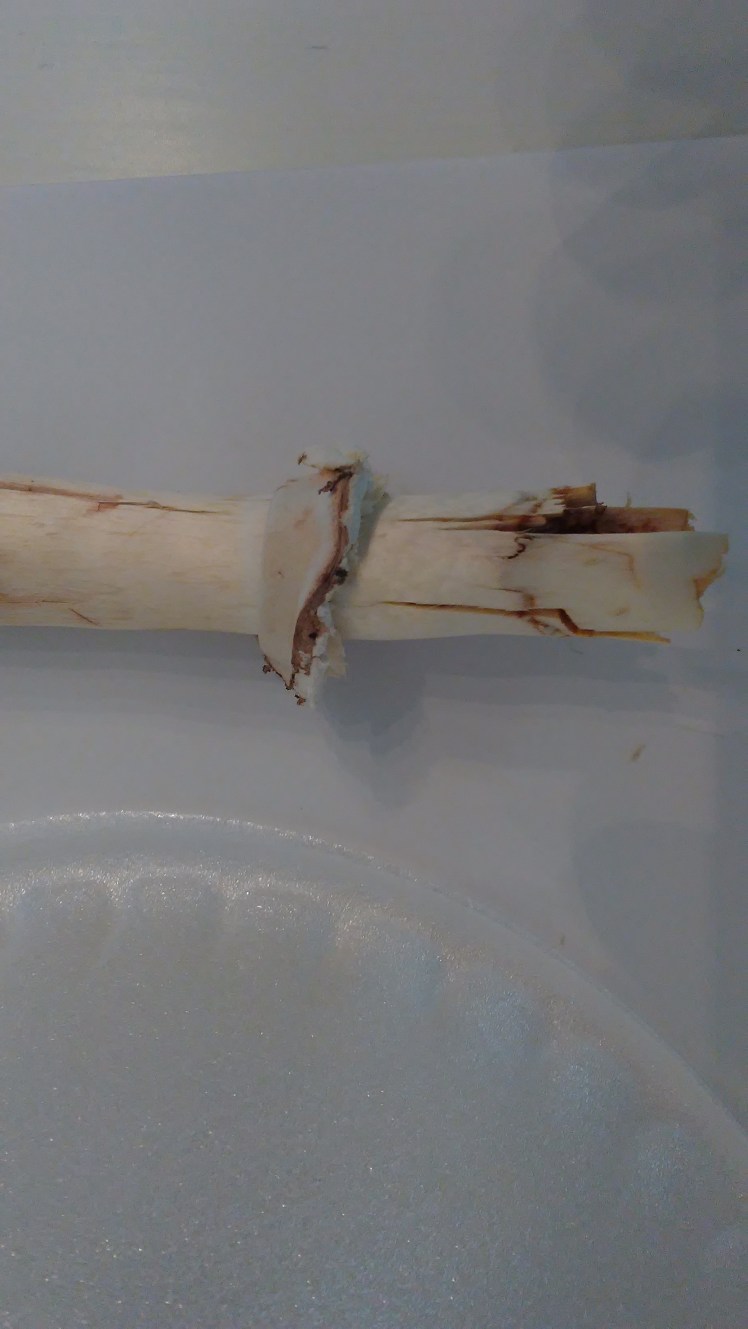
The Tale of the Tails:
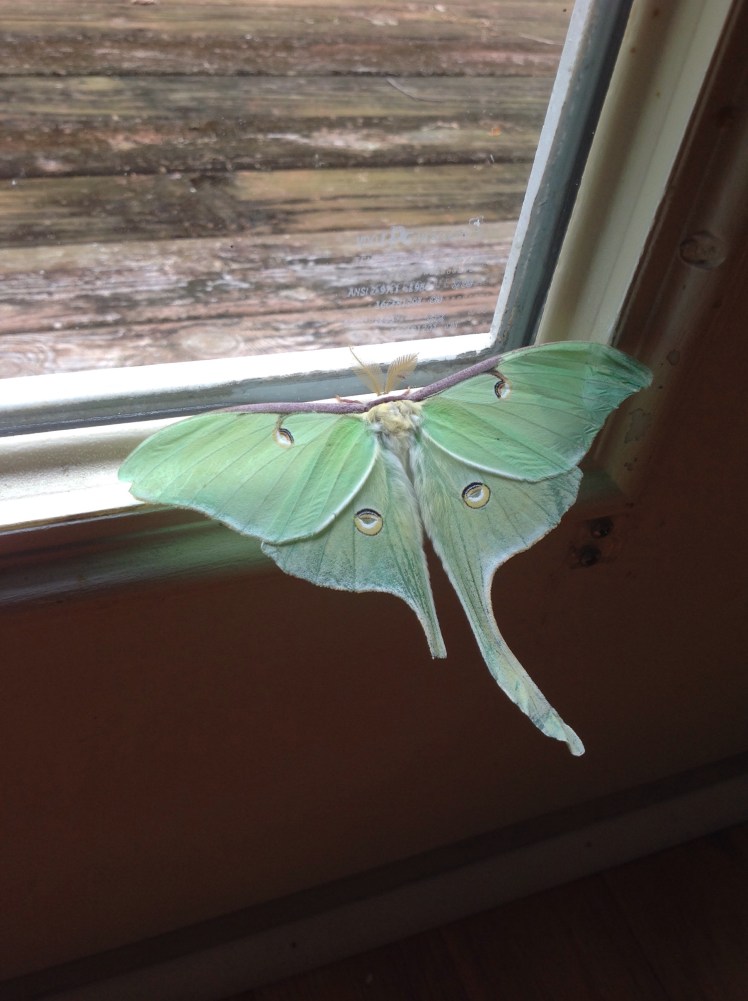
One thing you probably noticed right away are the long slender tails of this moth. Unfortunately this one had one tail broken off from banging into the window. Scientists have theorized that these long tails contribute to the moth’s survival by messing with the echolocation of one of their enemies, the bats. When a bat zeros in on the moth in flight it often misses the body of the moth and just gets a piece of the tail allowing the moths to continue on their way to find a mate.
No Time To Eat!:
A strange things about the adults is they never eat another meal. As young larvae they are ravenous gluttons eating as much as they can to grow in size before going into their pupal stage, but once they emerge as adults their life span is only days or hours. Their only parental duty is to find a mate!
Where and How Can They Find a Mate?:
Ever heard of pheromones? Pheromones are a biological perfume generated by the females to attract the males. Though emitted in microscopic proportions, they are very powerful attractants. A male can sense this odor from miles away and he follows it to where the female is waiting for his arrival. Once he finds her they mate and then the females finds leaves of host plants on which to deposit her eggs. She can place 200-400 eggs on the bottoms of these leaves. After that, she has done her duty, and she dies.
Tricky Larvae!:
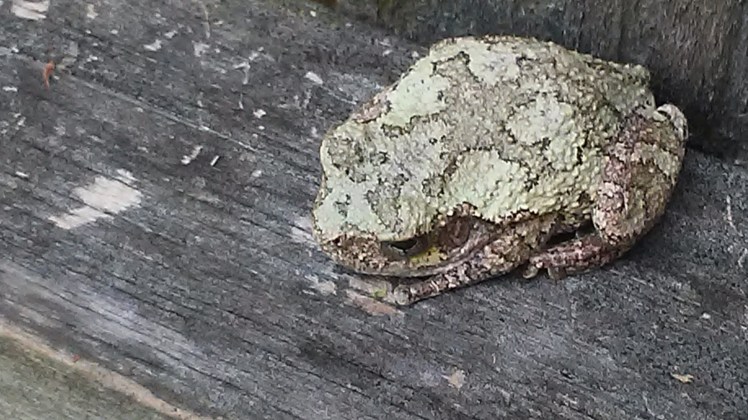
What would you do if hundreds of predators were out to get you? Well, these little caterpillars are not without a few tricks up their sleeves. One strategy is their coloration. They are camouflaged to match their surroundings. If that does not work, they also can bang their mandibles (chewing mouthparts) together to make a noise loud enough to be heard by man. This clicking sound makes the predators pause long enough for their next trick. When a predator is about to take a mouthful of their body the larvae squeeze out some of the noxious stomach content which smells terrible and is very distasteful! This is like when someone is sick and barfs up the last meal they ate. It is not a pretty sight! This usually deters the animals seeking to eat them. If they do become a meal there are a lot more larvae than the predators can ever find. In this way there will be more Luna Moths in the future.
That About Wraps Things Up:
When the larvae reach the desired size they search for some dry leaves. They crawl inside and start to spin a tiny silk web. Just before they bind up the leaves to form their hiding place they emit any unnecessary food still left in their stomachs. This reduces their size do they can fit comfortably into the skin of the pupa for the next stage of their life. While inside the cocoon they undergo a marvelous transformation to become winged adults.
How Are We Going To Get Out of This One!
When it comes time for the adults to emerge from the cocoon they have to have a way to get out! Imagine if you were tied up in a whole lot of rope. It would be hard to escape. Well, these little creatures have been given special abilities to free themselves. One of these is tiny sharp spurs of chitin. This substance is like the stuff your fingernails are made of. These tiny knife-like structures allow the creatures to cut a circular ring that weakens the outside of the cocoon. They also have a special dissolving agent (like acid) that acts on the proteins in the silk to weaken its strength. After employing these two tactics the adults emerge from their bindings. When they first come out they are a gnarly sight, all wrinkled up and shriveled looking. They then start to pump fluid into their wings and they swell up and start to dry out hardening them for flight. The whole process is an amazing plan designed by our amazing Creator, God.


Ladies First?….Not!
One interesting thing about the timing of the emergence of these insects is that the males seem to come out well in advance of the females. This way they are already scattered around waiting for the ladies to arrive on the scene. As soon as the females start giving off their perfumes they are ready to find them. The window for mating is very short since neither the males or females have long to live after coming out of their cocoons.

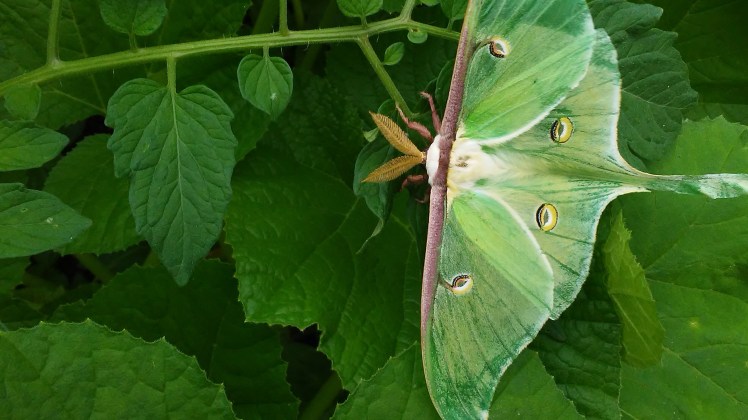
Feathered Antennae: A Moth Characteristic:
If you look closely at the pictures in this blog you can find the antennae. Notice that they are much different than the long smooth antennae of butterflies. Moth antennas resemble feathers. This are designed as very sensitive sense organs to find their mates. The males have much larger antennae than the females. This is probably because they need them to detect the pheromones of the females.

Actius luna is the Scientific name of these insects.
These Creatures Point to Their Creator:
As you have seen in this post, these creatures are equipped with so many things necessary for survival. They are beautiful in design and suggest a marvelous Creator. If you have ever looked at a beautiful painting you probably wished you could have met the artist that created the piece. It was apparent that to make such a beautiful picture required a great deal of imagination and skill. As I look at the creatures I discover around me I can’t but notice these creatures could not have come to life without an intelligent powerful Creator who designed each with care and purpose. I hope you can see this evidence as well. He has not only left evidence in the things He created, He also has given us His Word, the Bible where we can learn more about His purpose for all things. He designed you with a purpose as well.


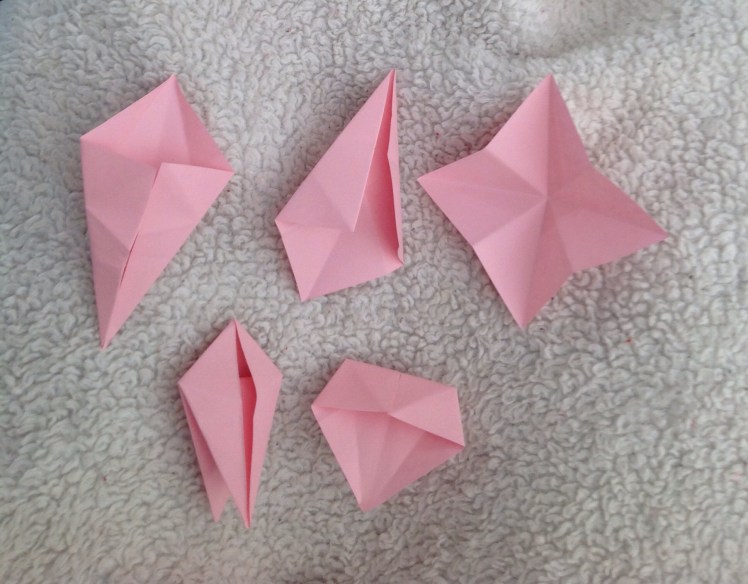
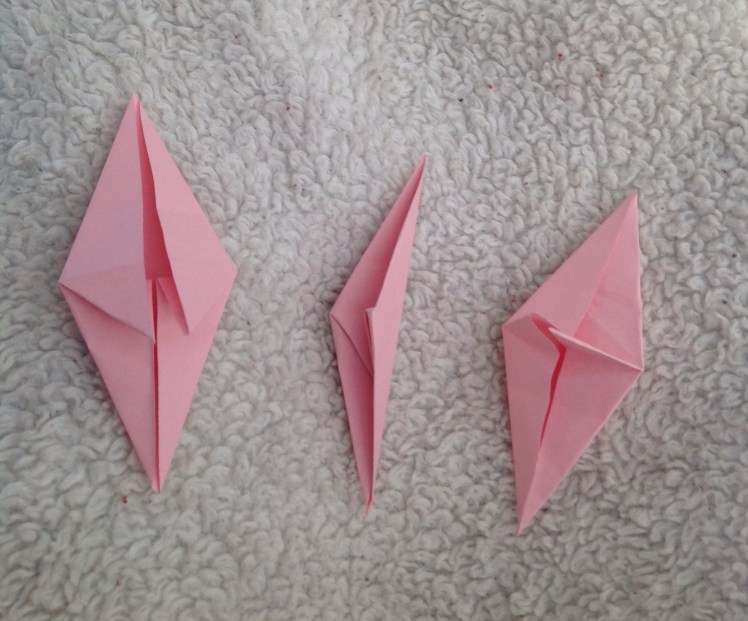

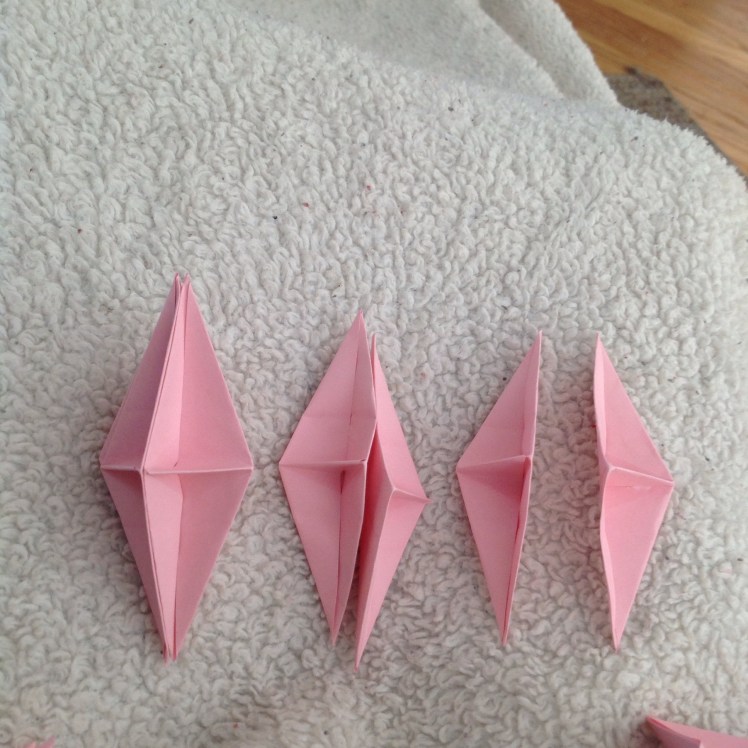
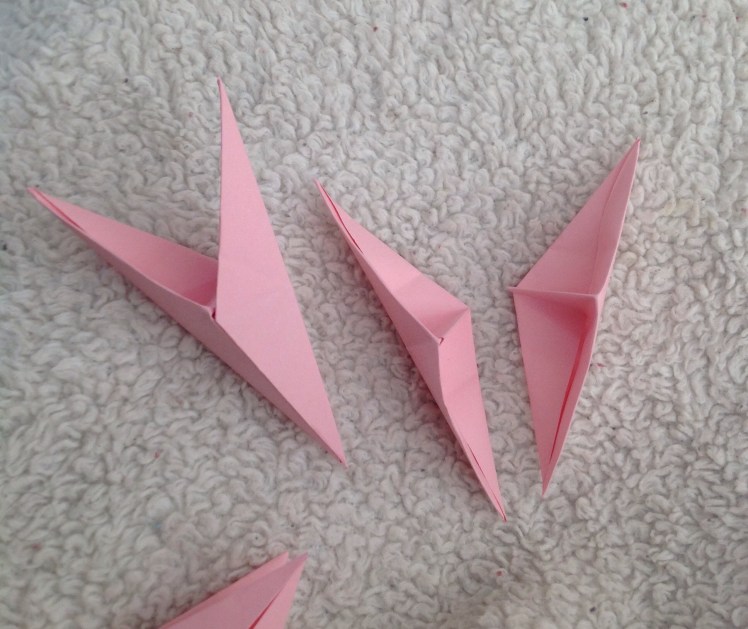
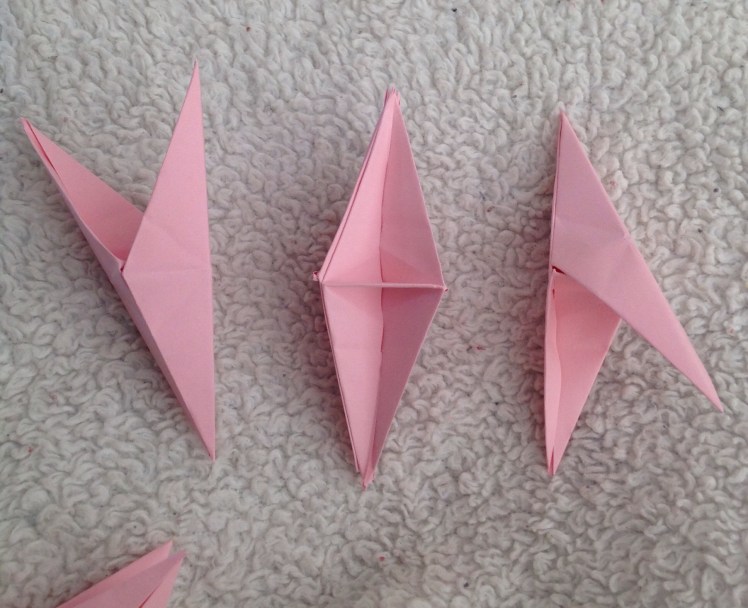
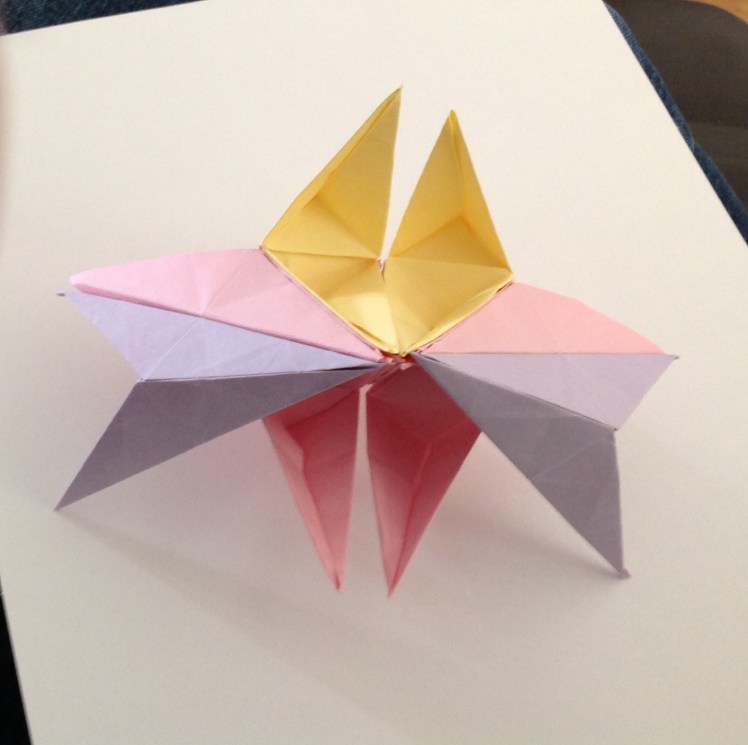
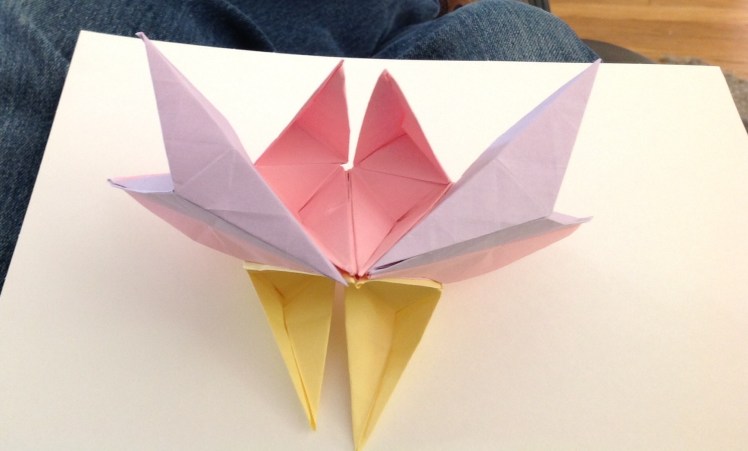
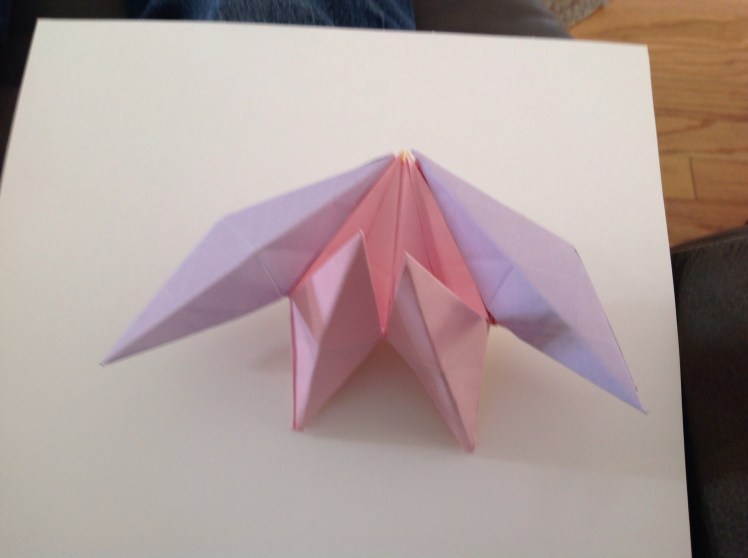

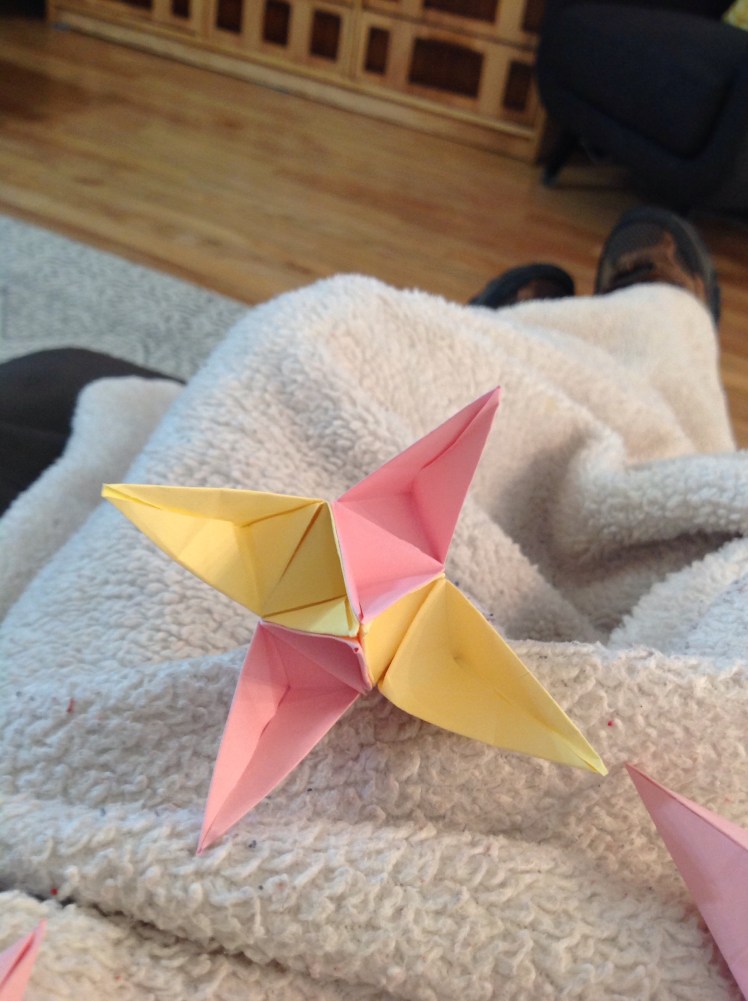
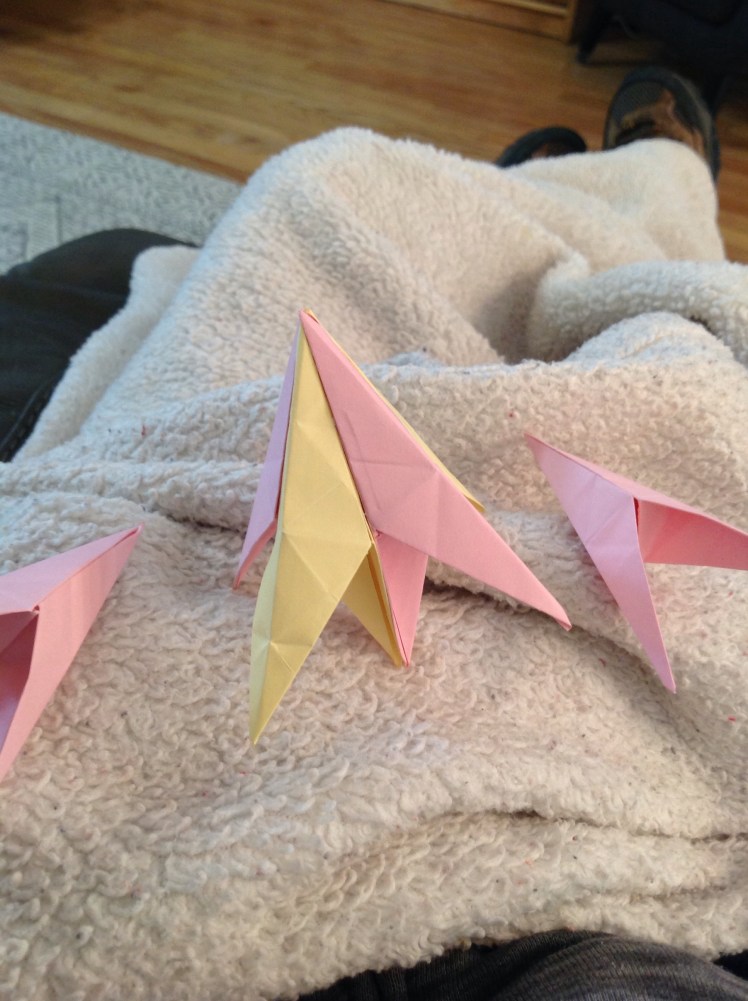
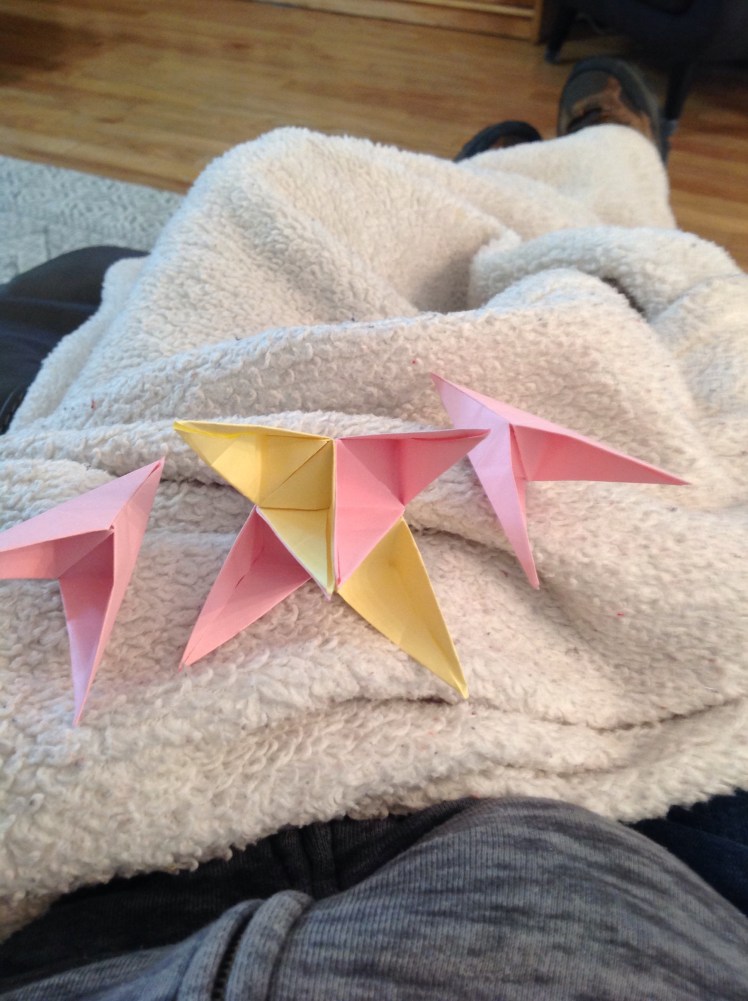
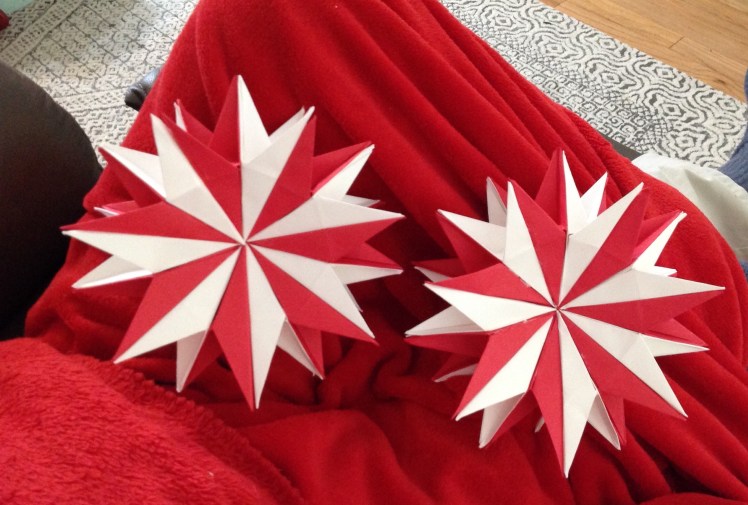
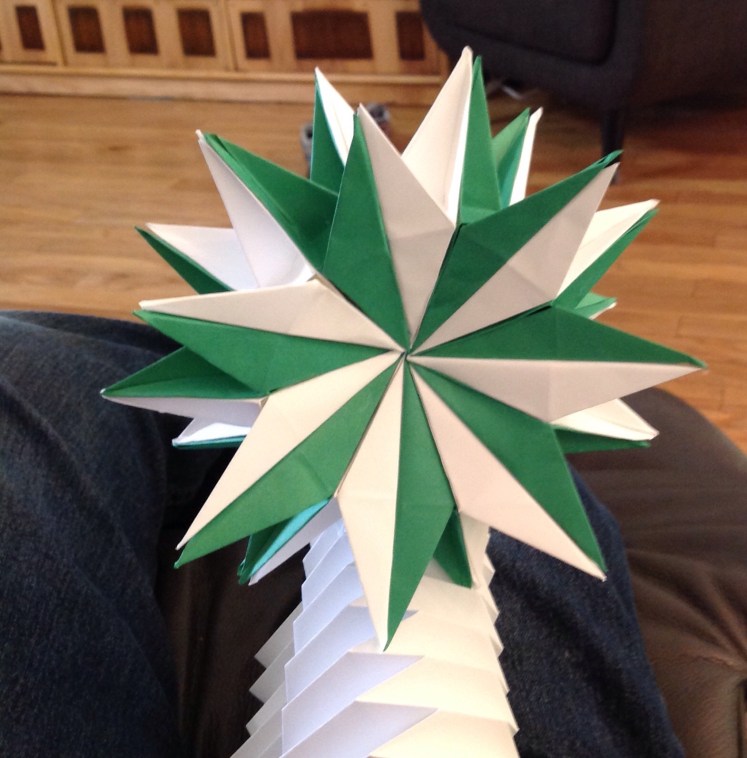
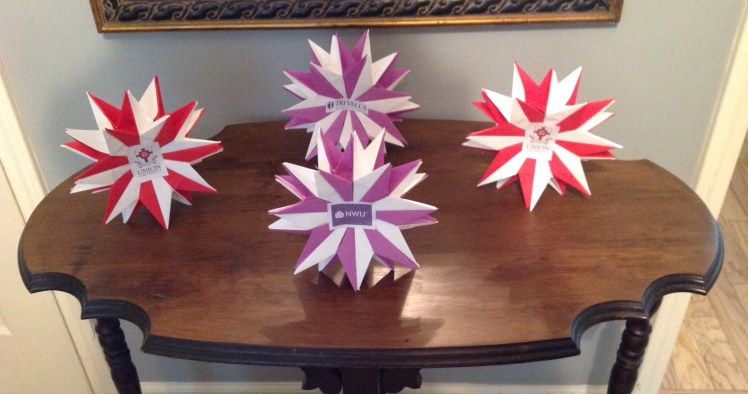
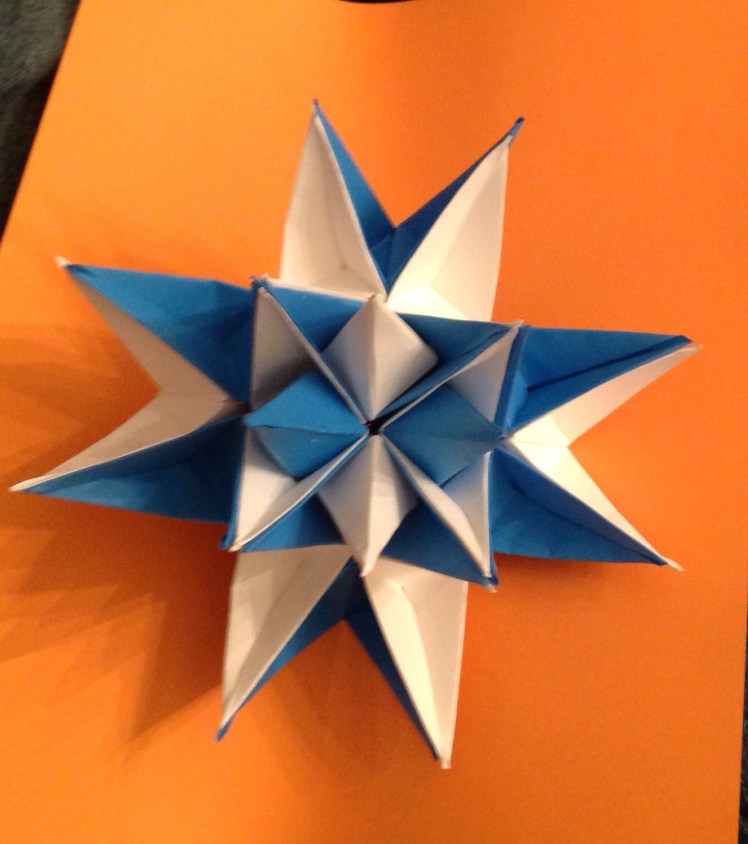

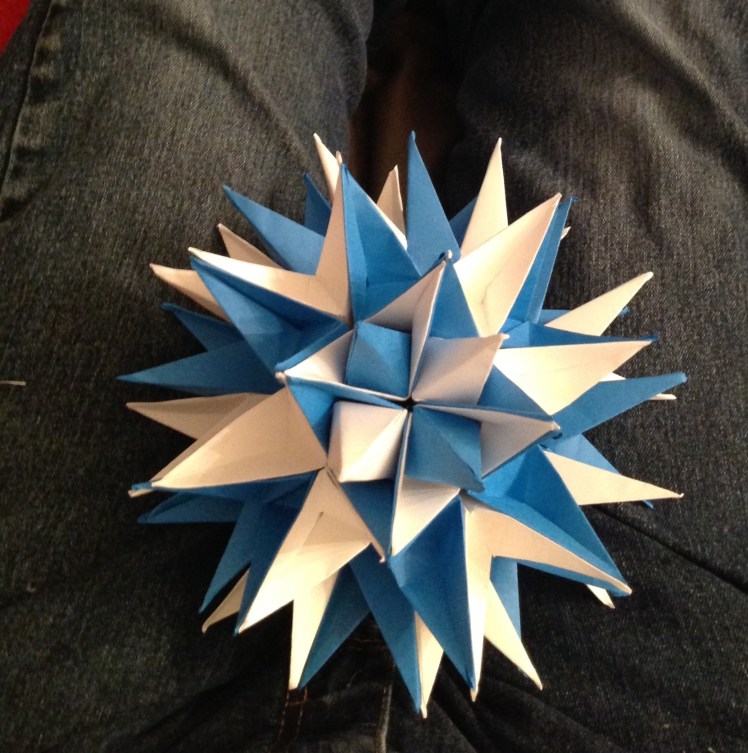
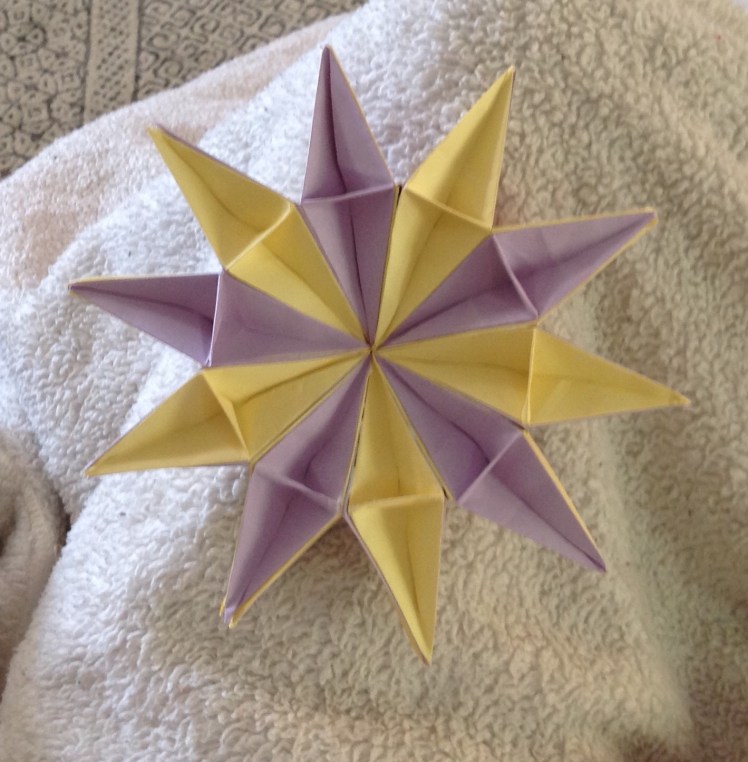
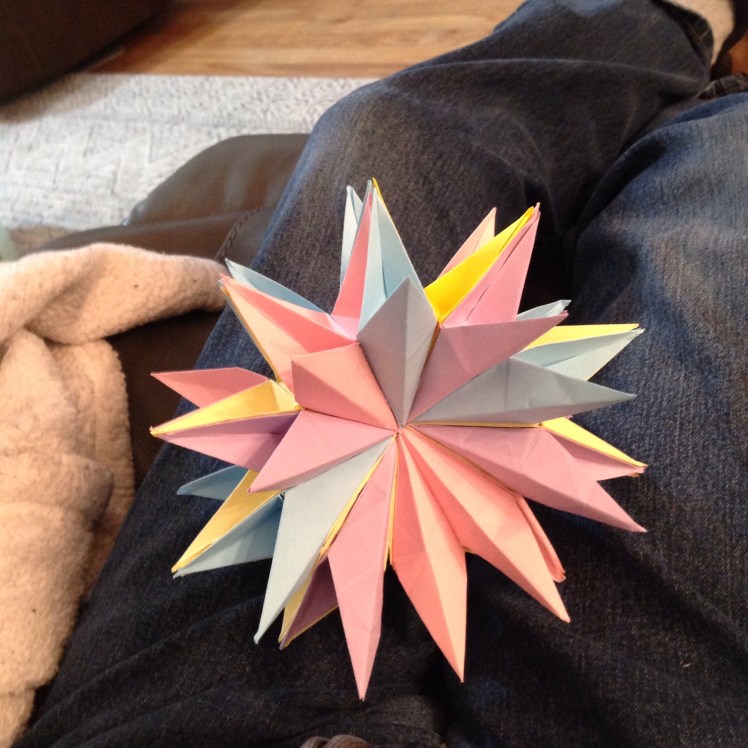
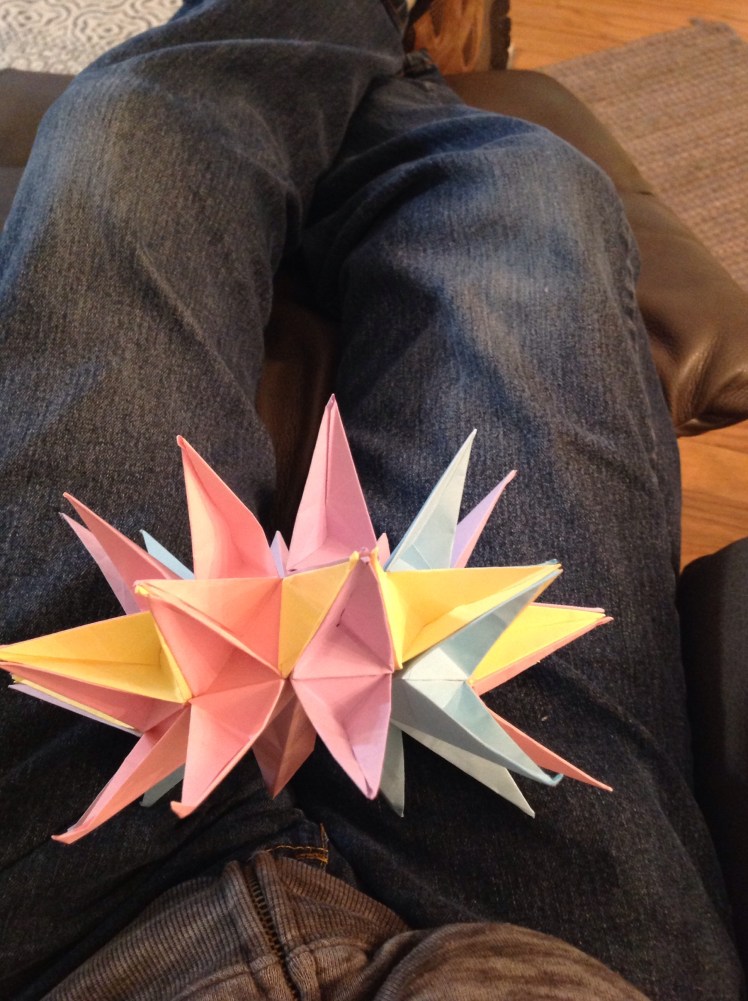
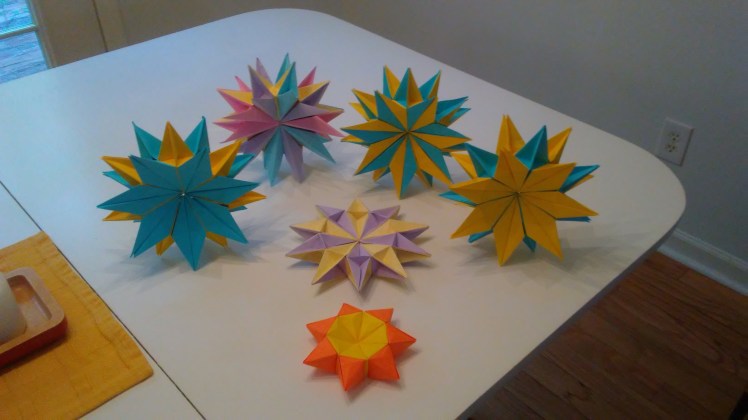


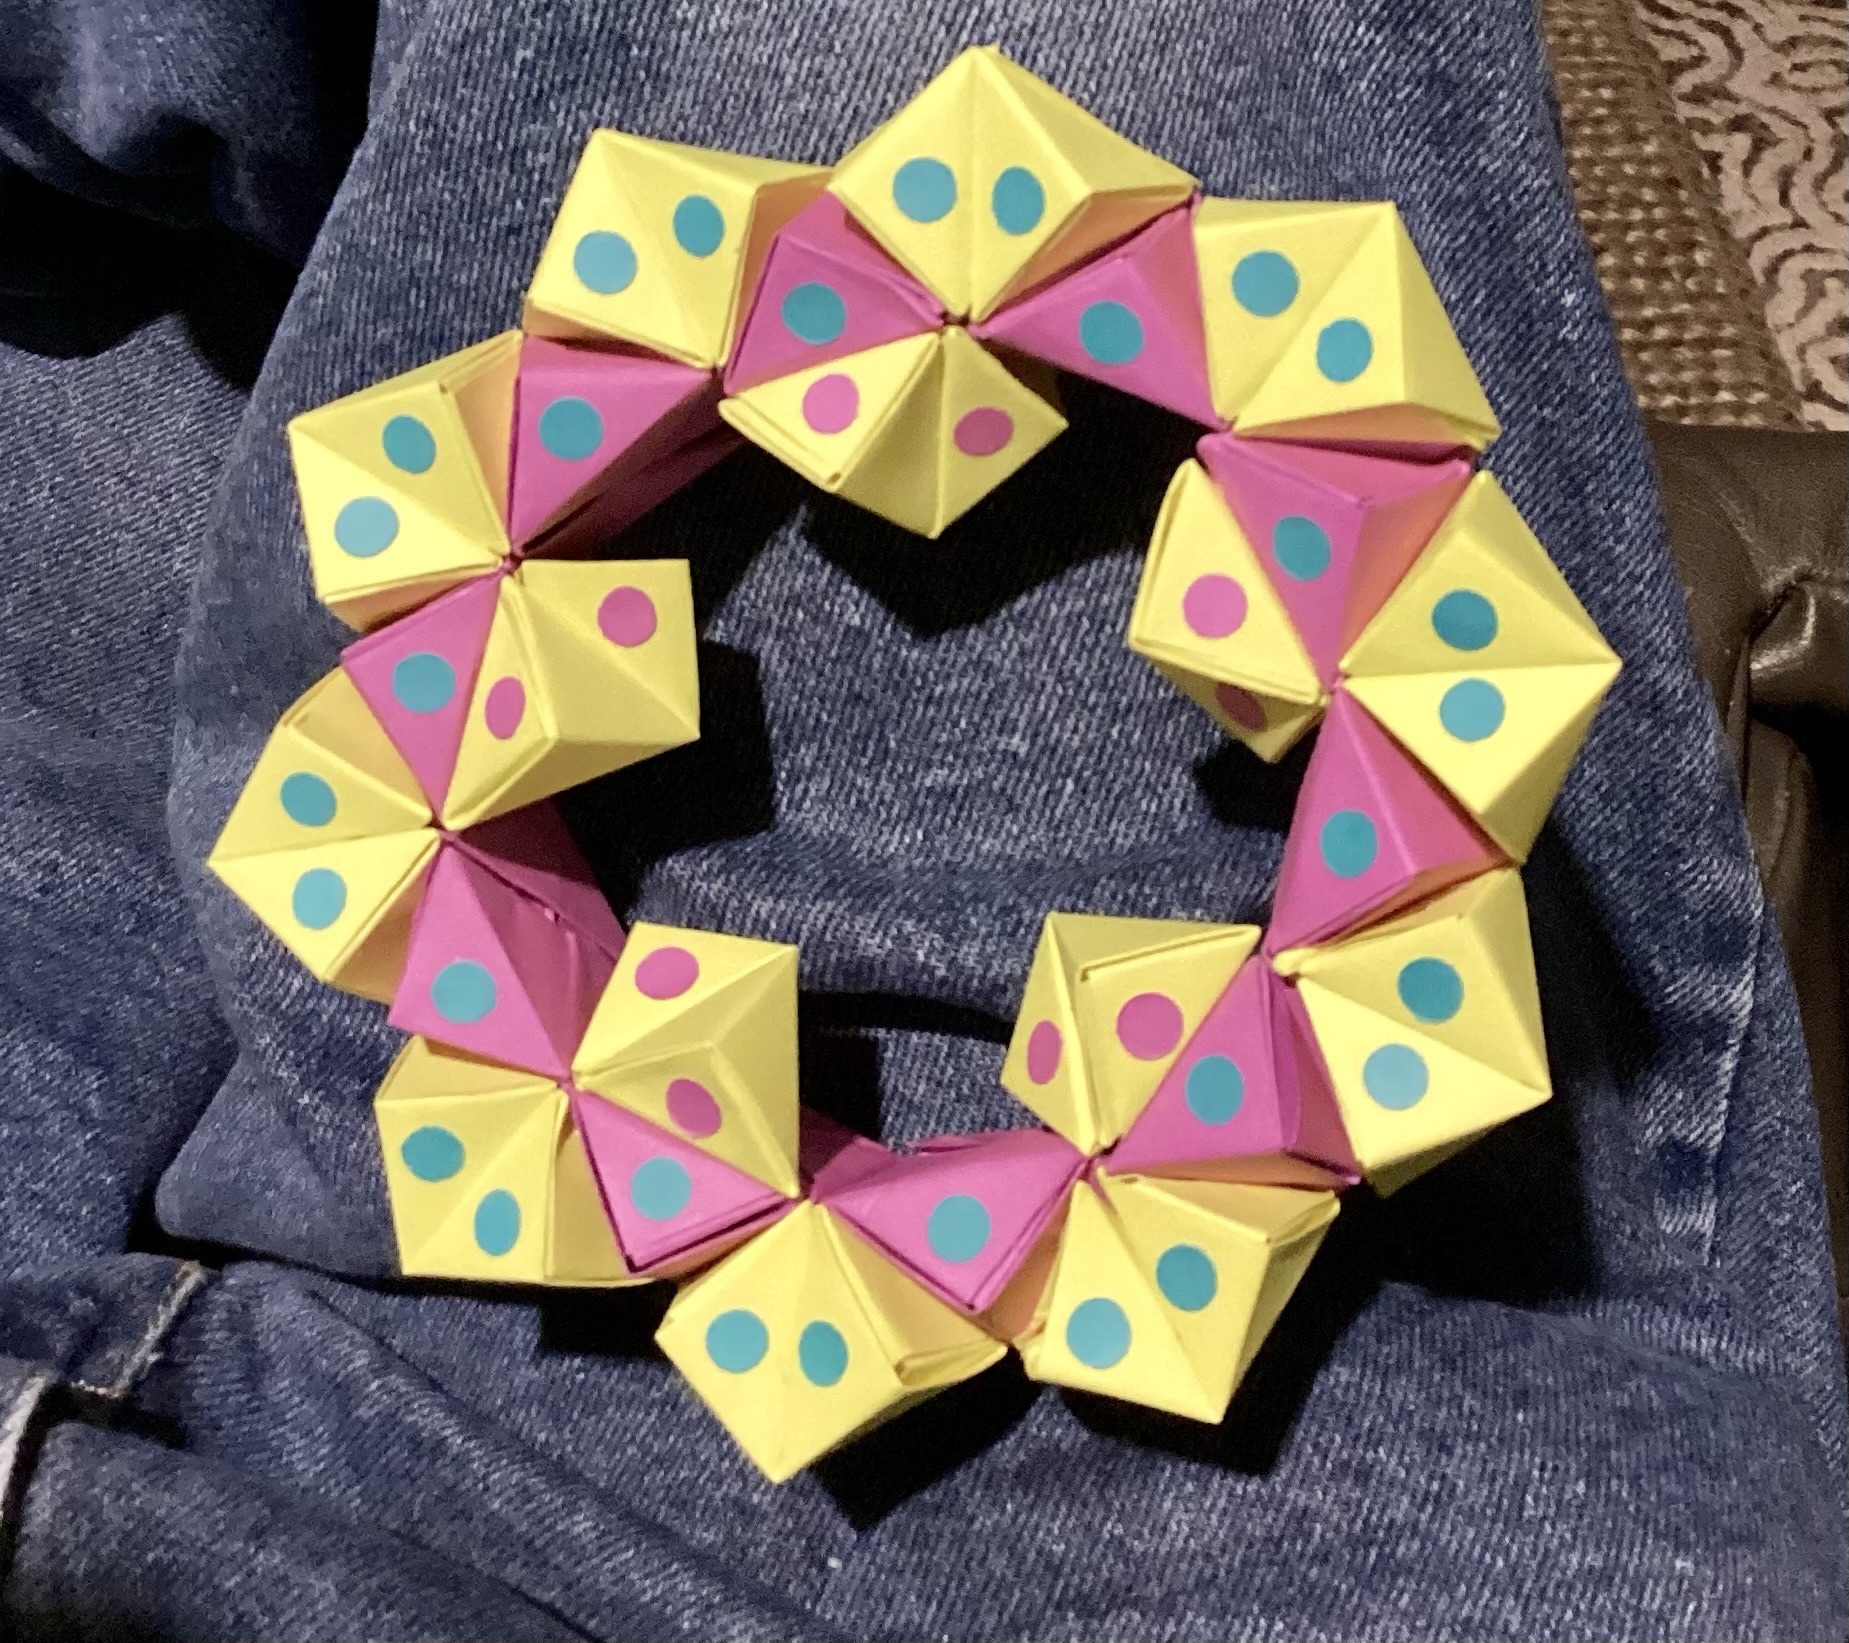


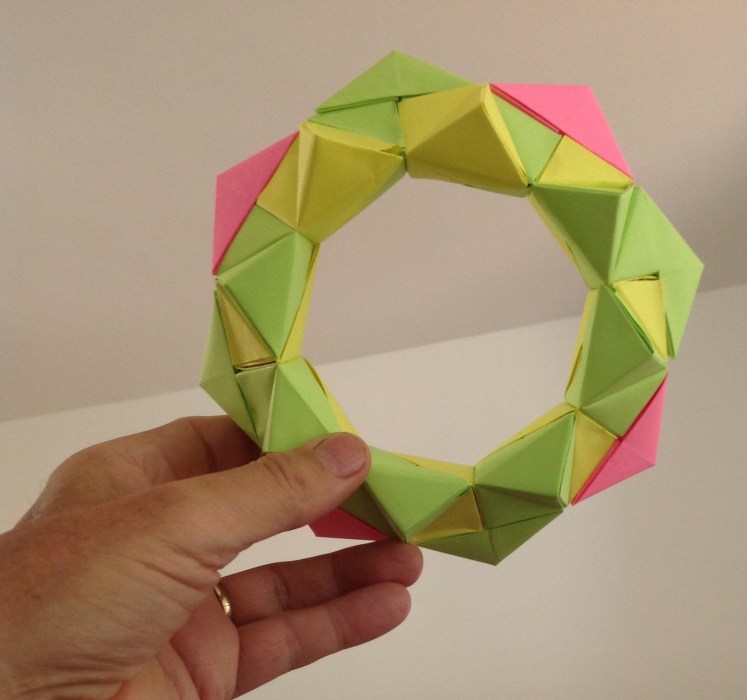
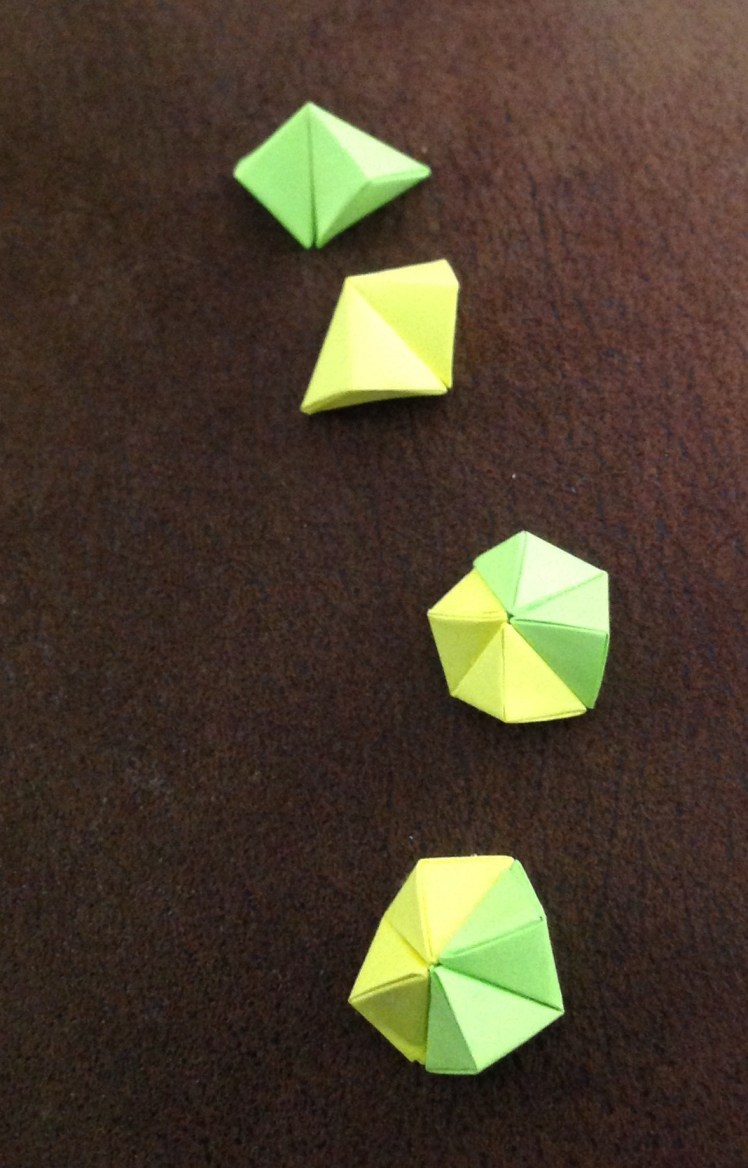
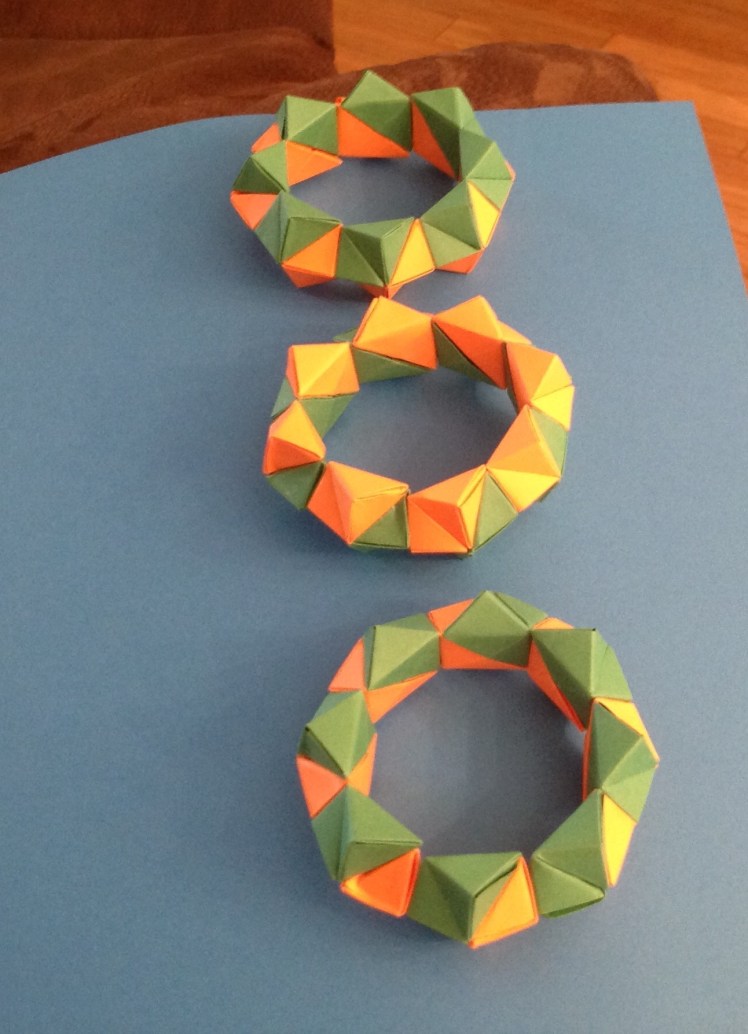
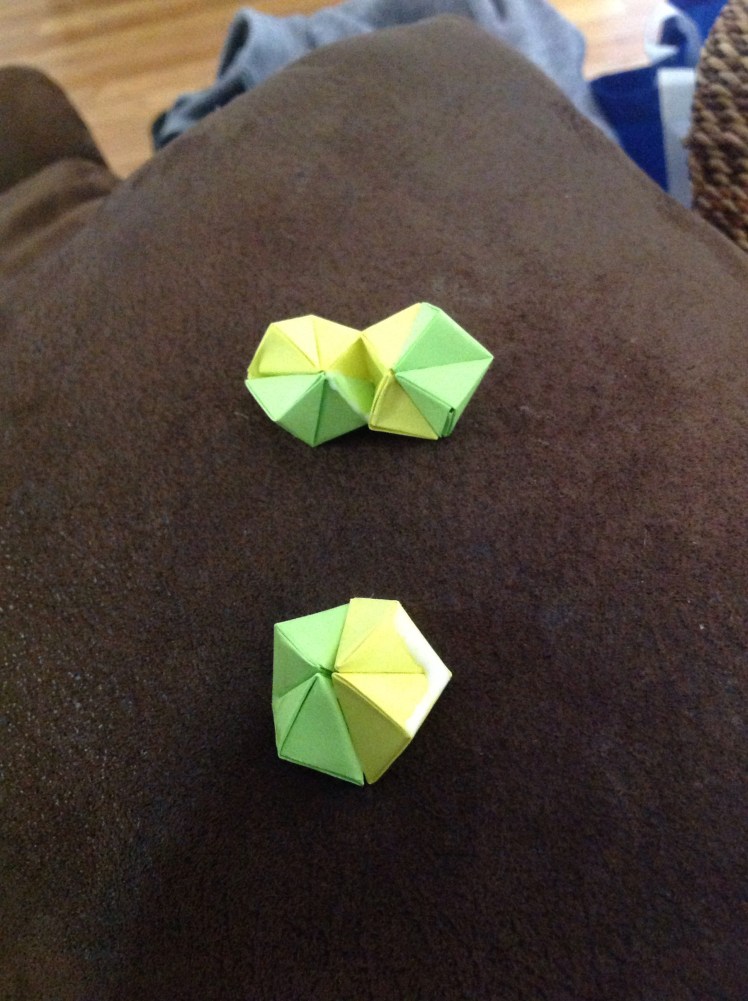
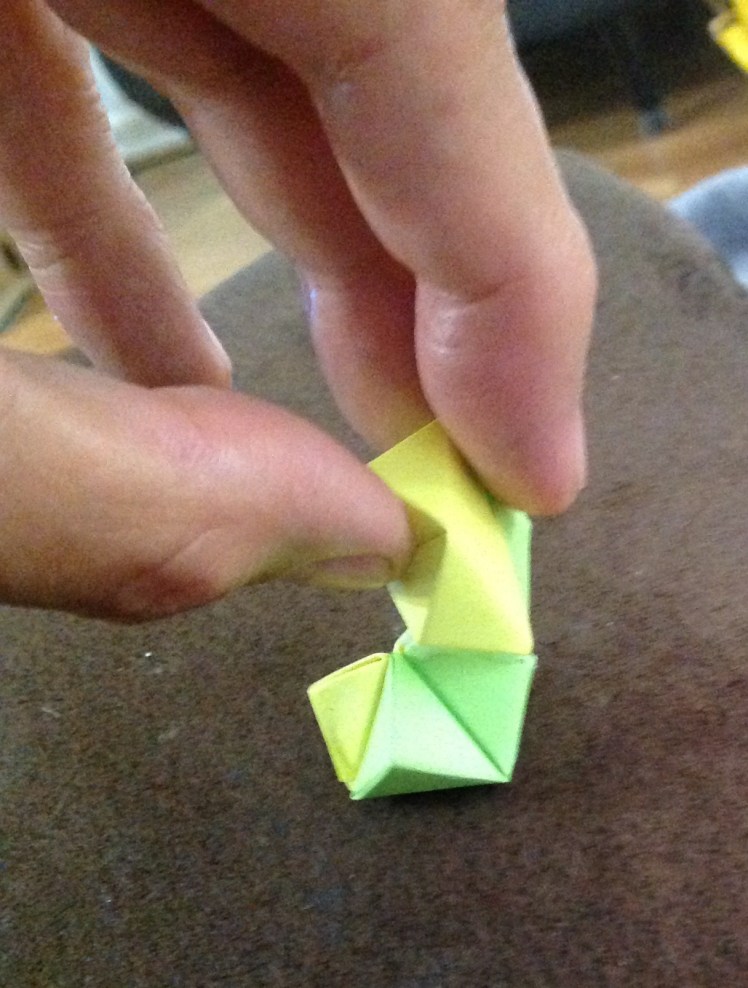
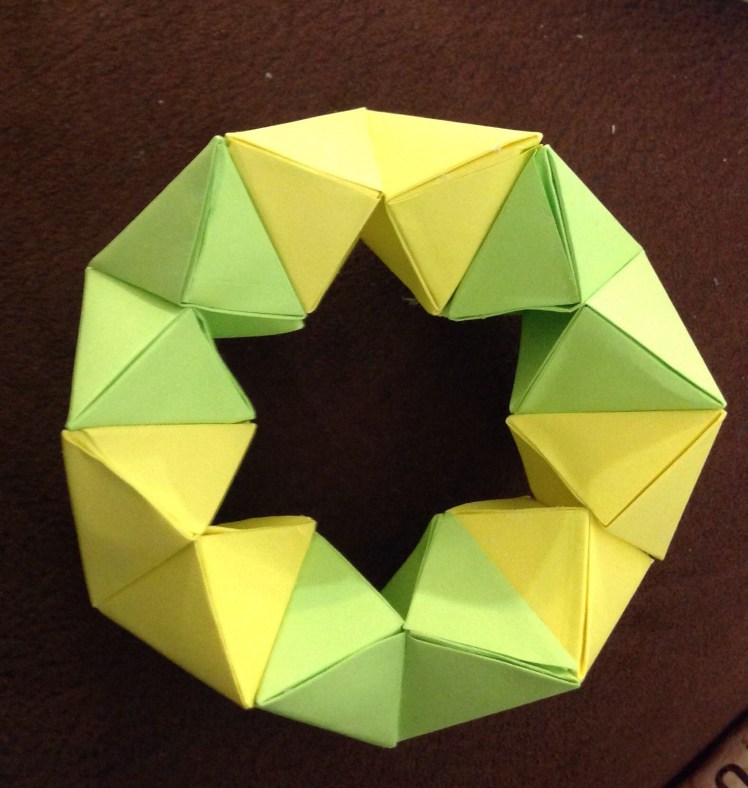
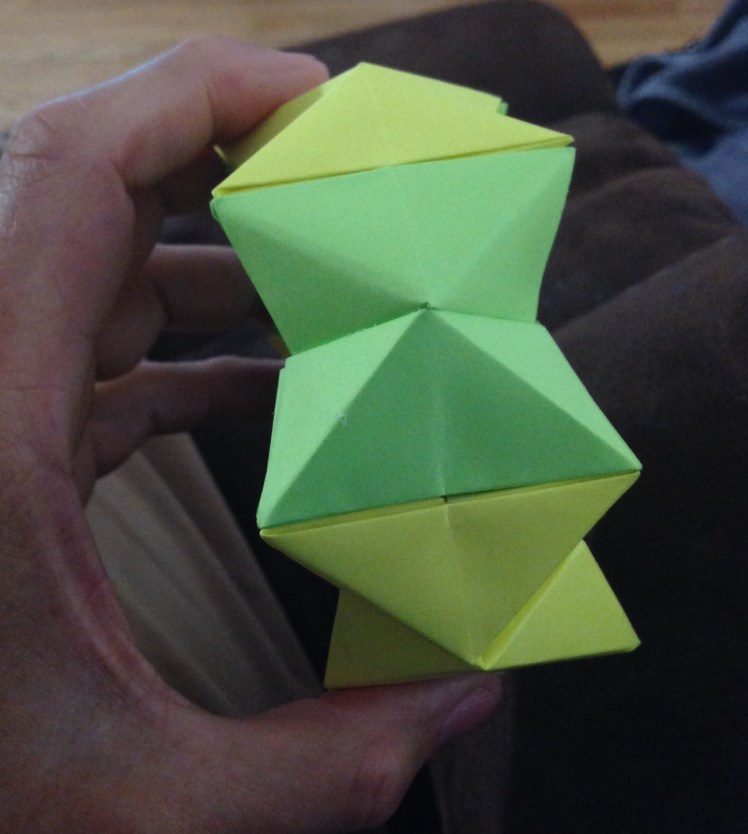
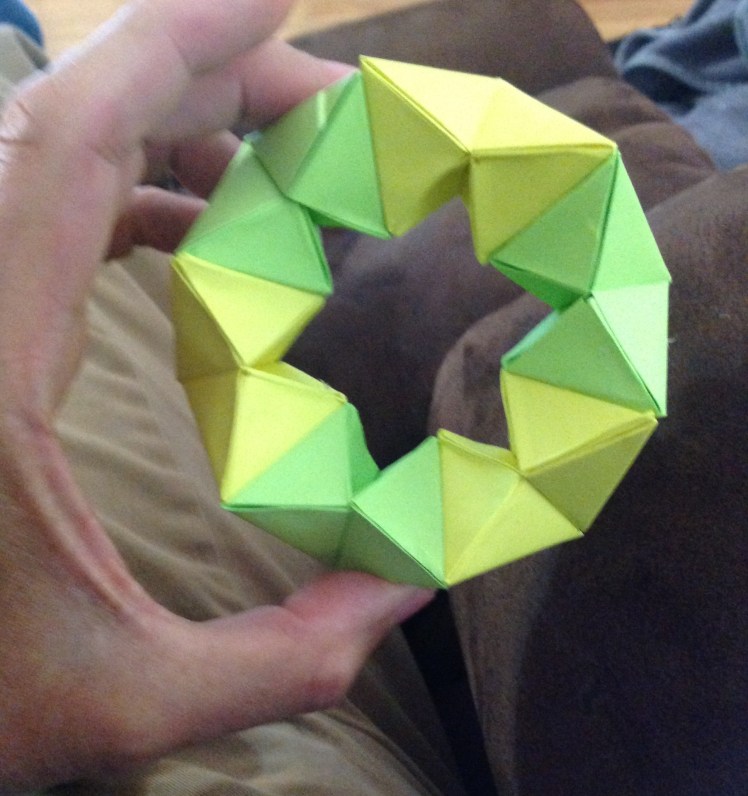
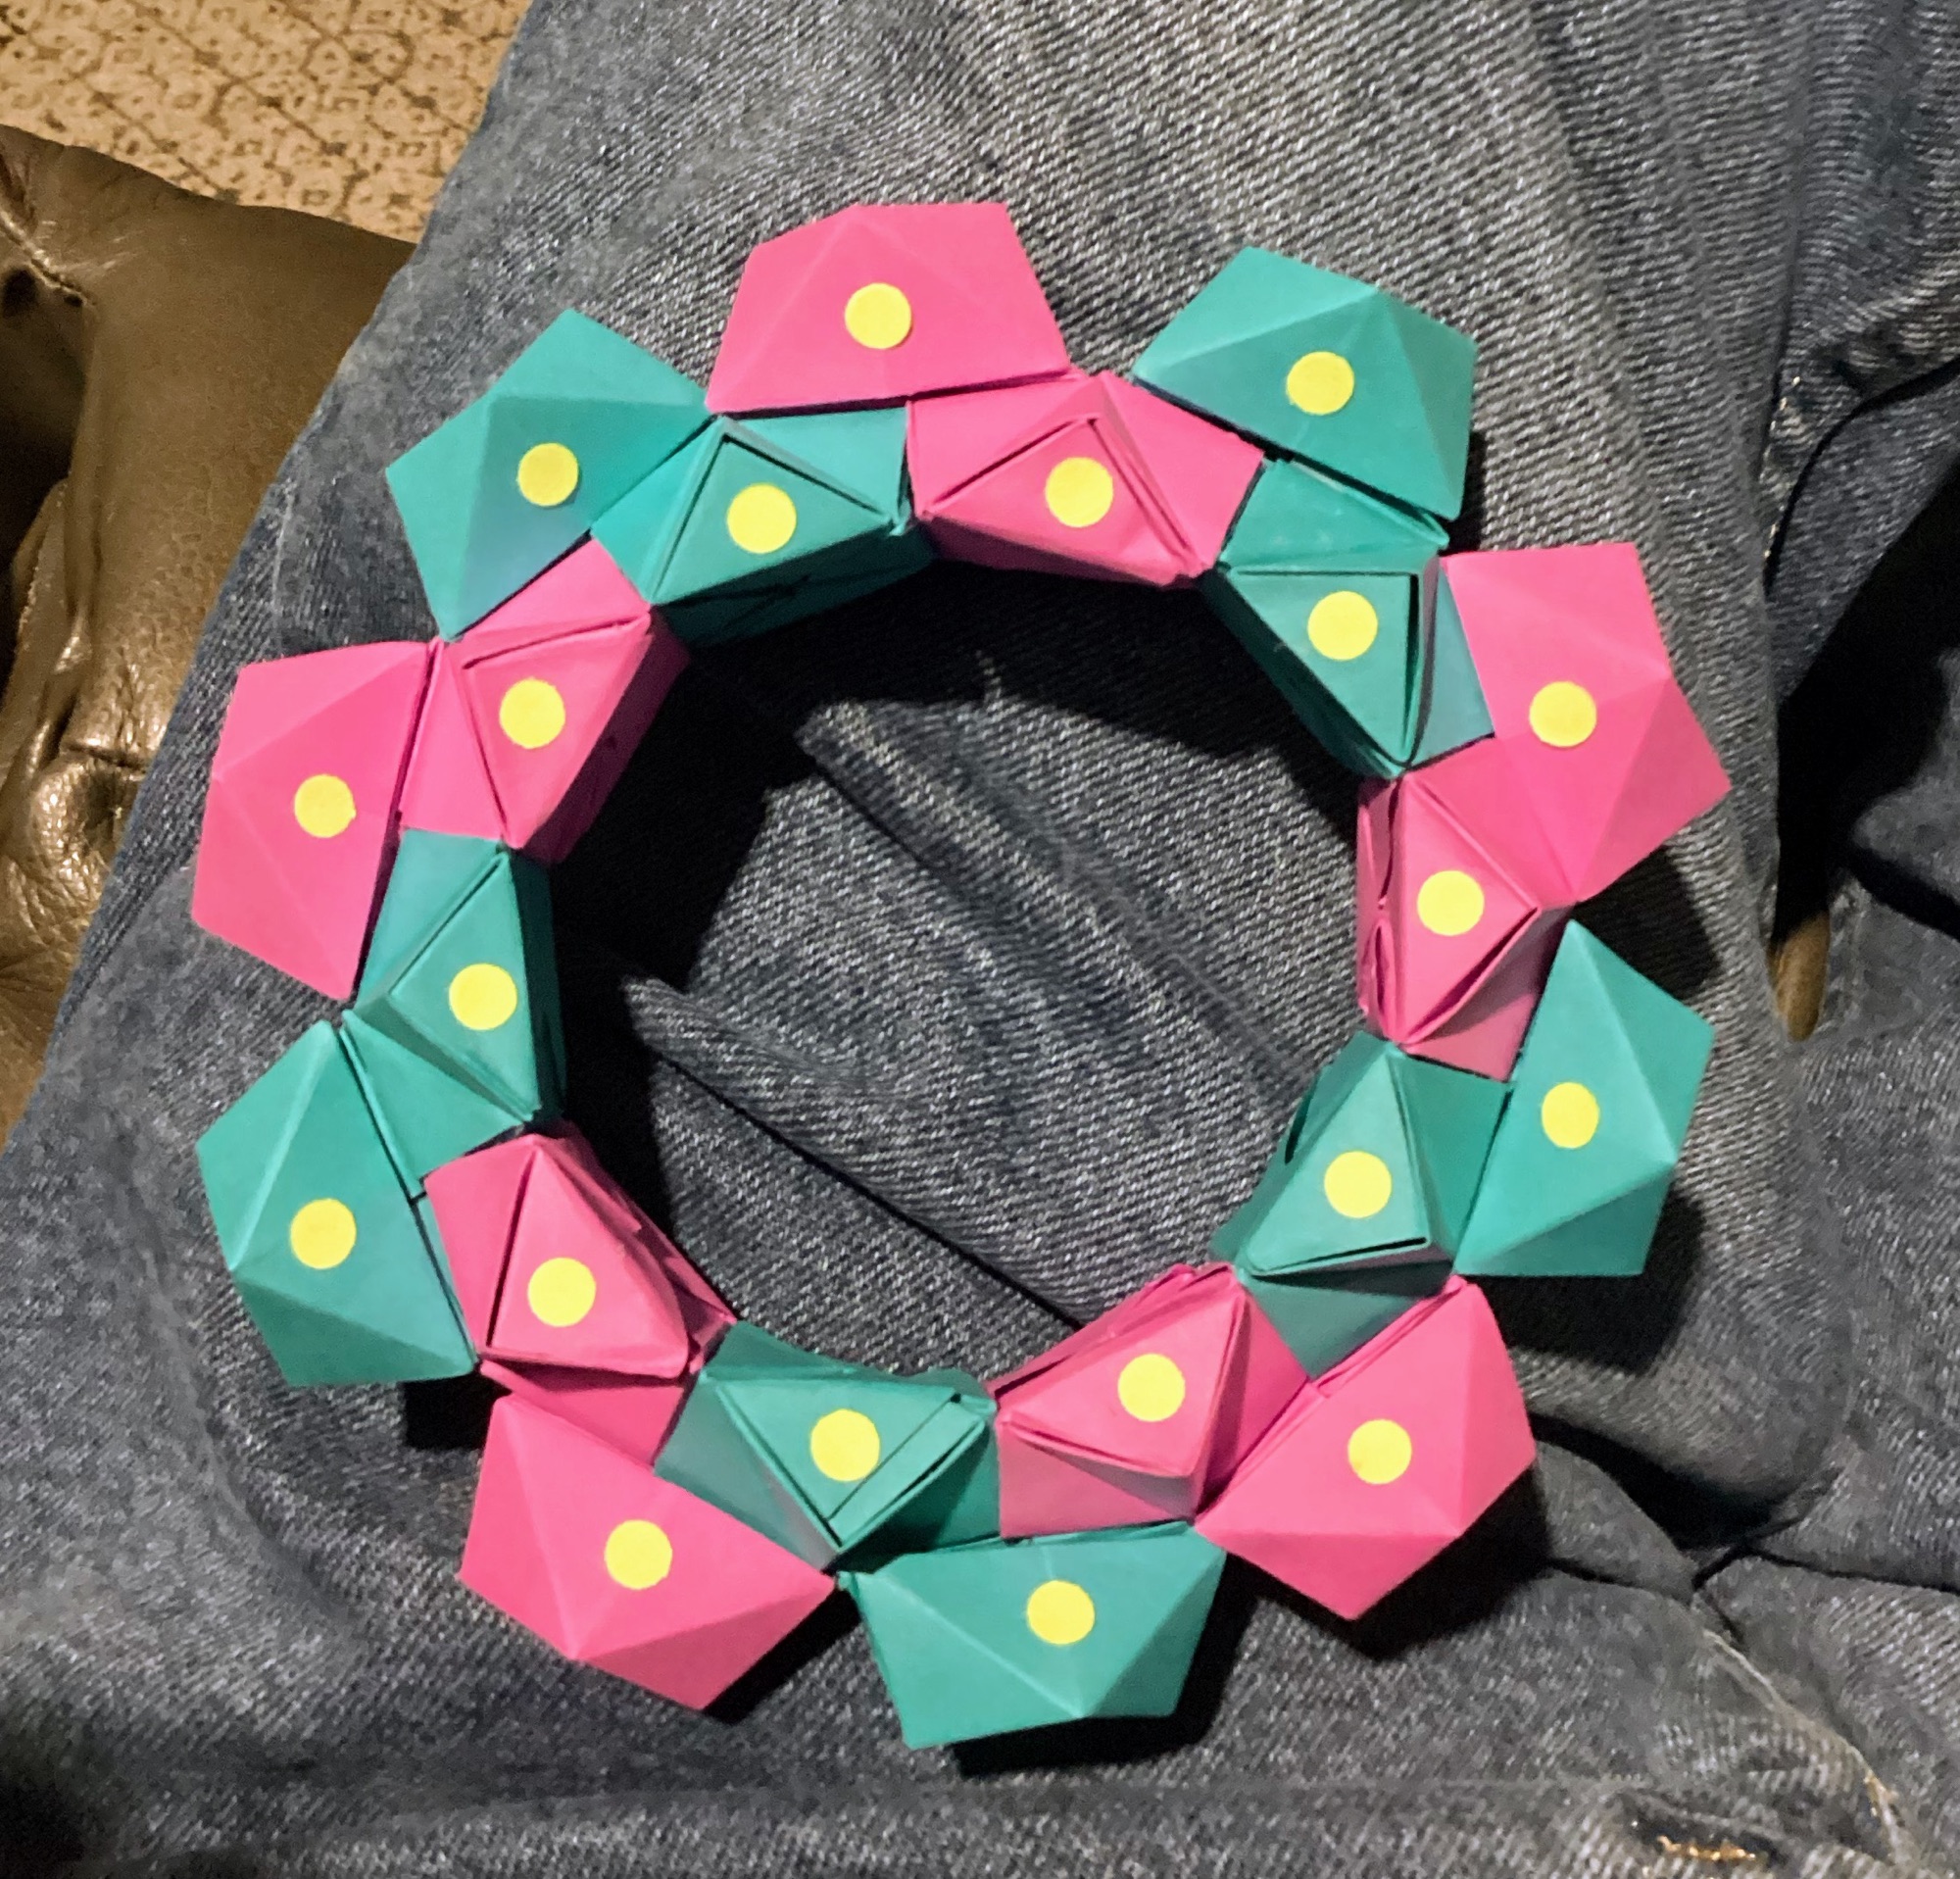
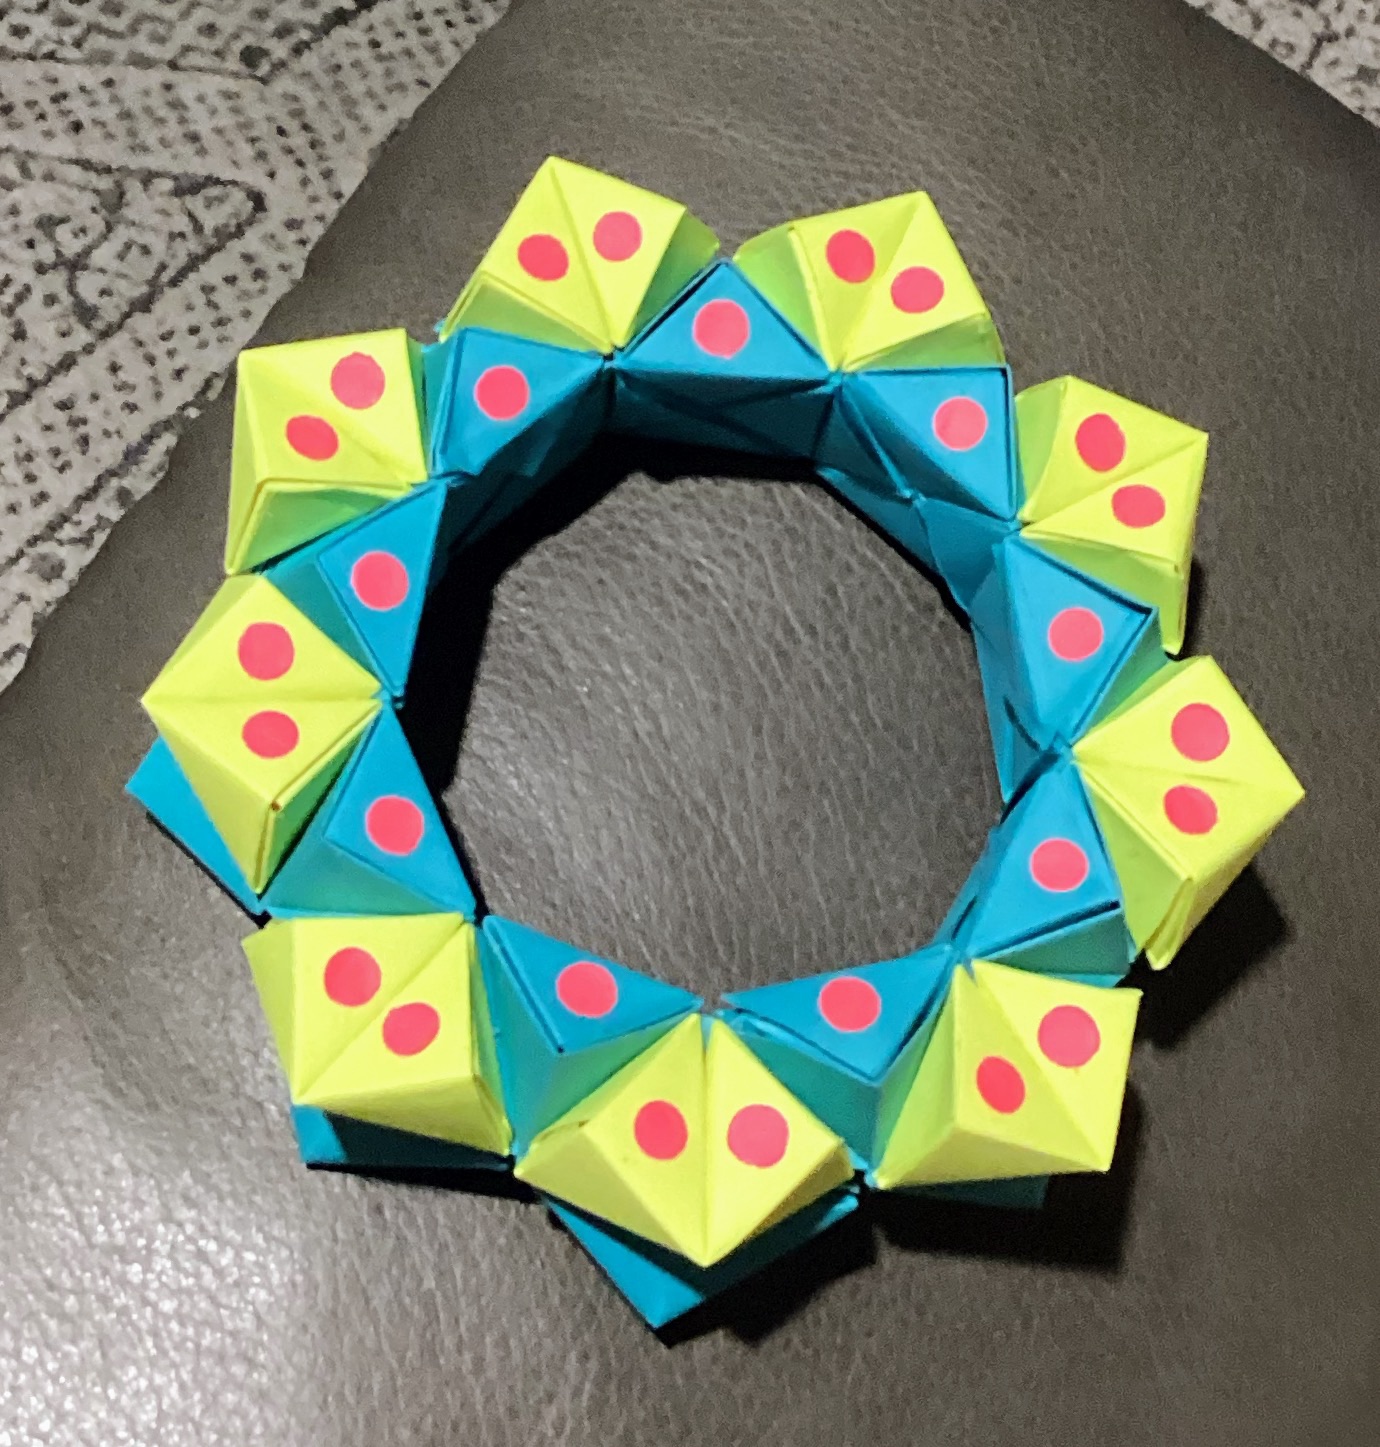
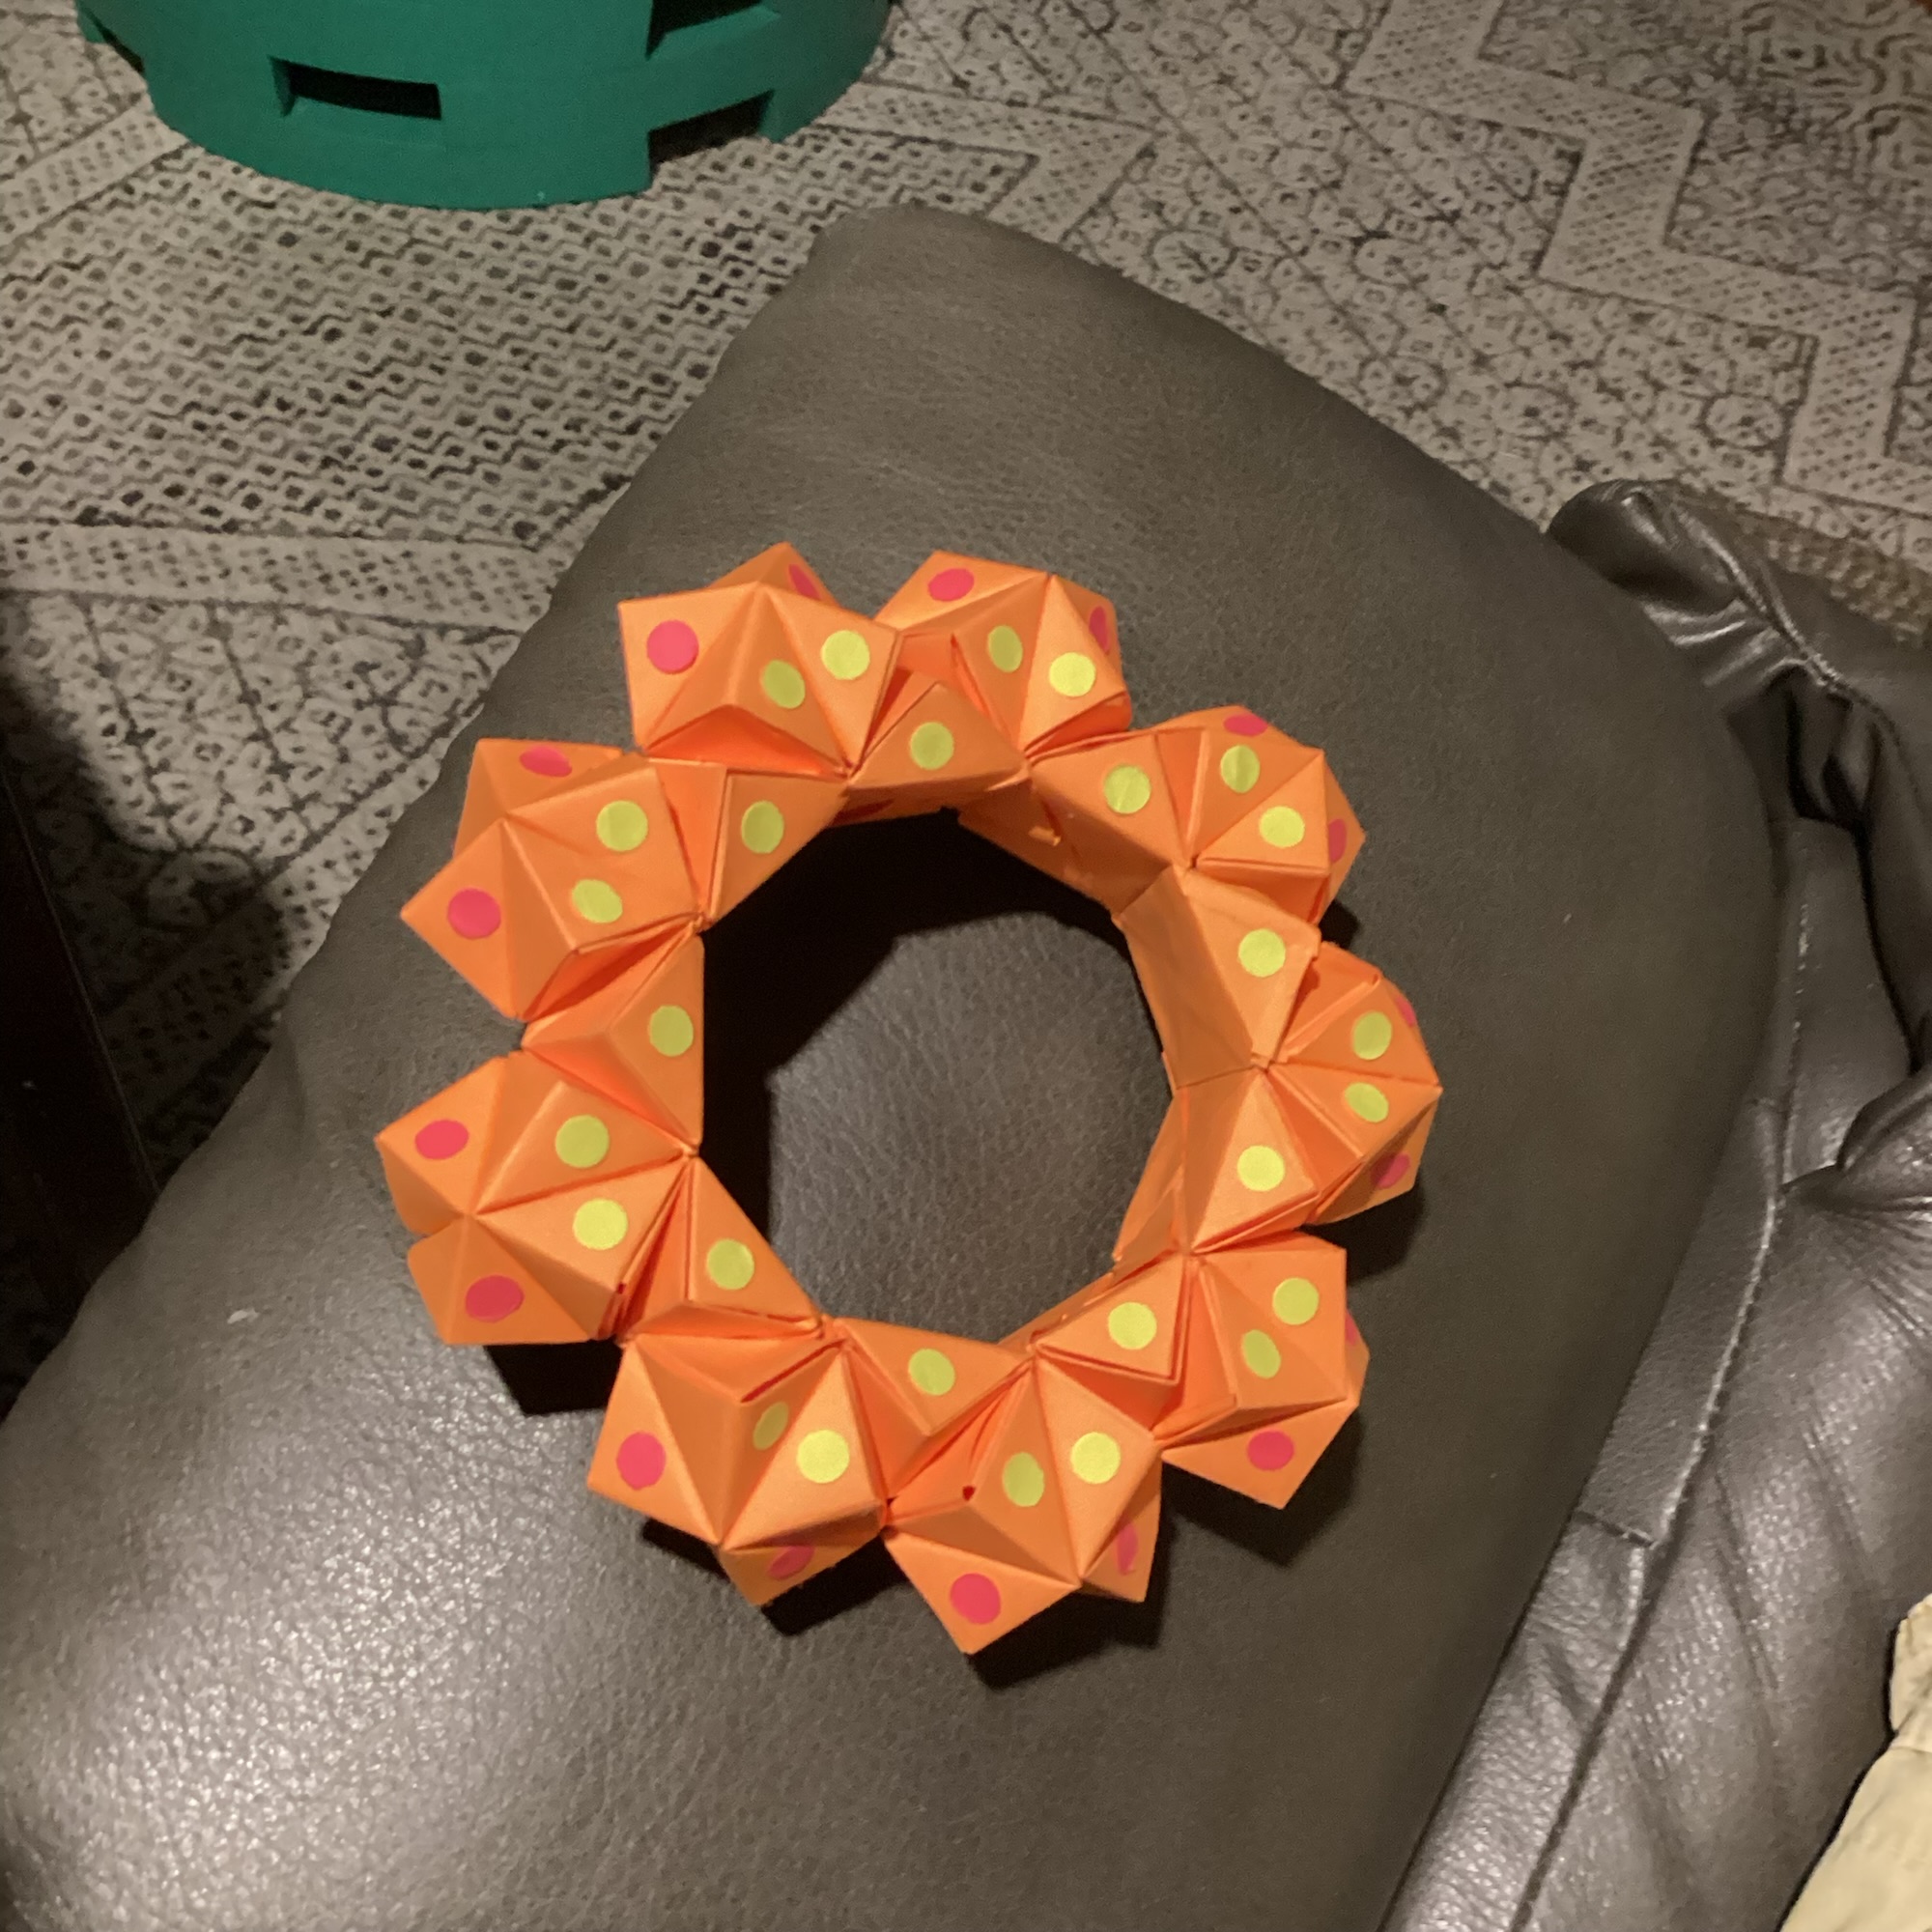
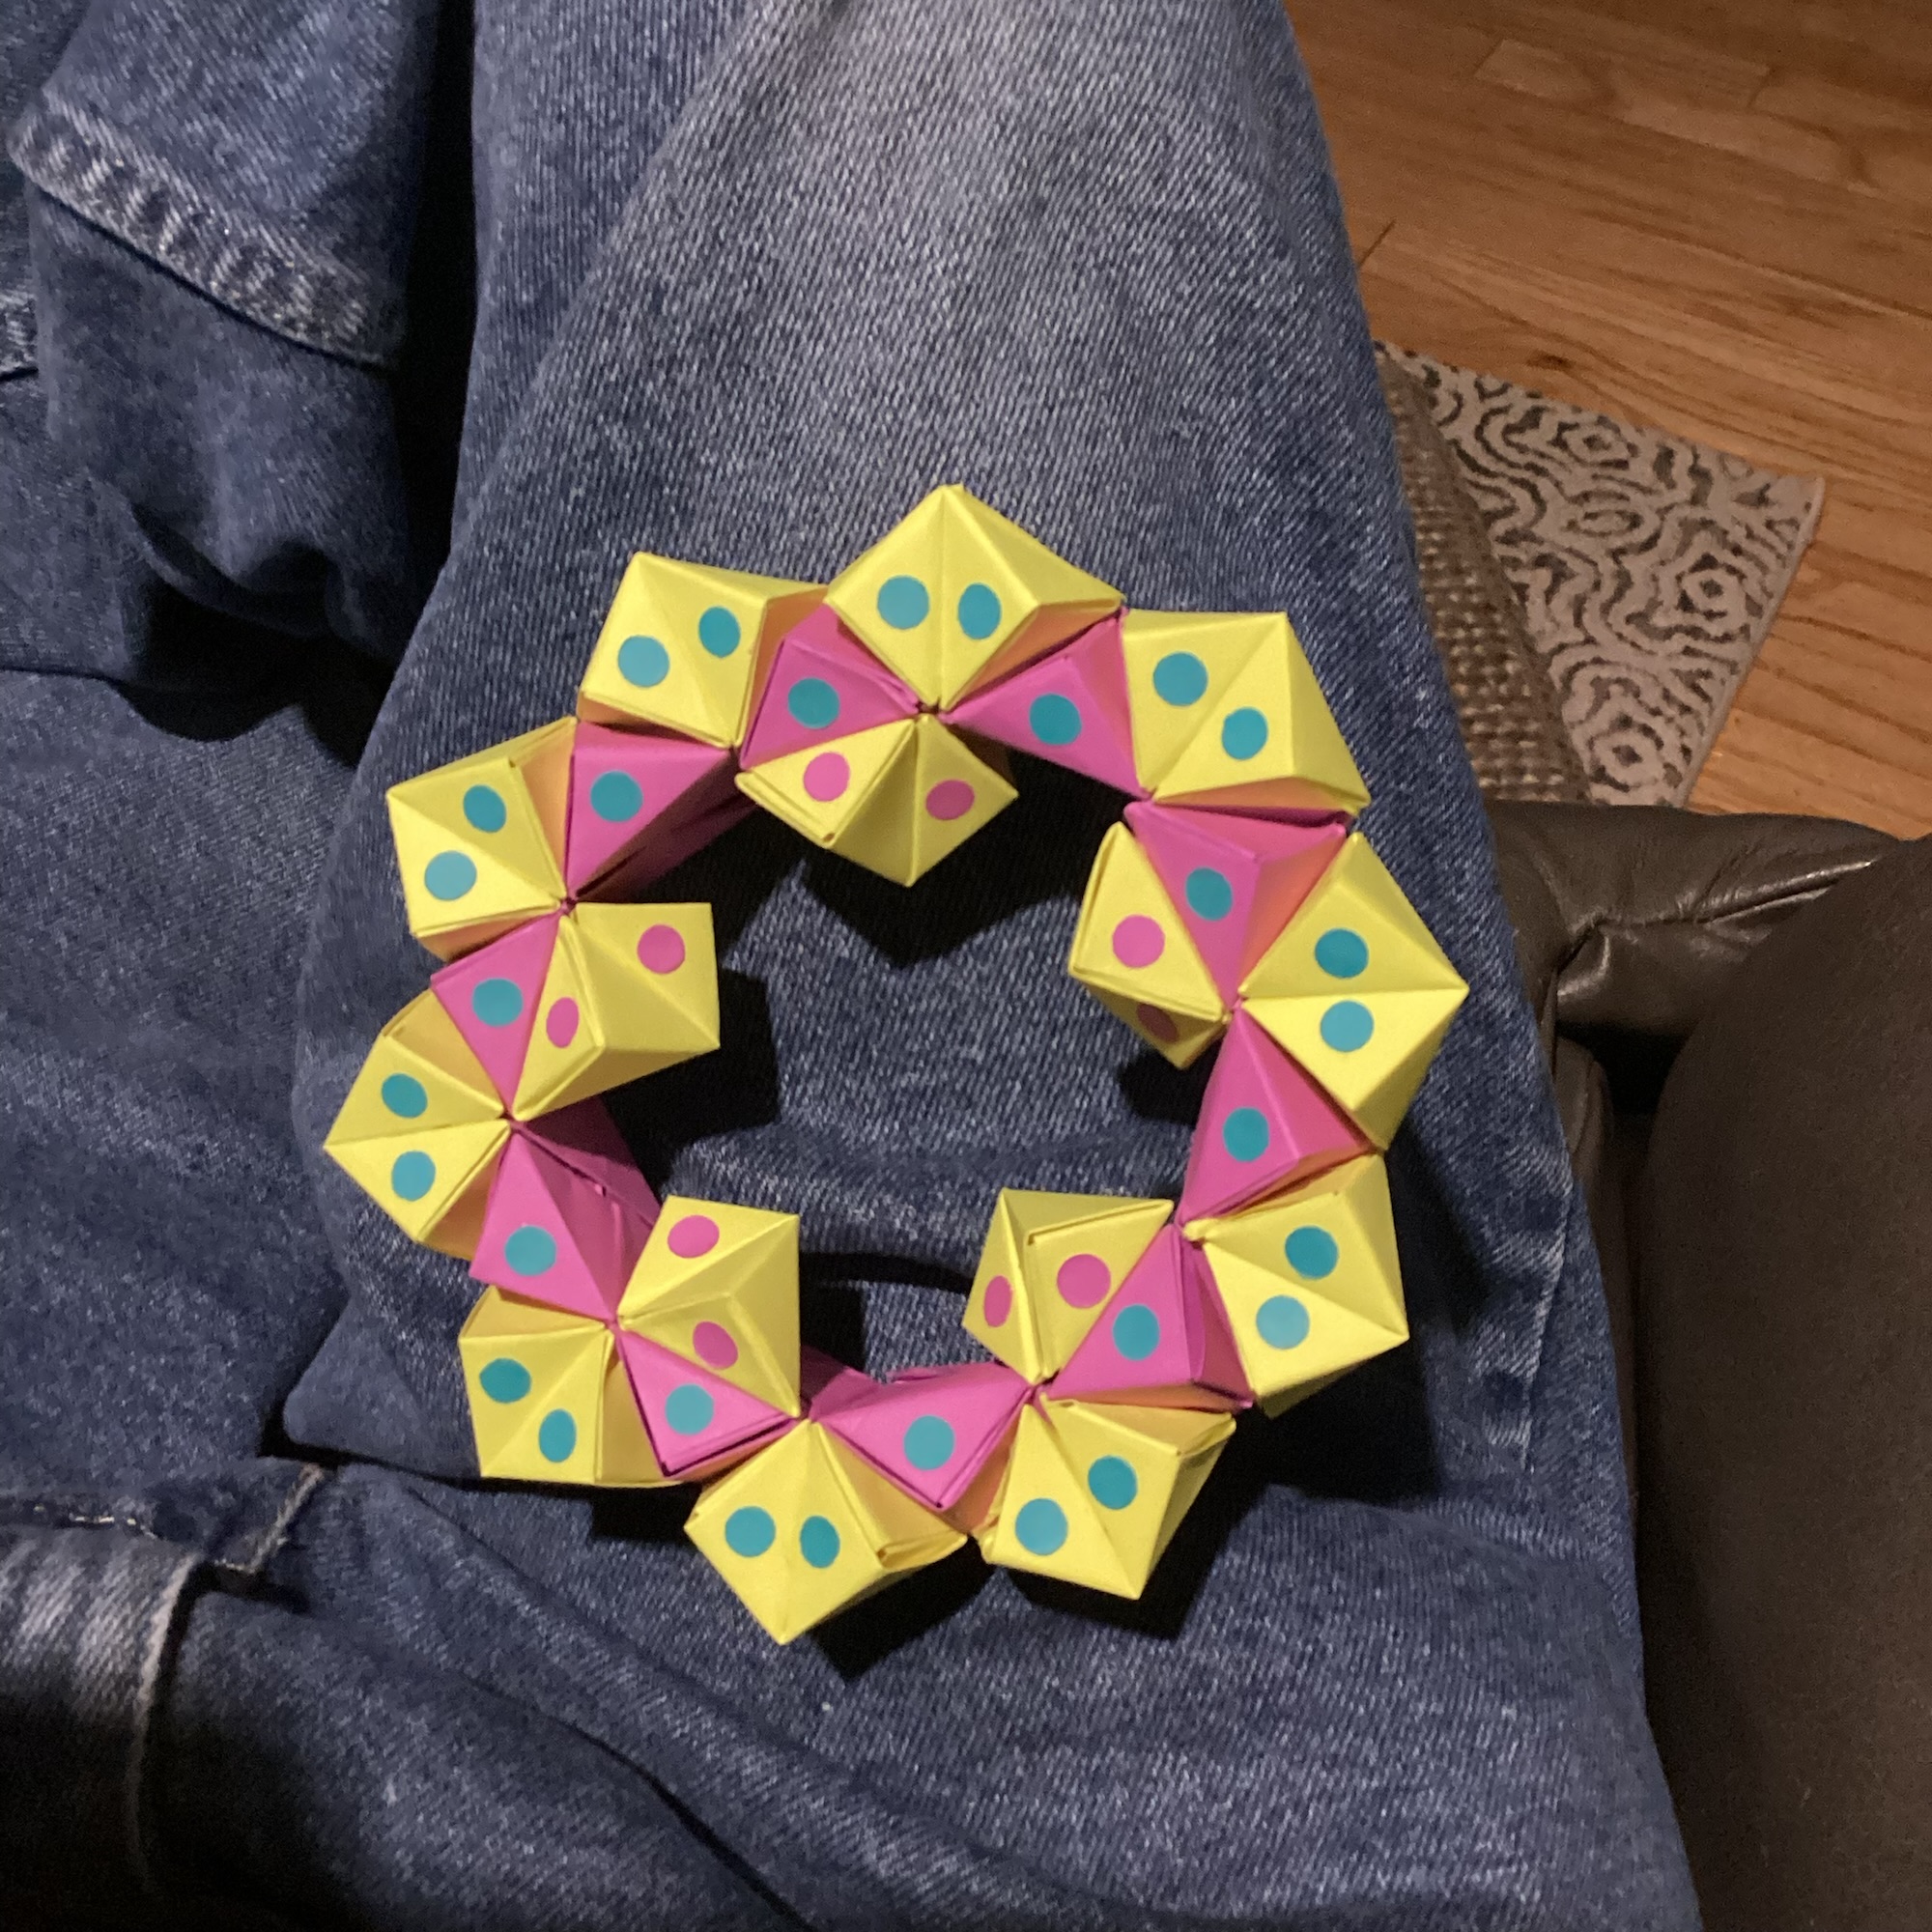 Let’s Make a Daisy Wheel and a Star Bracelet:
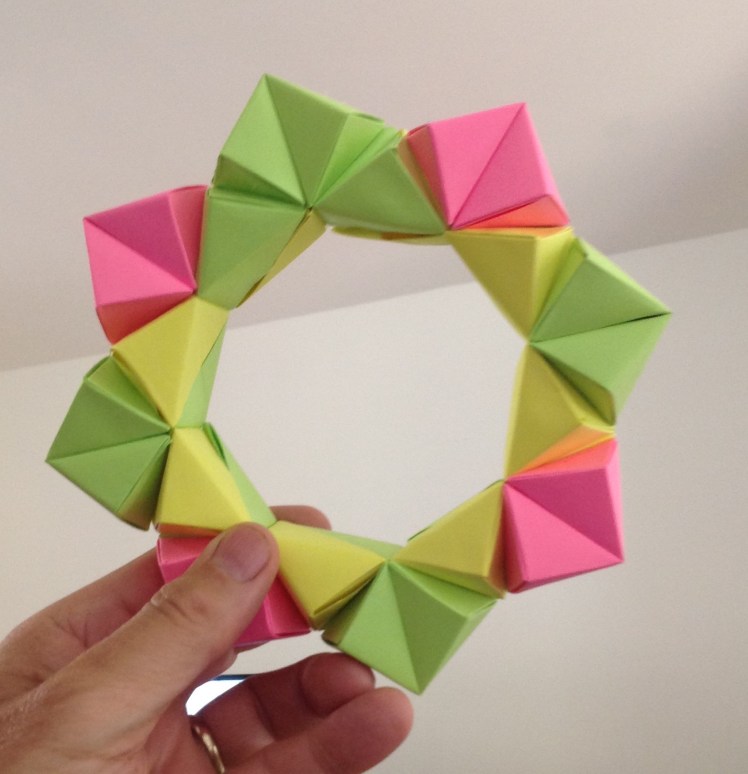


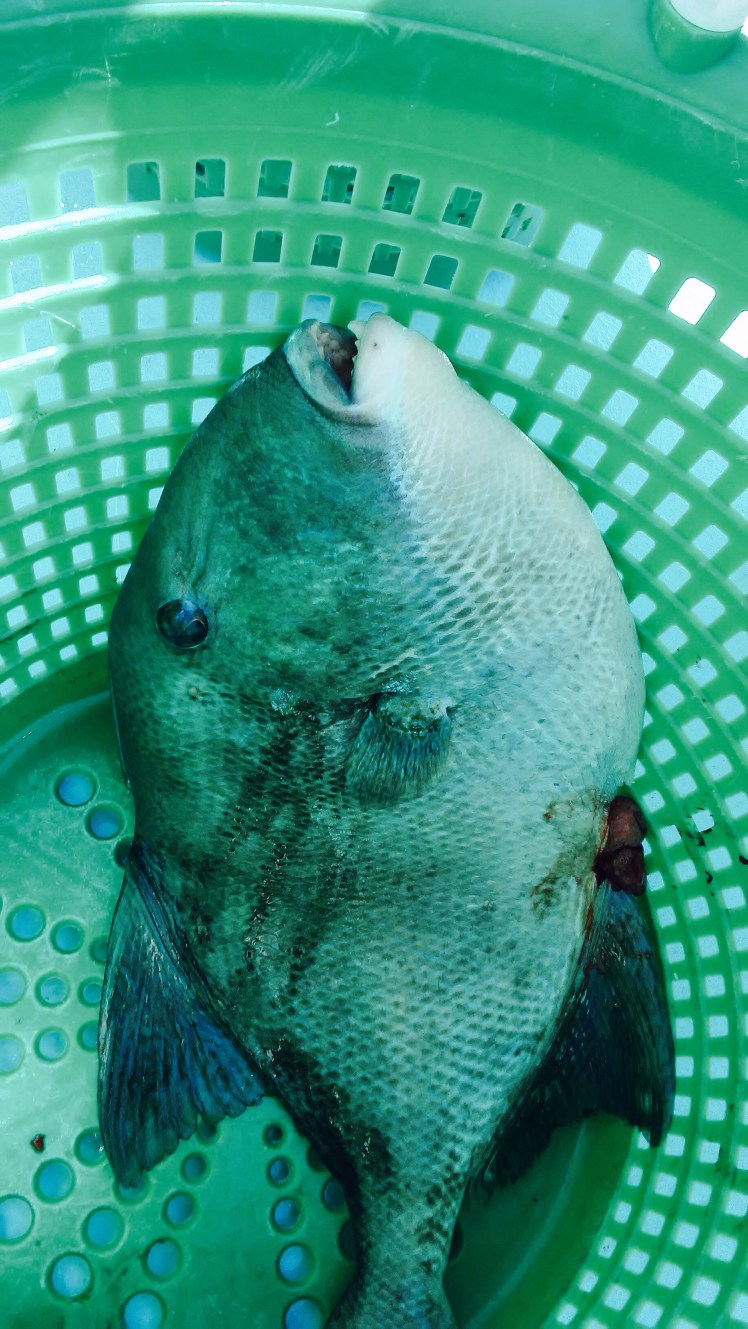

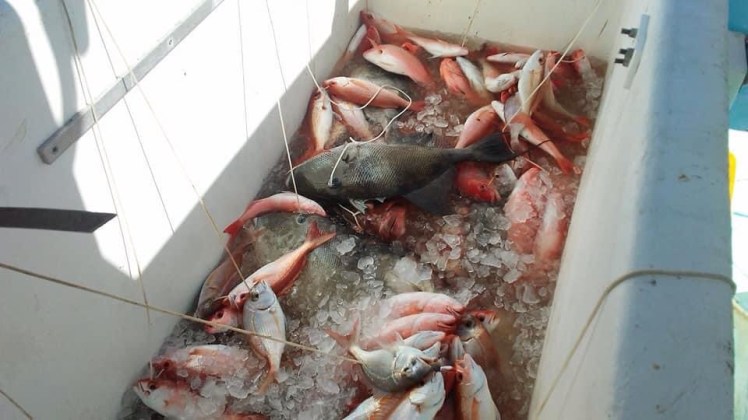
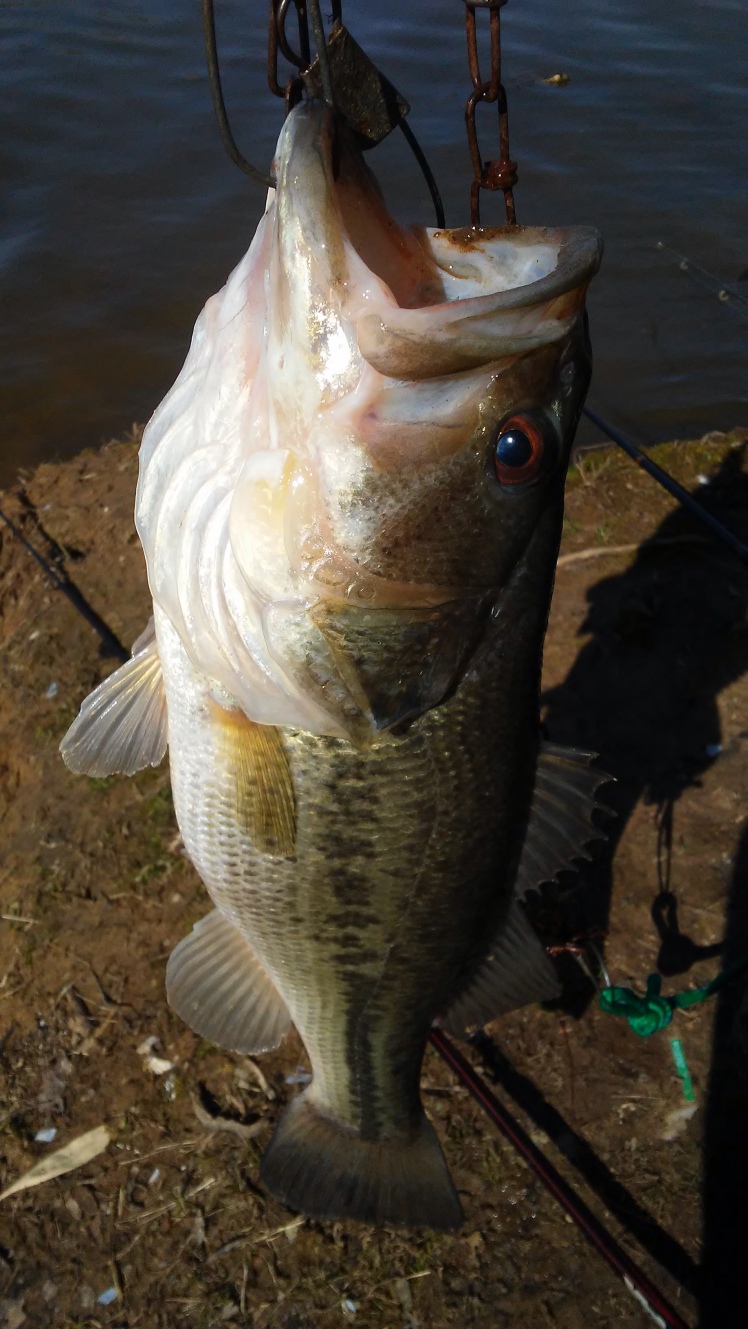
 Above you can see The Daily Winner that was Bigger than My Fish.